Setting up a quick message
Use quick messages to send one-off email or SMS campaigns fast. Just upload a list, choose a template, and send straight away.
Creating a quick message
To create a quick message:
- Navigate to your desired marketing folder in Campaigns.
-
Click + New in the top-right corner.
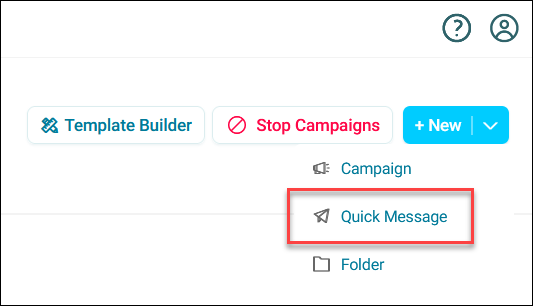
-
Enter a name for your campaign.
-
Click Create.
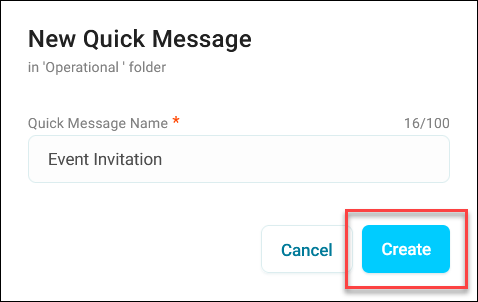
Orbit creates your campaign in the current folder and applies the quick message label next to the campaign name.
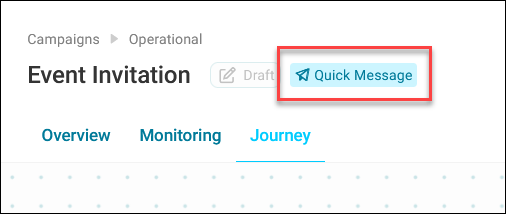
You can now upload your target segment file.
Uploading your list of contacts
To define your target audience:
- Click the Target segment journey step.
- Enter a name for your target segment.
-
Click Create.
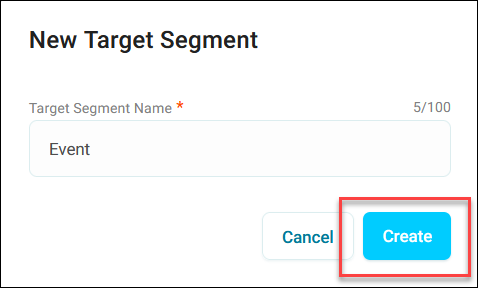
-
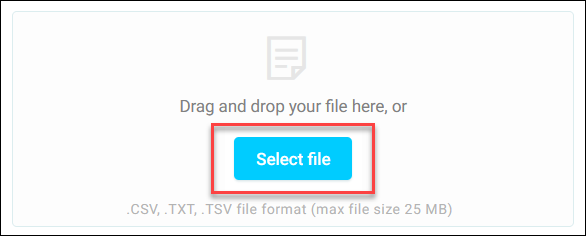
Click Select file to upload your contact list.
-
Choose a CSV, text, or TSV file containing your contacts.
File format requirements
CSV files
- Use comma-separated values
- You can optionally enclose values in quotes
TSV/TXT files
- Use tab-separated values
- Do not use enclosers
- You can't have a comma delimited file with a .txt file extension
-
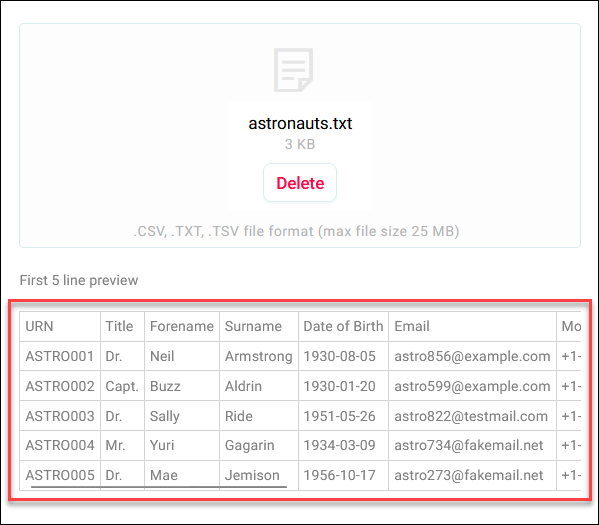
Review the preview data to ensure columns and data appear correctly.
Note
You can only preview the first 5 rows, no matter the file size.
Tip
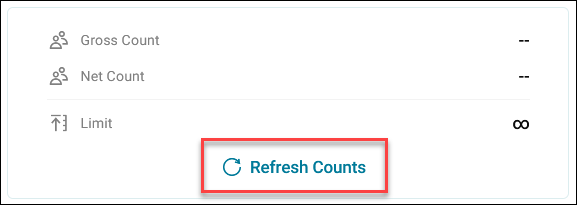
Click Refresh Counts to see how many contacts are in your file.
-
Click Apply.
You can now set up your message.
Configuring your quick message
To set up your message:
-
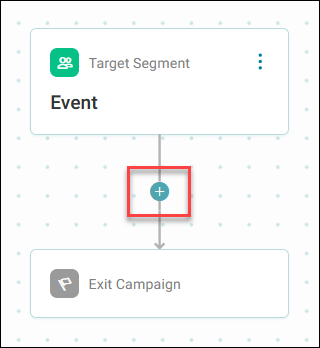
Click the + under your target segment step.
-
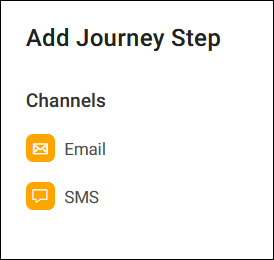
Select either Email or SMS as your channel type.
-
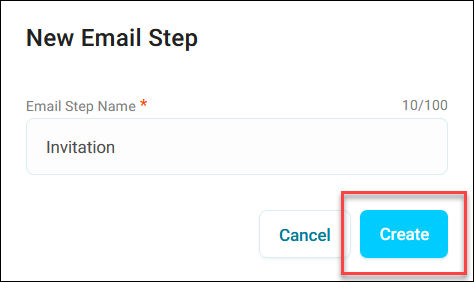
Enter a name for your message step.
-
Click Create.
-
Select your Apteco email or Apteco SMS channel. Your credits display beneath your selected channel
- Choose your template from the dropdown.
-
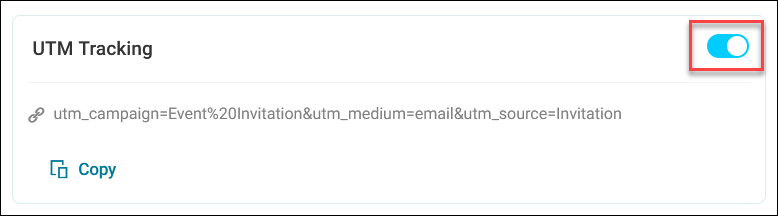
Enable UTM Tracking if you want Orbit to add UTM codes to links in your message. See UTM code tracking.
-
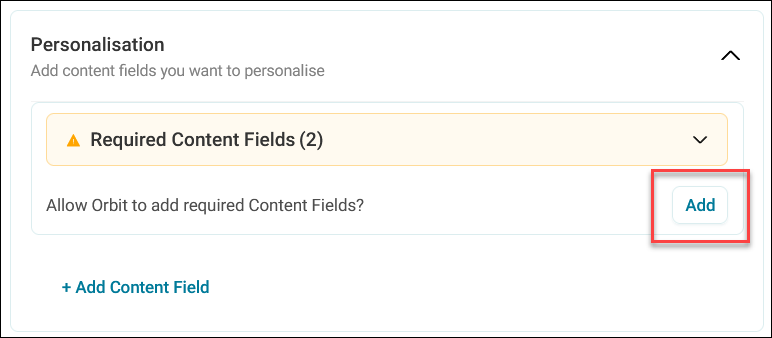
To allow Orbit to add any required content fields, click Add.
-
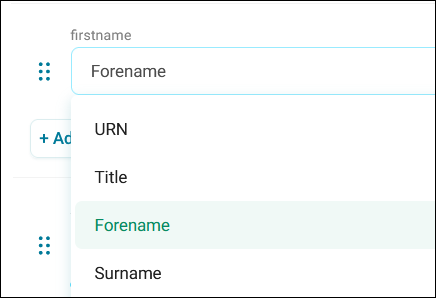
Map the required fields from your uploaded file, rather than a variable:
-
firstname
-
Actual Email Address or Actual Mobile Number (depending on your channel)
-
-
If your template contains any personalisation fields, click + Add Content Field.
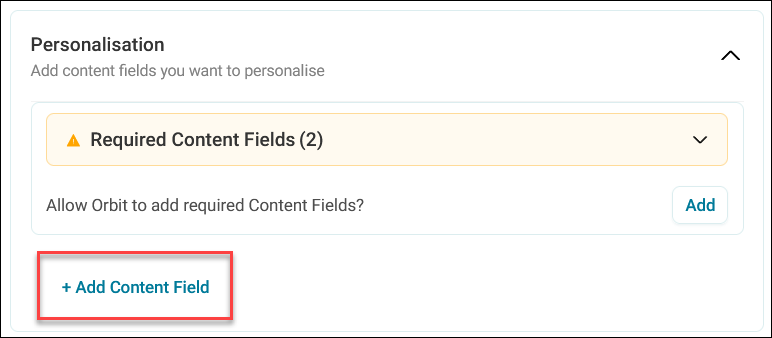
Note
Orbit only populates personalisation content when you build the content as a variable rather than a contact property.
Tip
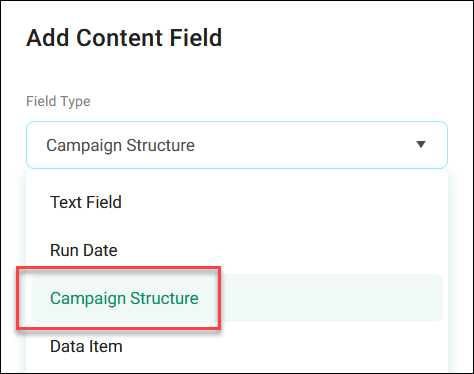
If you want add communication history fields to record the name of the message or campaign, you can use the campaign structure field type.
-
Click Apply.
-
Click Save to save your campaign.
-
Click Publish.
-
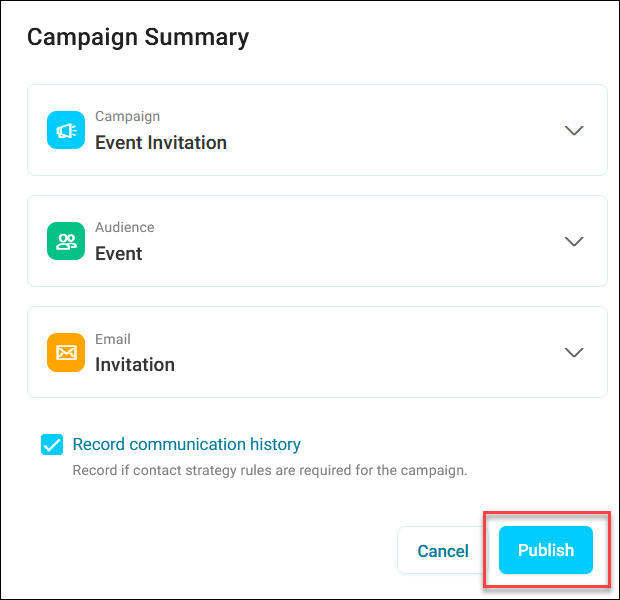
Review your campaign summary, which includes the option to record communication history.
Note
This is for reporting purposes and the data is not part of your FastStats system communication history.
-
Click Publish again to send your quick message immediately.
You’ve now sent your quick message.
Monitoring and reporting
After publishing your quick message:
- Use the Overview tab to see campaign statistics and delivery information.
- View the Monitoring tab to track delivery progress.
Important notes
- Quick message contacts remain separate from your Apteco system data
- Campaigns send immediately with no option for scheduled delivery
- Create message templates in advance using the Orbit Template builder