Multi-social campaigns
Multi-social campaigns allow you to post to multiple platforms simultaneously from a single campaign.
Multiple social networking platforms can be added to one Delivery step in a single campaign in PeopleStage. This assumes that you wish to post to the channels at the same time. Here you can send direct posts to your pages within each platform chosen. PeopleStage will then track the engagement with the posts across the channels for you to monitor in the reports available in the Results view.
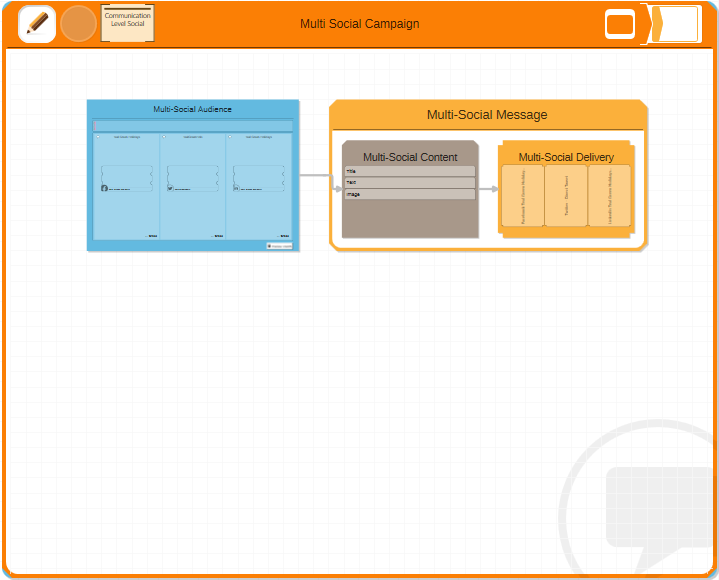
Setting up a multi-social campaign
Note
A user with Admin permissions must configure the social media channels within PeopleStage; this topic concentrates on setting up a campaign within PeopleStage.
Before starting, set your Campaign Area to be editable:
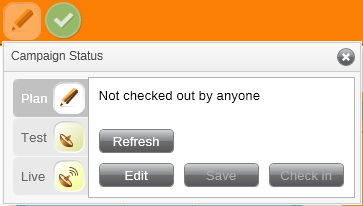
-
Click on the status control icon and, from within the Plan tab window, select Edit
-
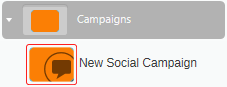
Drag and drop a New Social Campaign into your Area.
The Facebook campaign has the Multi-Social Watermark in the bottom right hand corner of the Campaign window.
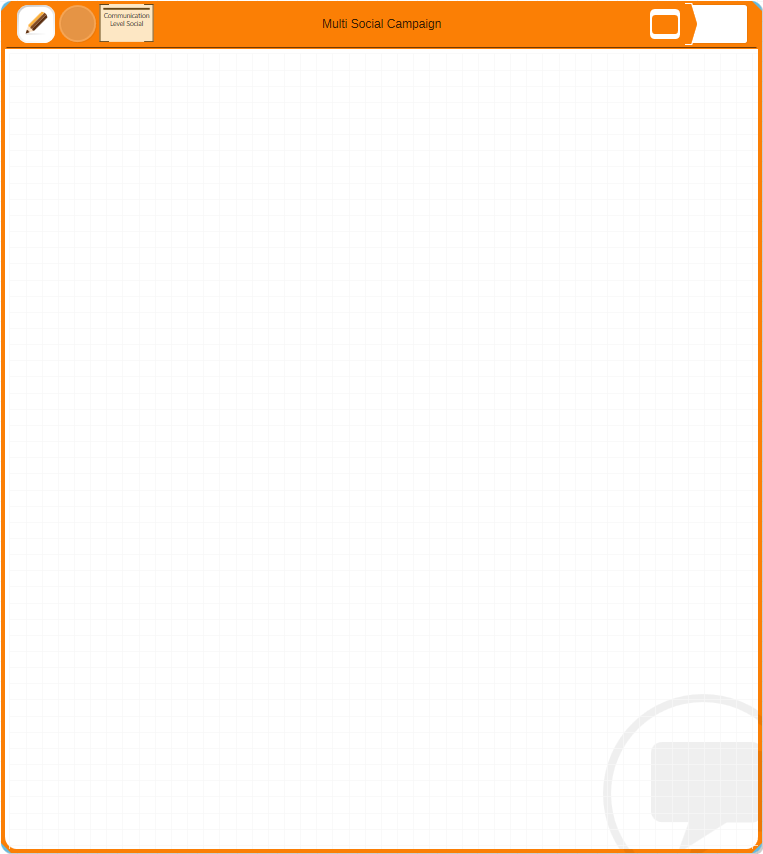
Once a Campaign has been created, look to the Library to start building your customer journey.
Note
Only Social related campaign components will be shown if the Auto Filter has been turned on within the Library.
- Drag and drop a New Audience onto your blank Campaign.
Social audiences
The Audience step in PeopleStage is where you define who you wish to communicate with; typically, we target People from within the FastStats database.
Social Audiences are different in that you are targeting social pages (Brands) within a social platform (Facebook, LinkedIn, and Twitter), rather than specific people.
Note
If the Library has the Auto Filter option turned on, only the Interaction, Journey and Social Audiences folder are visible and selectable.
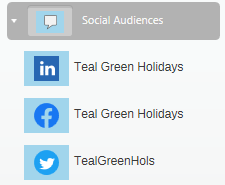
- Drag and drop the applicable Social Audience(s) from the Library into the campaign.
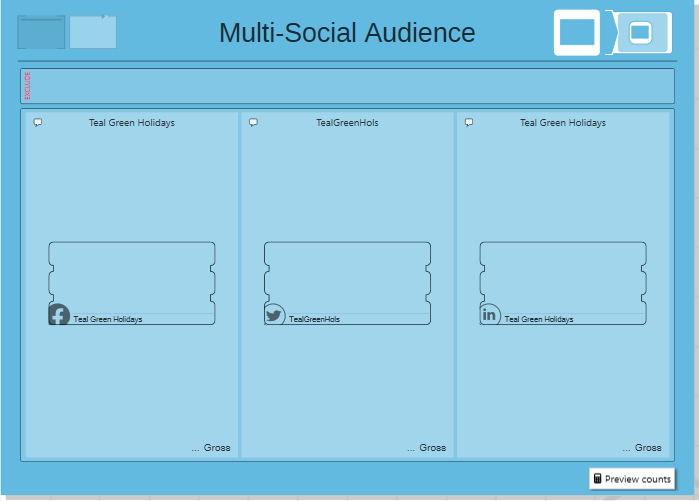
In this example, we have three social media platforms which we are going to send a Direct Post to via this campaign: Facebook, Twitter and LinkedIn.
Note
Multiple Brands within the same social platform can be added to the same Audience step.
Message
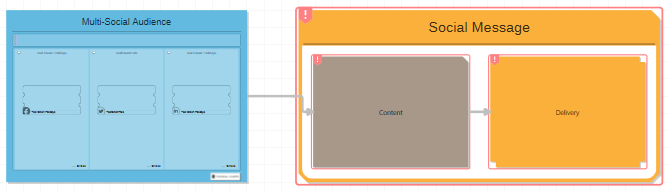
- Drag and drop a New Message from the Library's Message Processes folder into the campaign and draw a line from the Audience to the Content step within the Message.
New Social Media Message Processes
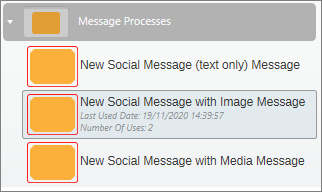
Options include:
- New Social Message (text only): Content Step includes a Title and Text segment
- New Social Message with image: Content Step includes a Title, Text, and Image segment
- New Social Message with Media: Content Step includes a Title, Text, and Media segment (used for video posts)
Content
The Content step must be populated with the details of the Post for each platform.
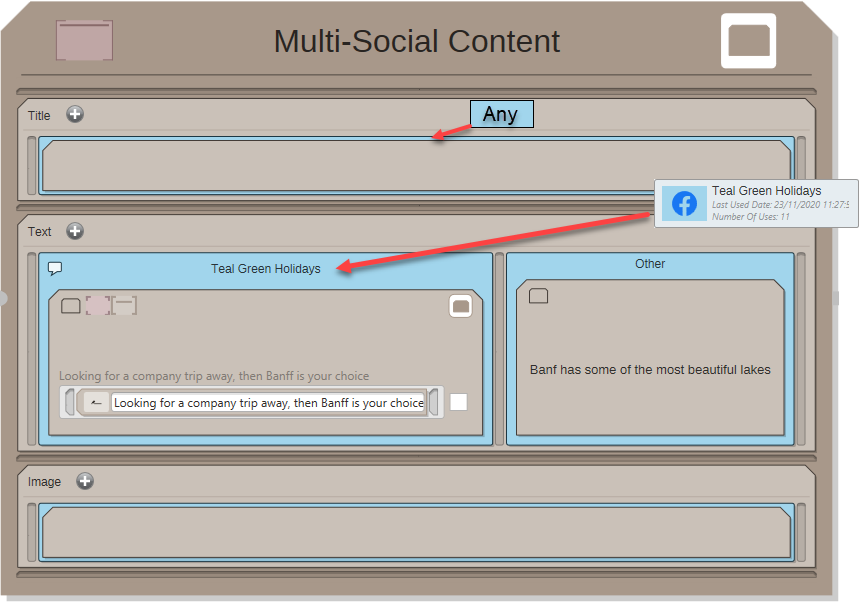
- Drag the Social Audience that you wish to target with a Content segment. In this example the Other segment will be delivered to the remaining social platforms in your Audience step.
Add the following information into the Content step using the following labels:
- Title: Not visible on the Facebook or Twitter post but is required for LinkedIn; set the Segment to Any
- Text: The text which will appear in the Post; you can drop a Social Audience on the segment to send it to a specific brand
- Image: URL of the image (required)
- Media: URL of the video content (required)
Note
The Title is a compulsory social message field and the description MUST be "Title", the segment MUST be "Any".
Tip
Personalisation, in this case, is about the content of the post, not the people who the post will be sent to. The post will be sent to your social media pages and the content can be populated with timely content such as competition winners. Variables can be added to the Content step to ensure that the post is populated with this information.
Delivery
There are two parts that need to be completed in the Delivery step: the Channel Audience and the Social Channel.
Defining the audience and channel
For each Channel, you must associate it with the Audience added in the first step in your campaign. There are two ways to do this — the first is through dragging the Social page Audience on to the channel in the Delivery as a Segment, or to use an Audience Journey Selection which is located in the Journey Selections folder in the Library.
-
Double-click on the Delivery step to zoom in.
-
From the Deliveries folder in the Library, choose the applicable social channel.
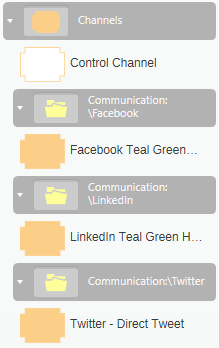
-
Drag and drop a Social Channel into the Delivery step in your campaign.
-
Drag a Social Audience onto the delivery to segment it; this ensures PeopleStage sends the post to the relevant page. The default last segment should always be left as Other.
Note
In this case, we have three Social Deliveries set up. You must define the Audiences for the first two; PeopleStage will correctly assign the Other Audience (the page which is left) to the last channel added.
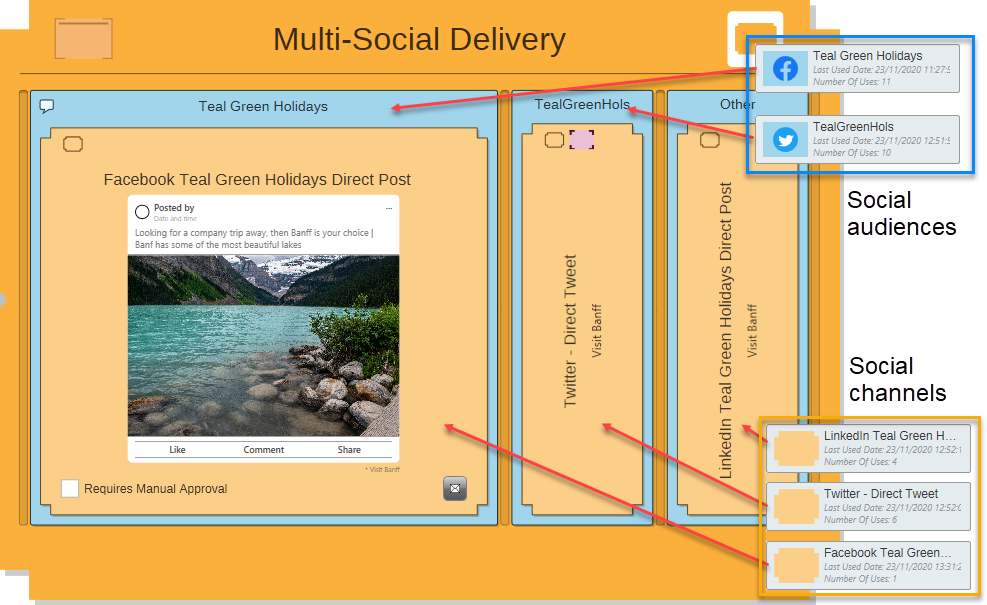
Note
PeopleStage will prevent you from mixing Social platforms and Audiences — the Audience must be from the same platform as the Delivery channel.
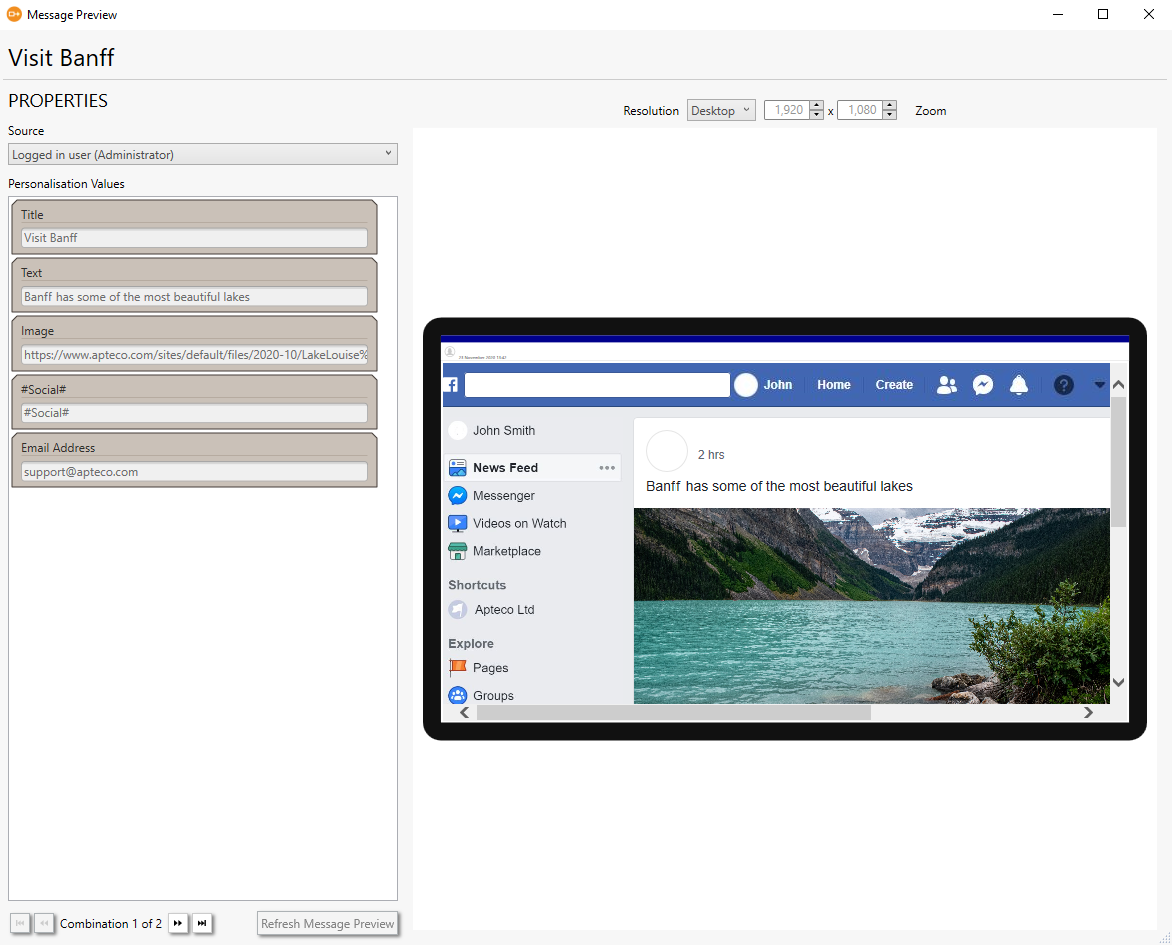
A preview of the post will automatically display in the Delivery step.
In the bottom right of the Delivery step is an envelope icon; this also allows you to preview the post before sending it.
Running the campaign
As with all PeopleStage campaigns, the campaign will only run when there is a schedule set on the Audience step. Once this is in place the campaign must be published to Live for the post to be delivered.