Journey templates
Journey templates provide pre-built starting points for your marketing campaigns.
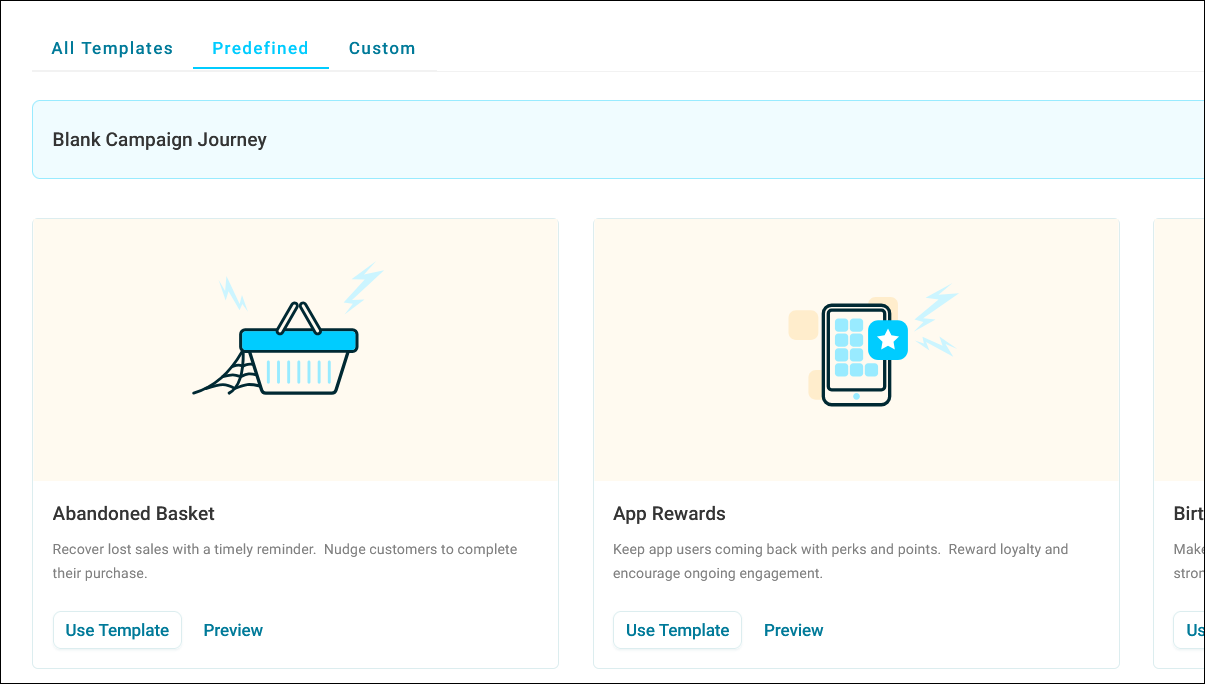
Orbit offers two categories of journey templates:
- Predefined templates: Sixteen professionally designed templates covering common marketing scenarios, from single-stage campaigns to complex multi-stage journeys
- Custom templates: Templates you create by saving your own campaigns for reuse across clients or projects
Template availability by licence type
Your Orbit licence determines which predefined templates you can use:
Broadcaster licence includes:
- Birthday Campaign
- Newsletter
- Social
- Year 1 Thank You
Campaigner and Orchestrator licences include Broadcaster templates plus:
- Abandoned Basket
- Birthday Campaign with Engagement Focus
- Event Campaign with Latecomers
- Event Campaign with Sequenced Comms
- Newsletter Campaign with Interactions
- Product Launch
- Purchase Acknowledgement
- Re-engagement Campaign
- Renewal
- Weekly Product Showcase
- Welcome
View all templates regardless of your licence, but the Use Template button only appears for templates included in your licence bundle.
Creating a campaign from a template
To create a campaign from a template:
-
Go to Campaigns and navigate to your desired folder location.
Tip
Orbit creates campaigns in your current folder location, so always navigate to your target folder before creating a new campaign.
-
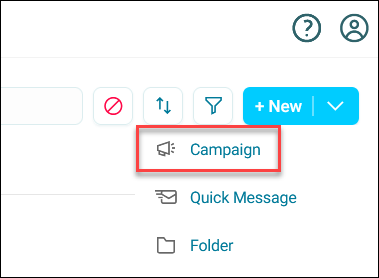
Click + New.
-
Click Campaign.
-
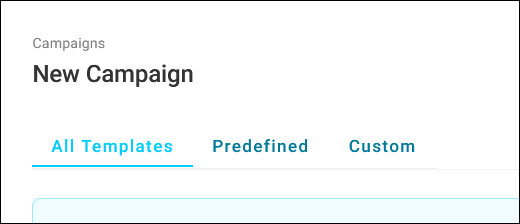
Find your desired template using the search bar or the three tabs:
- All Templates: Predefined and custom templates together
- Predefined: Sixteen built-in templates covering common marketing scenarios
- Custom: Templates you've created from your existing campaigns
Note
If templates don't meet your needs, click Start From Scratch to create a new blank journey in the journey builder.
-
Click Use Template.
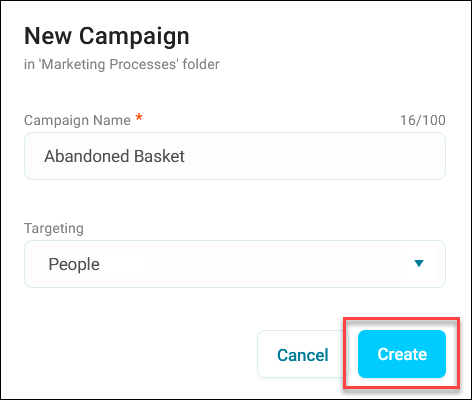
- Enter a name for your new campaign.
-
Expand the Targeting dropdown to choose whether to target individuals or use transactional data to target transactional activity.
For more detail, see Transactional campaigns.
-
Click Create.
Your new journey opens in the journey builder. Follow the Journey ToDos to finish setting up your journey and add any additional steps you need.
Tip
Treat templates as starting points rather than finished campaigns. Review each element and customise them for your specific needs.
Previewing templates
Before applying a template, you can preview its structure and understand its features.
To preview a template:
- Go to Campaigns and navigate to your desired folder location.
- Click + New.
- Click Campaign.
-
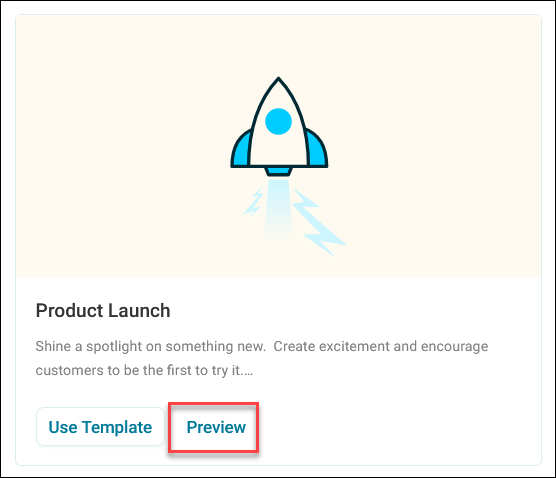
Find your desired template and click Preview.
-
The preview screen contains three key sections:
- Title and description: Explains the template's purpose and target scenario. Key Orbit features used in the template appear in bold text
- Useful Links: Provides direct links to help documentation for features used in the template
- Journey preview: Displays a visual representation of the journey showing all steps, splits, and sections
Tip
Use the scroll bars to fully view more complex journeys.
Creating custom templates
Custom journey templates let you standardise campaign structures across your team or clients. When you save your successful campaigns as custom templates, they become available to all users in your organisation.
To create a custom template:
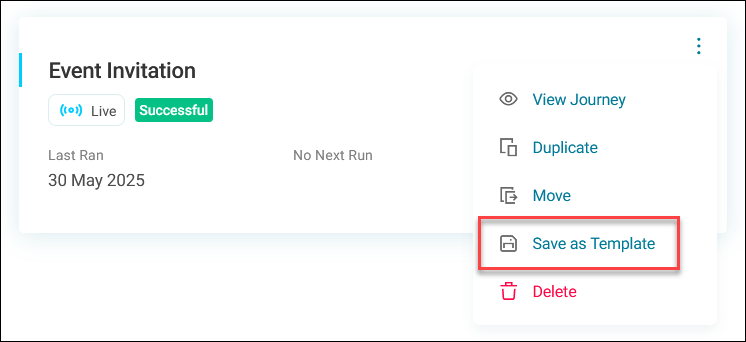
- Go to your campaign tile or open the campaign journey.
-
Expand the option menu and click Save as Template.
-
Enter a descriptive name under Template Name.
-
Under Notes, enter a template description.
Tip
Clearly explain the purpose of the journey, any key features, and when to use it.
-
Click Save.
Your custom template is now available under the Custom tab in the template library when creating a new campaign.