Selecting using longitude and latitude variables
When configured, using longitude and latitude variables from your System explorer, it is possible to turn any map shape into a selection that exactly matches the shape you draw.
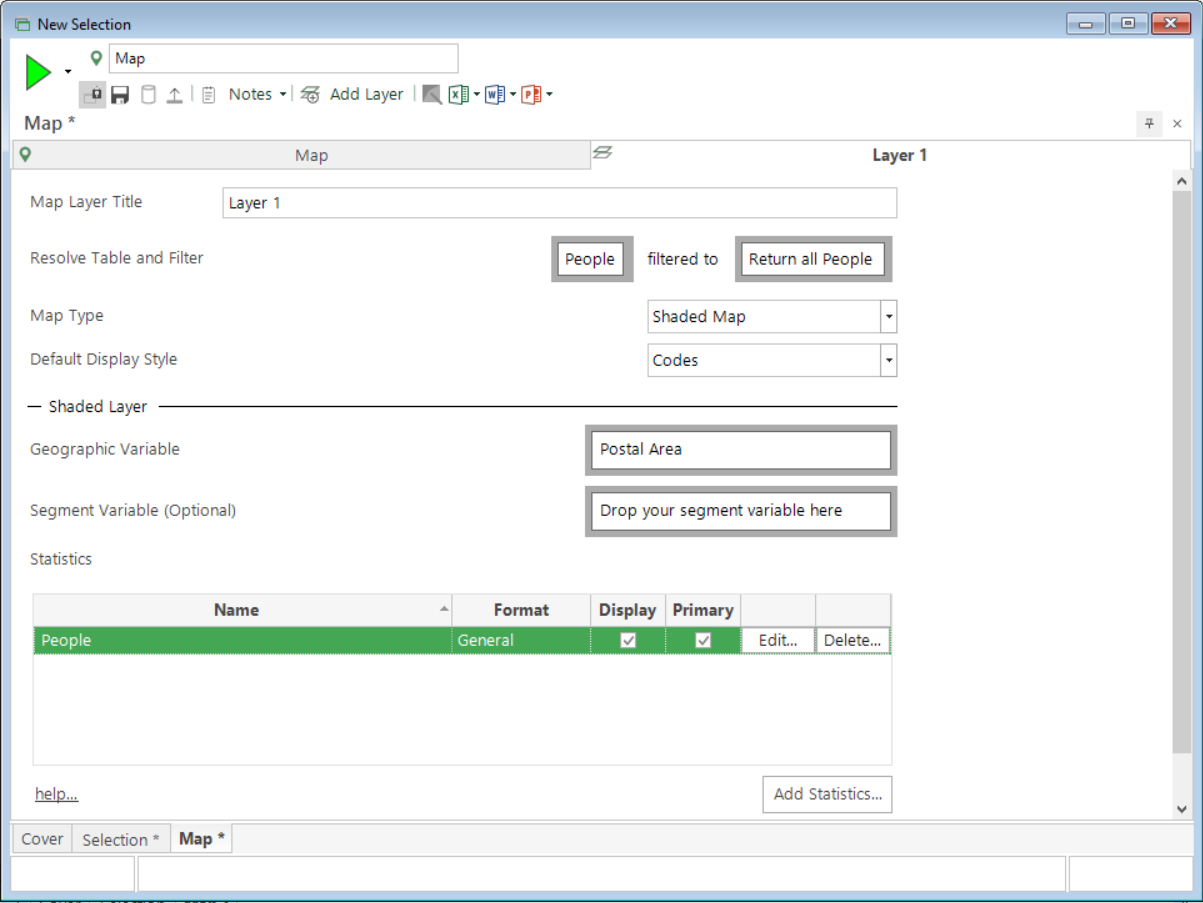
If you wish to work with an underlying map shape you can, for example, select Layer 1 and add a Geographic Variable, but this functionality has the advantage of also working without a map shape - see screenshots below. In this example, let's use Postal Area.
Selecting with longitude and latitude
- From the FastStats Toolbox, click and open a new Map.
-
Select the Layer 1 tab and drag Postal Area onto the Drop your geographic variable here drop-box.
-
Build the map.
-
Return to the Map tab and select a tool - e.g. Rectangle - and draw your shape over the target area.
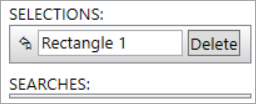
Once selected, an item will be entered under the Selections section of the Layers panel:
-
Build the map display.
-
Select Add Layer from the Map toolbar.

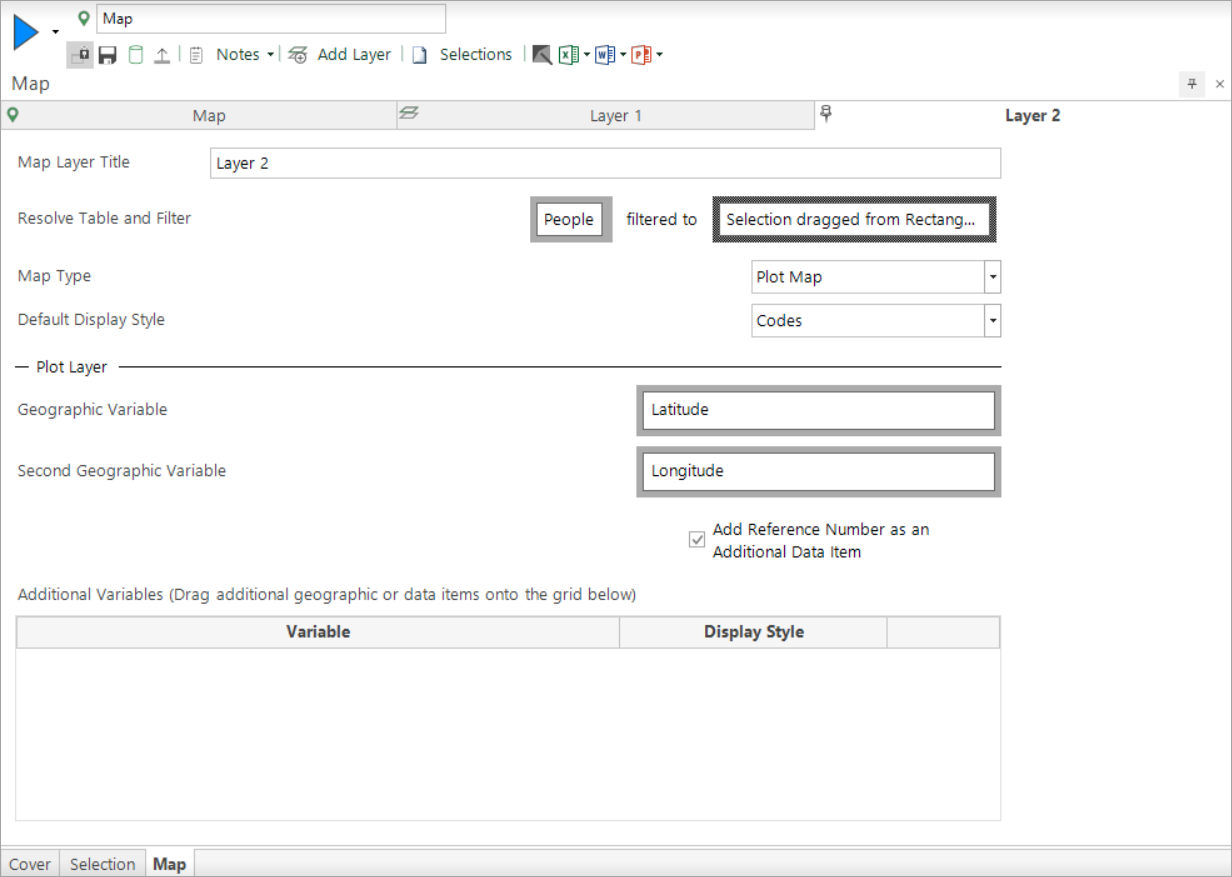
In the Layer 2 tab:
-
Set the Map Type to Plot Map.
-
Drag your Latitude variable onto the Drop your geographic variable here drop-box.
The Second Geographic Variable drop box will auto-populate with the Longitude variable:
Return to the Map tab:
-
Right drag from within Rectangle 1, hover over Layer 2 to open the window and then drop the selection onto the Return all people drop-box.
Note
You will not be able to drag and drop the selection unless you have built the display as per step 6 above.
-
Build to generate the display.
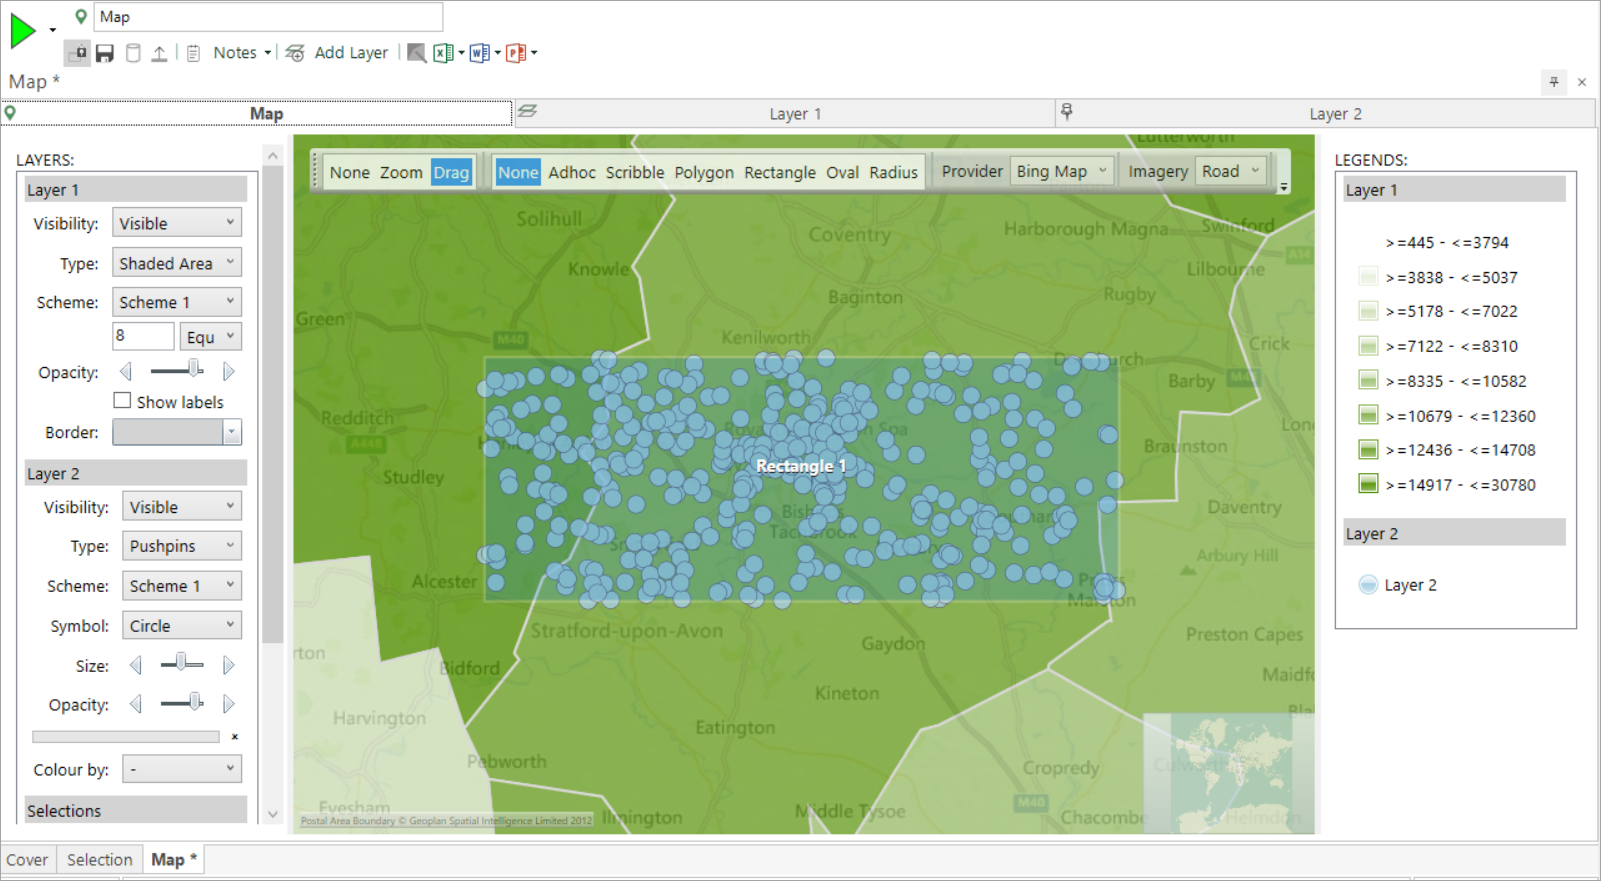
Without a shape file, the display can still be generated:
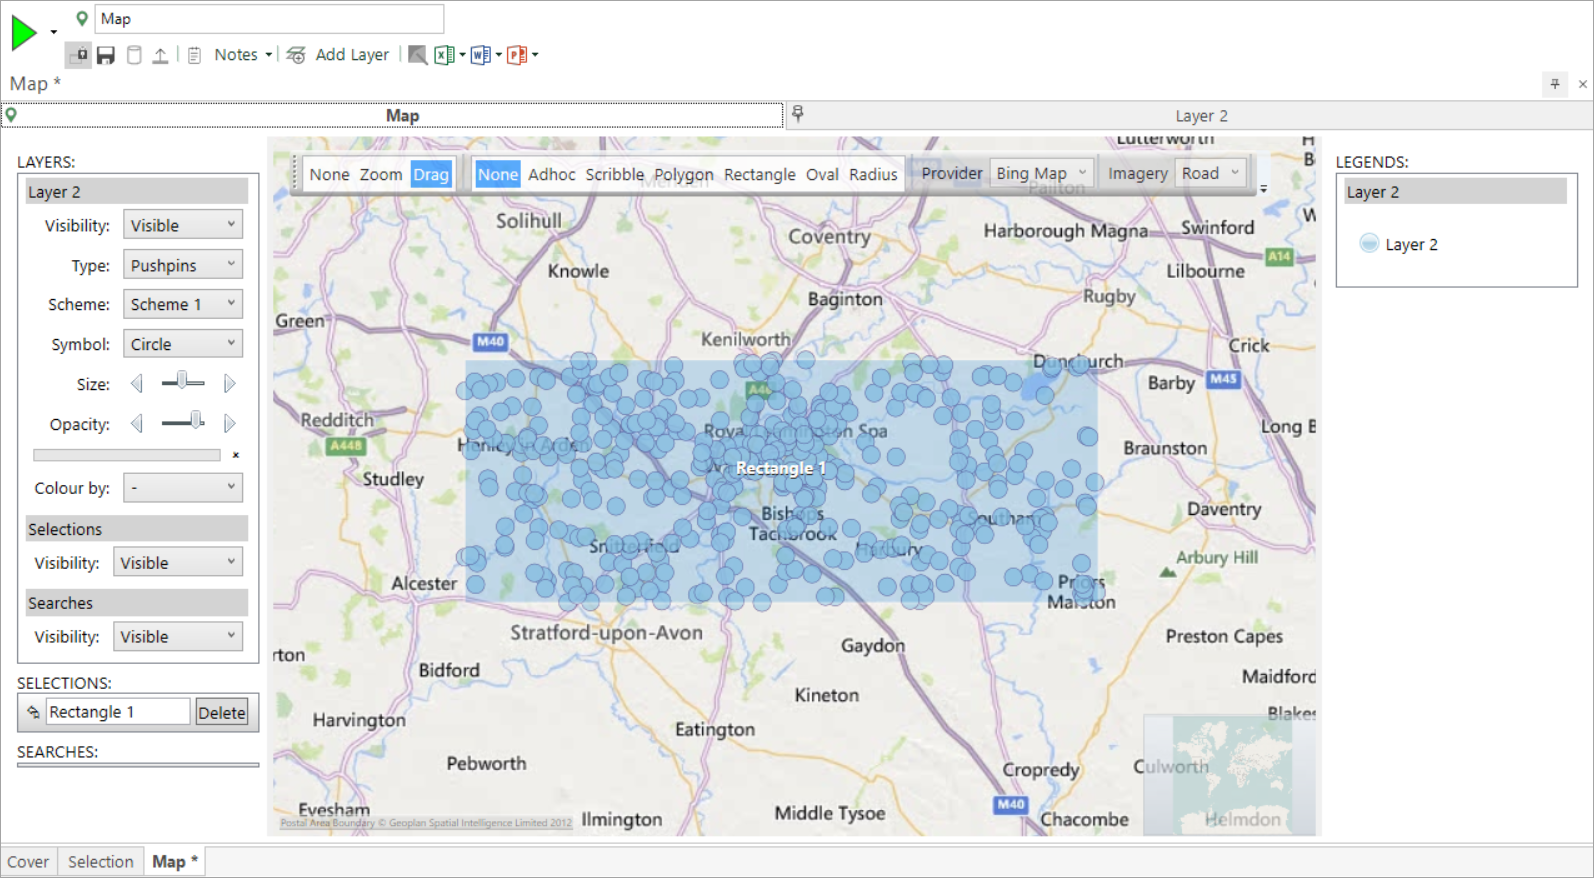
FastStats selects and returns any person falling within or on the boundary defined by the Rectangle shape drawn.
To create a selection of these people:
-
Right drag from within the Rectangle 1 shape and drop onto your workspace.
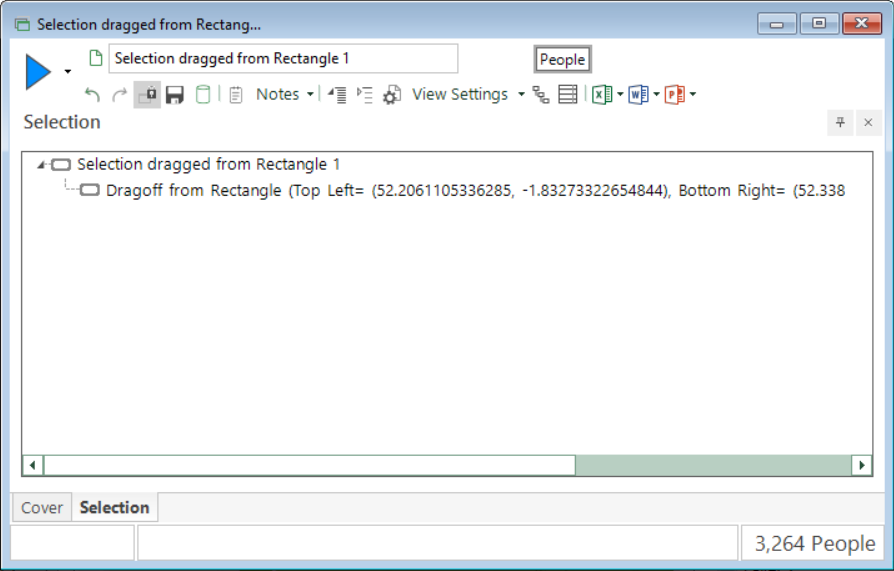
Note
The above functionality is available from the Q1 2021 software release and, once configured, at login you will be given the choice of setting a default left-drag to use this feature, rather than the right-drag referred to above.
See also: