Orbit integrates with LinkedIn to provide direct campaigning with LinkedIn Ads. You can upload audience data and target specific contacts or companies directly from an Orbit journey.
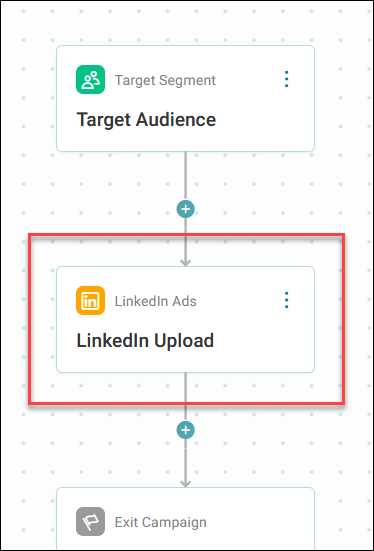
Example use case
Your B2B software company wants to target technology executives at mid-size UK companies, and you have a database of potential customers with email addresses and company information. Use LinkedIn Ads through an Orbit campaign to target those executives.
Understanding LinkedIn's campaign structure
LinkedIn organises campaigns through the Campaign Manager with three levels:
- Campaign Group: You define an objective or purpose for campaigns such as leads or brand awareness.
-
Campaign: You can define:
- Your audience and filters applied to the audience
- The budget
- UTM tracking
- What type of ads you can use
- The start and end date
-
Ads: You create ads for your campaign which LinkedIn then uses to deliver to your audience.
Orbit connects with the Campaign level and your Orbit campaign provides the audience list upload with inclusions and exclusions.
How the Orbit upload process works
When you run your LinkedIn campaign:
- Orbit sends your inclusion and exclusion files to LinkedIn
- LinkedIn uses your mapped fields to match your data with their database
- The system provides column headers so LinkedIn understands your match fields
- LinkedIn processes the matching and returns a processed file
- Orbit uploads the matched audience for broadcasting
Connect to LinkedIn
To connect your LinkedIn account to Orbit:
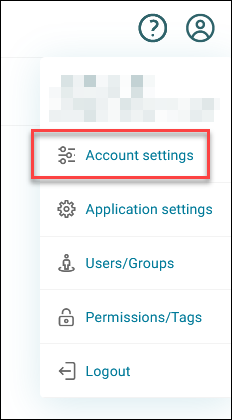
- Click your avatar icon in the top-right corner.
-
Click Account Settings.
-
Click LinkedIn.
-
Click Continue with LinkedIn.
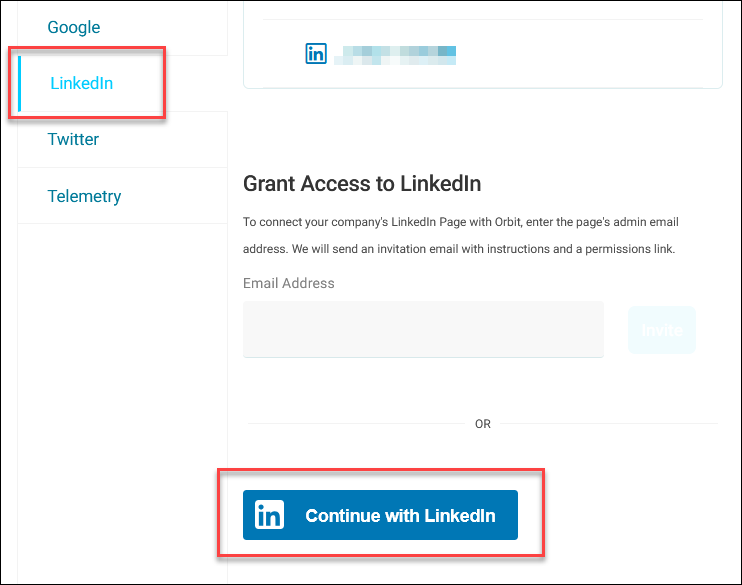
You can then go through the verification process to grant Orbit access.
Create a LinkedIn channel
To upload audiences and manage LinkedIn advertising campaigns in Orbit, you must create a LinkedIn channel.
To create your LinkedIn channel:
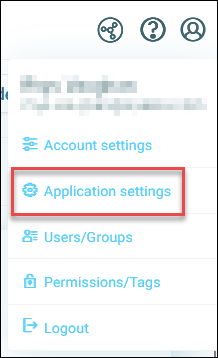
- Click your avatar icon in the top-right corner.
-
Click Application Settings.
-
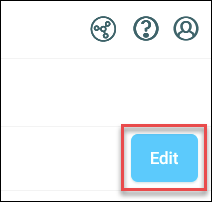
From the left-hand menu, click Campaigning Channel Editor, then Edit.
-
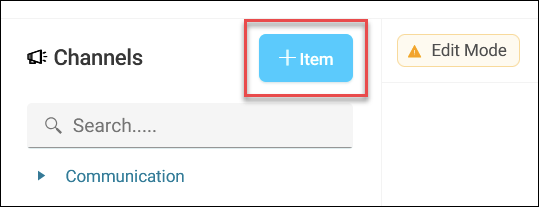
Click + Item.
-
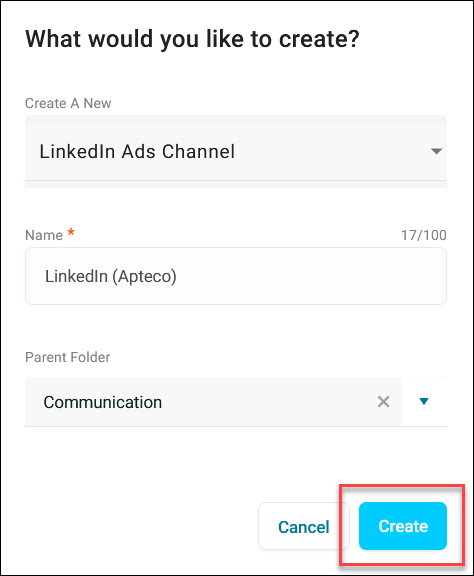
Select LinkedIn Ads Channel from the dropdown.
-
Give your channel a meaningful name (e.g., LinkedIn) and organise the folder structure.
-
Click Create.
Channel settings
Basic details
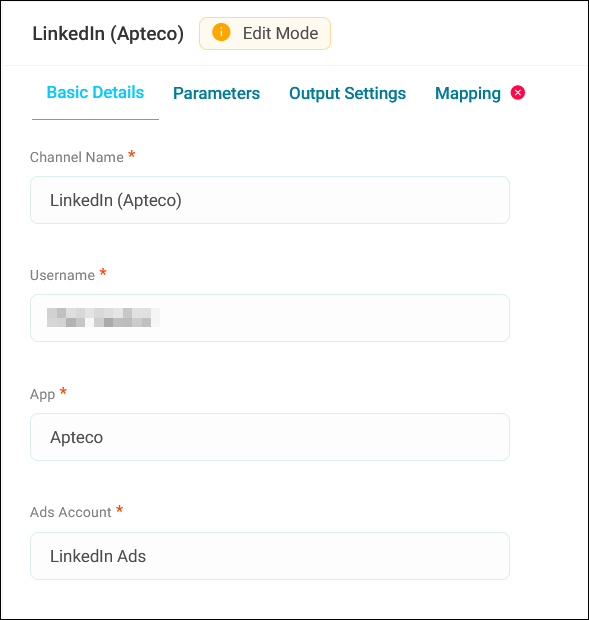
On the Basic Details tab:
- Add your Orbit Username. This should be the user with permission to access LinkedIn.
- Enter Apteco under App.
-
Enter your LinkedIn Ads Account.
Note
This must be a verified business page/account, not personal.
Parameters
You can now set when your campaigns start and how long they run for.
On the Parameters tab:
-
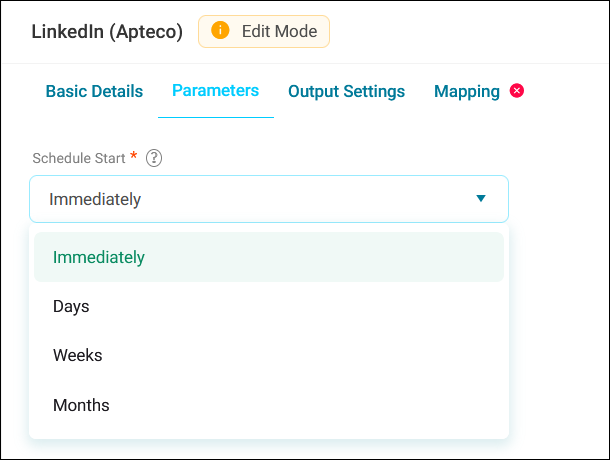
Expand the Schedule Start dropdown and select either:
- Immediately: Start campaigns as soon as you upload them
- Days, Weeks, or Months: Schedule campaigns to start after a specific period
-
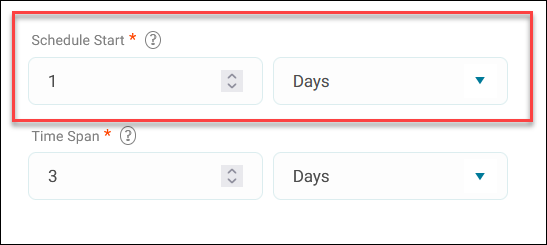
If you want a delayed schedule, select the number of Days, Weeks, or Months from the Schedule Start dropdowns.
-
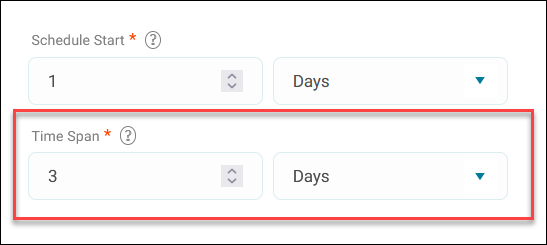
Enter the delay period under Time Span.
Note
Whatever you set in the channel applies to all related campaigns and uploads.
Output settings
On the Output Settings tab:
-
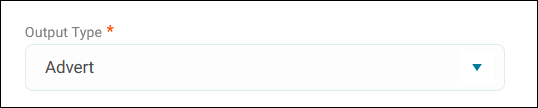
Select Advert under Output Type.
-
Under Broadcaster Action, select either Upload and Advertise or Upload Only.
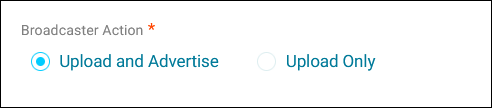
Upload and advertise:
- Orbit uploads audiences and creates campaigns.
- You assign campaigns to specific campaign groups.
- Orbit provides reporting and campaign control.
- You can turn campaigns on and off from Orbit.
Upload only:
- Orbit uploads your lists to LinkedIn's audience area.
- You manually create and manage campaigns in LinkedIn.
- No reporting data flows back to Orbit.
-
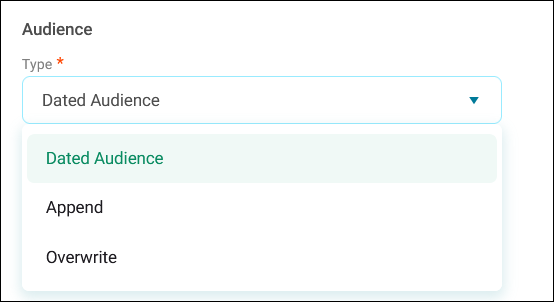
You now configure how Orbit matches your data with LinkedIn's audience database. Set how Orbit handles your target audience data under Type:
- Dated Audience: Adds a timestamp to your audience file name
- Append: Adds new contacts to an existing audience
- Overwrite: Replaces all data in an existing audience
-
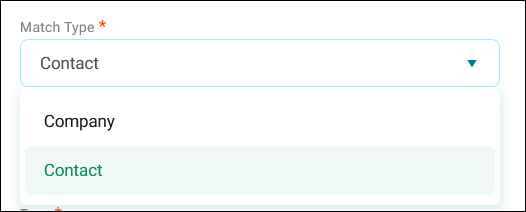
Choose your primary matching approach under Match Type:
- Company: Match based on company information when you have broad industry data but lack specific contacts
-
Contact: Match based on individual contact details when you have specific email addresses and contact information
-
Set your exclusion audiences using the same fields as above.
Tip
You can mix your inclusion and exclusion strategies.
- Use company matching for broad exclusions (industries, regions, company types)
- Use contact matching for specific exclusions (existing customers, competitors)
Field mapping
Map your data fields to LinkedIn's required fields.
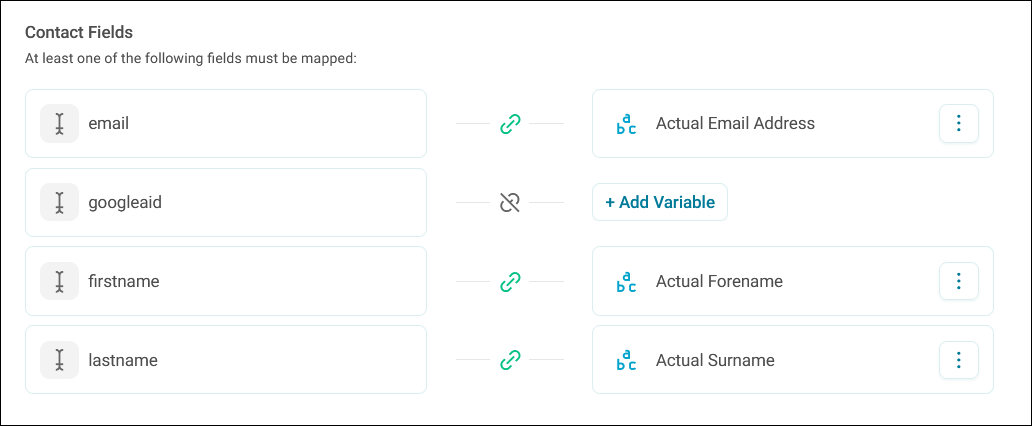
On the Mapping tab:
Select at least one company field and one contact field from the available options.
- Click + Add Variable.
-
Choose the corresponding field from your system.
Note
You must map at least one field in either company or contact sections to proceed. The more fields you map, the more LinkedIn can use in its matching process.
-
Click Save All Changes.
Your LinkedIn channel is now configured and you can now begin building your campaign journey.
Use LinkedIn in a campaign
You can use LinkedIn Ads in your Orbit campaigns via the journey builder.
Prerequisites
You need to have a configured LinkedIn channel before using LinkedIn Ads in a campaign. See Creating a LinkedIn channel.
Note
Your channel setup determines which fields are mapped and how audiences are processed.
Your campaign behaviour depends on your channel configuration and whether you chose to upload and advertise or upload only.
Add a LinkedIn Ads step
To add a LinkedIn Ads step to your campaign journey:
- Go to Campaigns.
- Either select an existing campaign or create a new one.
-
Choose a target segment for your campaign journey.
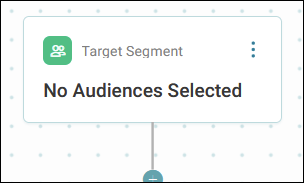
-
Click the + on your journey where you want to add the LinkedIn Ads step.
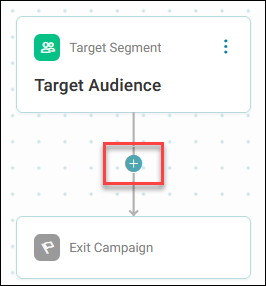
-
Select LinkedIn Ads under Channels.
- Click your new LinkedIn step and give it a meaningful name.
-
Click Create.
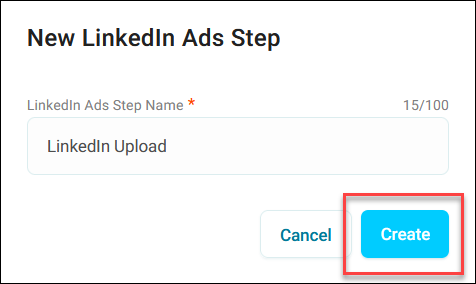
You can now configure your LinkedIn Ads step in the side panel.
Configure your LinkedIn Ads step
To set up your journey step:
-
Select your LinkedIn Ads Channel from the dropdown menu.
Orbit displays your mapped channel fields and shows which variables are used for company or contact matching.
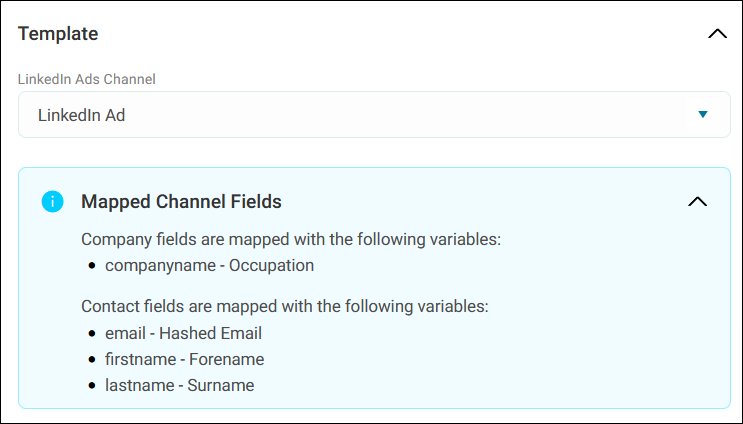
Note
This shows the data used in the upload process and how your audience data connects to LinkedIn's matching system. The LinkedIn matching process can take over 48 hours, depending on file size.
-
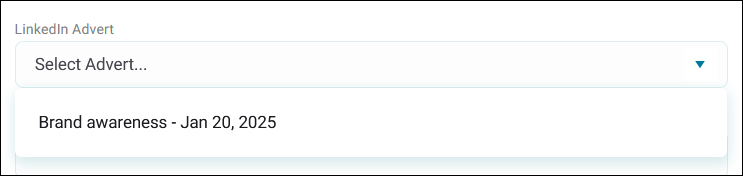
If Orbit detects a LinkedIn ad, expand the LinkedIn Advert dropdown and select it.
-
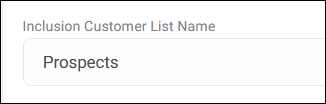
Give your Inclusion Customer List Name a file name.
-
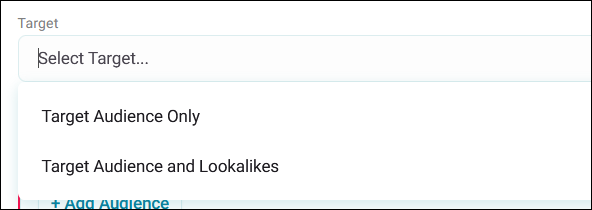
Choose how LinkedIn targets your audience:
-
Target audience only: Uses only the contacts in your uploaded audience
-
Target audience and lookalikes: LinkedIn expands your audience to include similar profiles
Note
LinkedIn allows you to add additional criteria within their platform, such as industry filters, engagement levels, or profile information like hobbies. Orbit uploads your audience data and LinkedIn applies these additional filters using an OR logic by default. You can change this to AND logic within LinkedIn if needed.
-
-
Set any exclusion audiences by clicking + Add Audience.
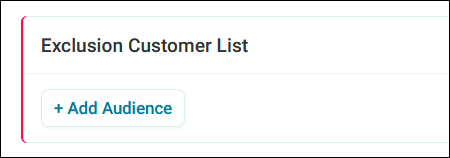
The system creates an exclusion list with a timestamp.
Note
The exclusion file name uses your audience name plus the timestamp.
Personalisation fields
You can map additional variables on a campaign-by-campaign basis. These optional fields provide extra information about companies or contacts that might be useful for targeting.
Orbit displays any required content fields for that channel that weren't pre-mapped in the channel editor.
To configure these fields:
- Expand the Optional Content Fields.
-
Click Add to allow Orbit to create the required fields.
Note
Orbit currently adds all available personalisation fields. If you only want specific fields like country or postcode, you must delete the fields you don't need and keep only the fields you want to use.
-
Click + Add Variable for each content field you want to map.
-
Search for and select the variables you want to use.
You've now mapped your additional content fields.
Finalise your LinkedIn Ads step
To complete your LinkedIn Ads step configuration:
-
Add any objectives you want to apply to the step by clicking + Add Objective. See Message objectives.
-
Click Apply.
Your LinkedIn Ads step is now part of your campaign journey. Orbit runs the campaign according to your campaign schedule.