Setting up your Microsoft Dynamics channel
You can create Microsoft Dynamics 365 channels directly in Orbit. This allows you to use Microsoft Dynamics 365 in Orbit journeys to upload campaign data directly to your Microsoft Dynamics 365 tables.
Note
Before you begin using your Microsoft Dynamics channel in Orbit campaigns, make sure you've followed the configuration steps in Setting up your Microsoft Dynamics custom object and table.
Creating your channel
To create a new channel:
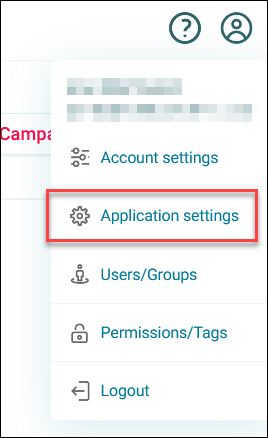
- Click your avatar in the top-right corner.
-
Click Application Settings.
-
Click Campaigning Channel Editor > Edit > + Item.
- Select Microsoft Dynamics Channel and Name your channel.
-
Choose the parent folder, then click Create.
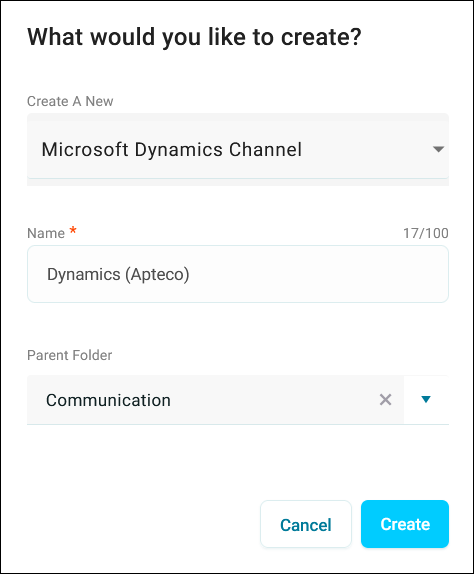
You’ve now created your channel.
Configuring your basic details
To configure your channel:
- Enter your Username. This is the email address you use to log in to Microsoft Dynamics 365.
- Enter your Password. This is your Microsoft Dynamics password.
-
Enter the name of your Microsoft Dynamics table. For example, your object could be called
cr1e5_model.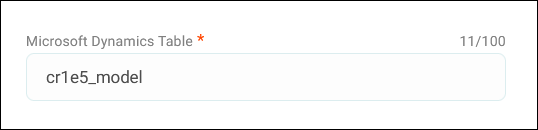
-
Domain and Organisation. You can find these in your Microsoft Dynamics environment details.
- App Id:
51f81489-12ee-4a9e-aaae-a2591f45987d - Redirect Uri:
app://58145B91-0C36-4500-8554-080854F2AC97
Note
The App Id and Redirect Uri fields are generic and you must include these unless you create your own authenticator app.
Setting up field mappings
The field mapping section allows you to define fields for each Dynamics table column:
- Name: The display name for your field
- External Name: The actual Dynamics logical name
- Key fields: Mark fields that serve as unique identifiers (This is typically the ExternalID field)
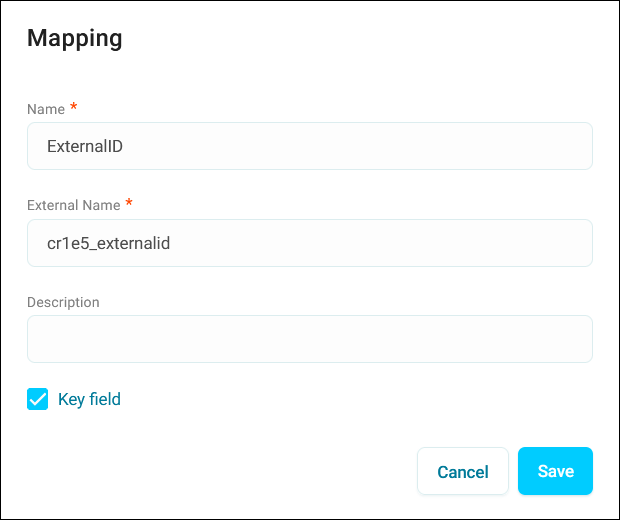
You can then map variables to the table fields by clicking + Add Variable.
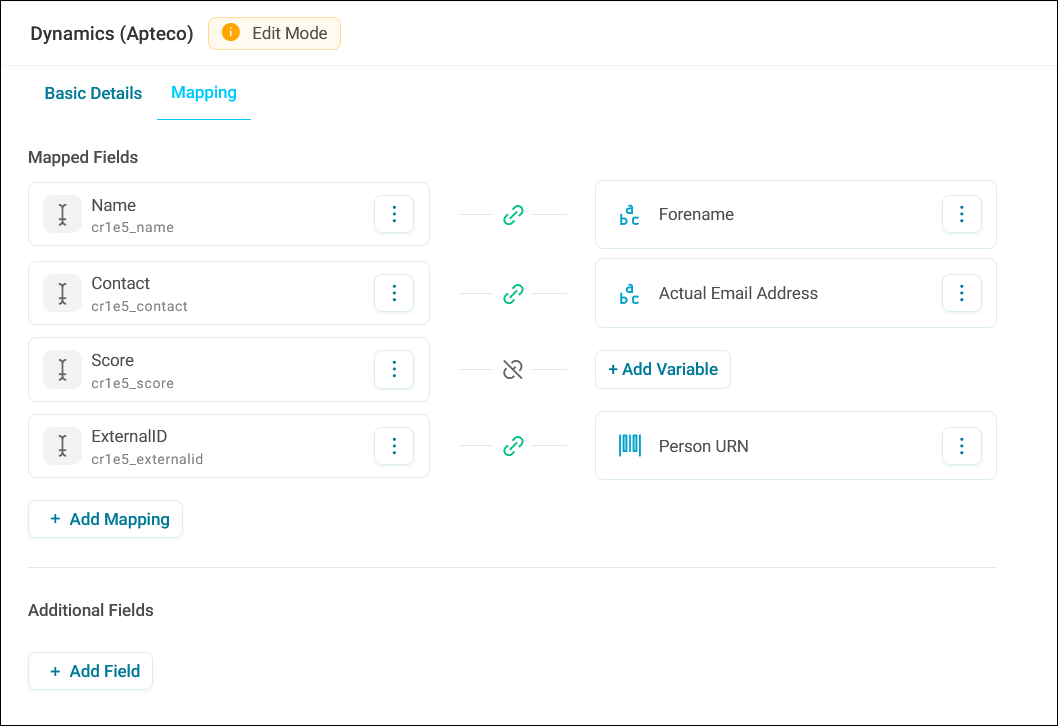
This creates the necessary variables in your campaign journey upload without additional configuration.
Note
Click + Add Mapping to create additional mapped fields.
You’re now ready to use your Microsoft Dynamics channel in an Orbit campaign.