Using Microsoft Dynamics in a campaign
Once you've configured your Microsoft Dynamics channel, you can use it to upload data in Orbit campaigns.
To create a campaign with a Dynamics channel:
- Open an existing Orbit journey, or create a new one.
-
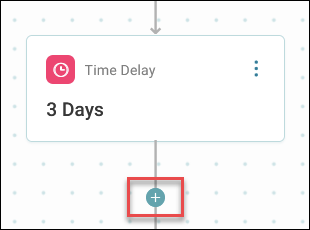
Click the + to place your Microsoft Dynamics step.
-
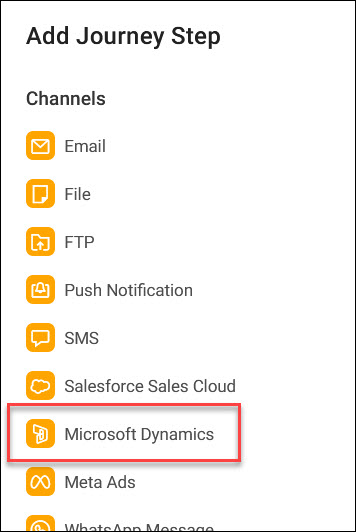
From the list of channels, select Microsoft Dynamics.
-
Click your new Microsoft Dynamics journey step.
- Enter a meaningful Microsoft Dynamics Step Name.
-
Click Create.
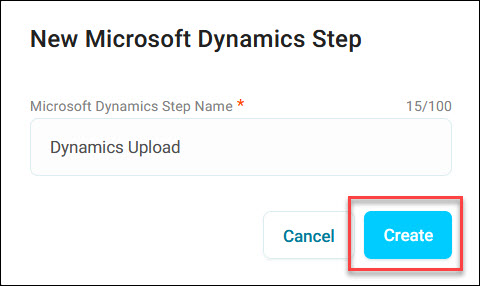
The side panel now opens.
-
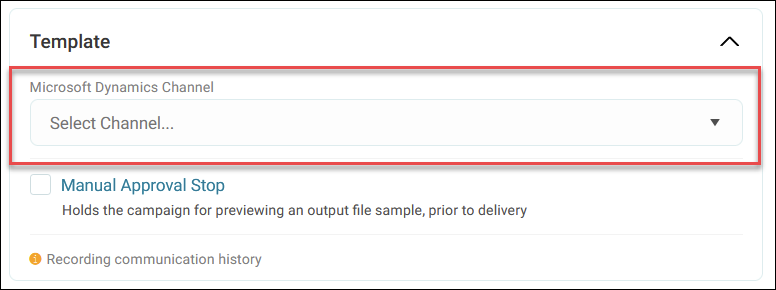
Select the channel you created from the dropdown.
Configuring content fields
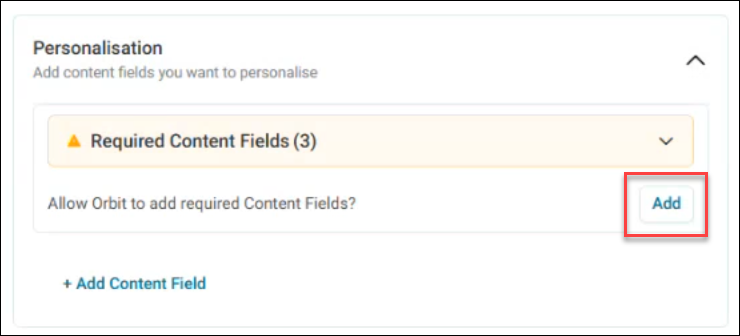
When you select your Dynamics channel, the system displays required content fields that weren't pre-mapped in the channel editor.
To configure these fields:
-
Click Add to allow Orbit to create the required fields.
-
For each unmapped field, expand the option menu and click Edit to choose how to populate it. See Message personalisation.
- Click Apply to save your field configurations.
- Click Publish.
The system uploads both:
- The pre-mapped fields from your channel configuration
- The fields you configured specifically for this campaign
You can view your model records directly in Microsoft Dynamics after your campaign runs.