Email broadcasting with an Email Service Provider (ESP)
You can upload and broadcast, or upload only, an audience to one of the many Email Service Providers (ESPs) Apteco already integrates with. Within Orbit, you can create a target audience and then export directly to an ESP.
See Apteco Integrations.
For those with Apteco PeopleStage already licensed, an Orbit user can upload and broadcast to their chosen ESP and automatically record communication history for their Orbit campaign. They can also see the campaign automatically drawn in their PeopleStage instance in an area called Apteco Orbit.
Those without a Campaigning bundle can still benefit from the integration, with the ability to upload only to a chosen ESP. This is useful for occasions where an email needs to be sent without personalisation, or without the need to track the success of the campaign in Apteco. Communication history isn't recorded for those without a Campaigning bundle.
Useful to have before you start:
- The message name in the ESP to use
- The email channel name to use in the Delivery drop-down
- The channel must already exist in PeopleStage
- You need the Publisher role to see the channels in the Delivery drop-down in Orbit
- The Export Audience To Campaign feature must be enabled in Application settings under Features
- Have any upload-only channels prepared; it's useful to name the channel to identify it as upload-only - see the note below
Note
Upload and broadcast isn't scheduled. It runs on a NOW schedule.
Tip
We are adding the ability to configure the ESP's email channel from within Orbit in a later release.
Note
To use upload-only, you must configure an email channel by selecting the Upload but don't broadcast checkbox on the Output Settings tab of the channel editor. Orbit will recognise it as an upload-only channel.
Audience
You can create an email broadcast in Orbit in three ways:
- Create a new audience
- Use an existing audience
- Create an audience from a dashboard
Step 1 - Create an Audience
- From the Audiences page select New Audience
- Start adding Data Variables under the Includes section
Find data variables
To add a data variable, you can either search or browse:
Searching or browsing data
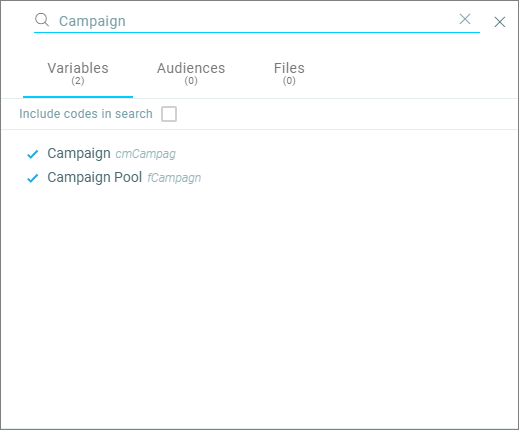
- Click Include codes in search to show the defined codes
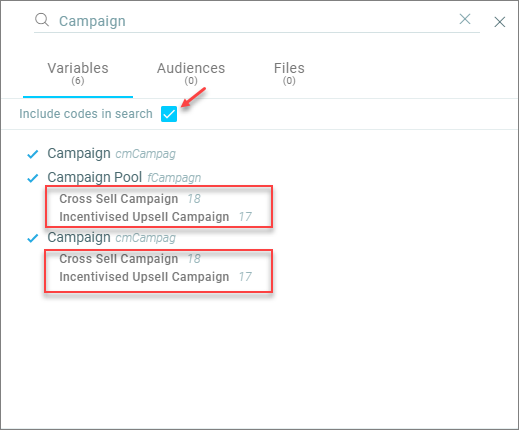
- or Browse data to access your FastStats System explorer folders and navigate to and select the required variable and category:
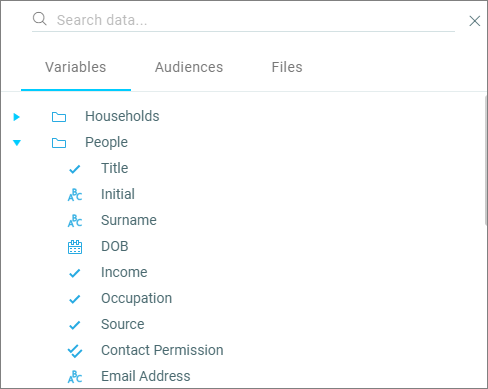
- or search for URNs or FastStats selections
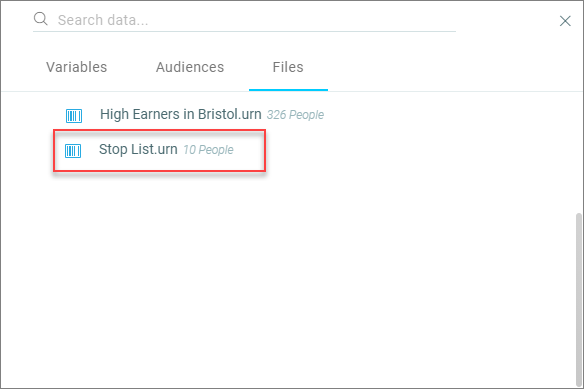
Variables, or categories within variables, containing the keyword are presented in the filter list for selection.
Exclusions
Exclusion criteria are added to the Excludes section of your audience. Follow the same process to search for criteria and apply AND or OR logic.
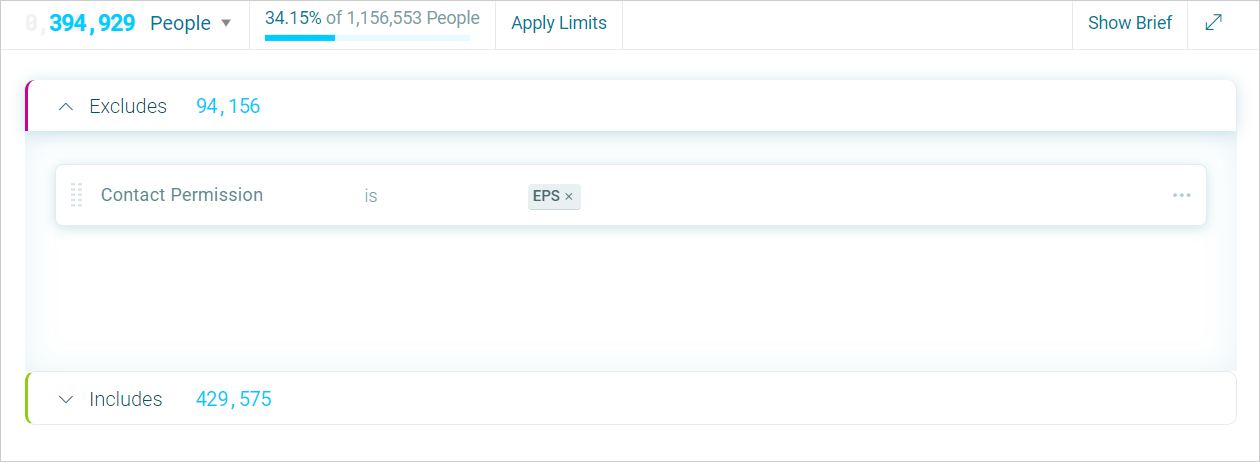
The counts for both the Includes and Excludes are displayed against each grouping. The overall audience count is displayed at the top of the screen next to the resolve table level.
Adding AND/OR logic
To continue building your audience criteria:
- Hover your mouse over the variable you added to access and select AND or OR logic to combine the next variable
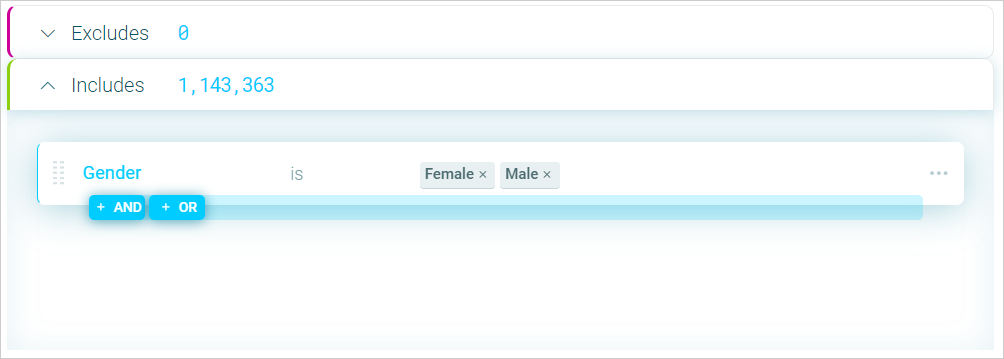
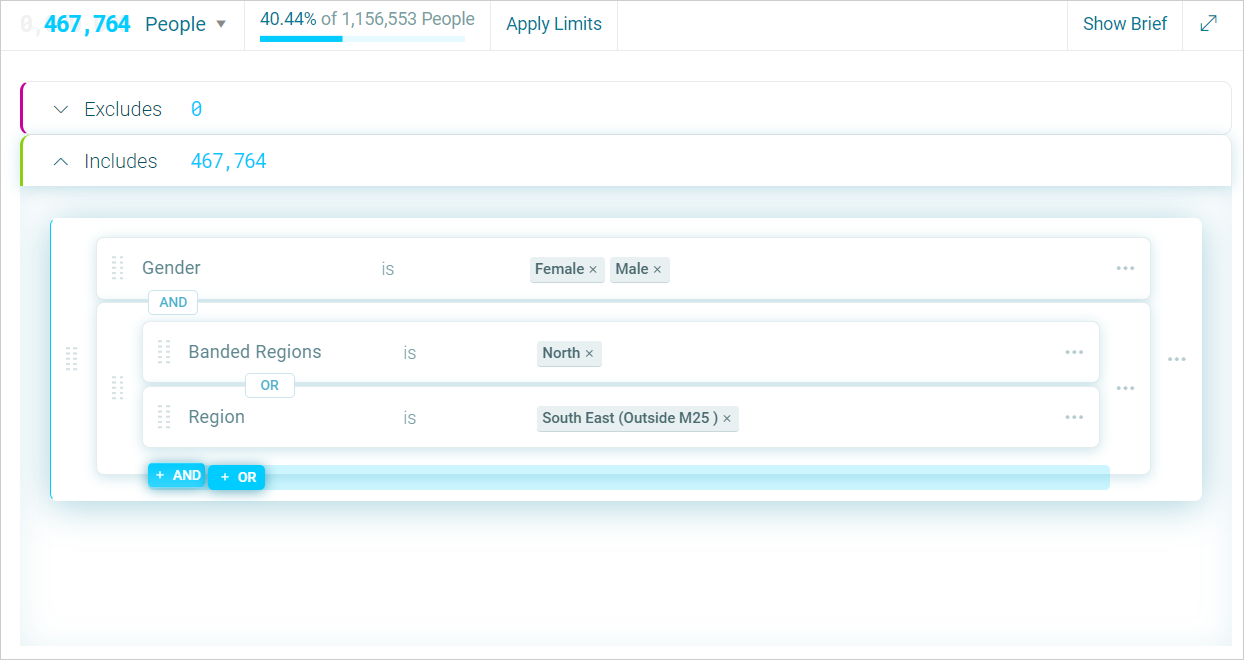
In this example, AND logic is applied to combine Gender with Banded Region of the "North".
- Click on AND
- Use Search data… to find the Banded Region variable and select the North category
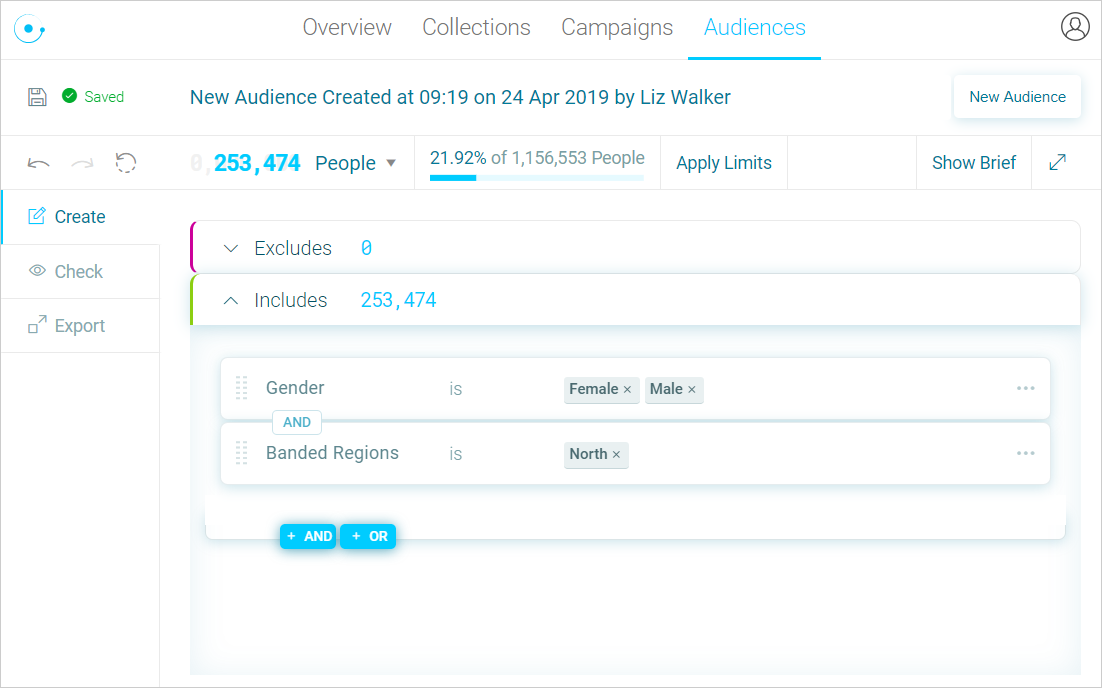
As you define your audience, the count continually updates to reflect the number of records currently meeting your criteria.
Note
Important: Where you hover determines where the AND/OR logic is applied.
In this example, hovering on the Banded Region variable name and selecting OR applies OR logic between Banded Region and the next variable, for example Region – "South East (Outside M25)":
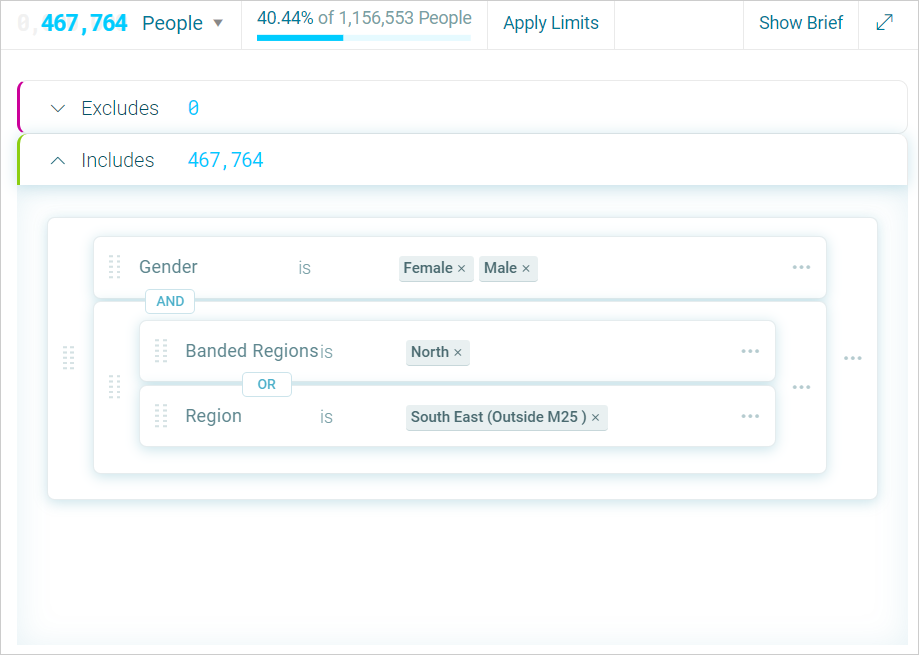
However, hovering on the edge of the outer border (as shown) allows you to apply the AND or OR logic to the Gender variable as a grouping:
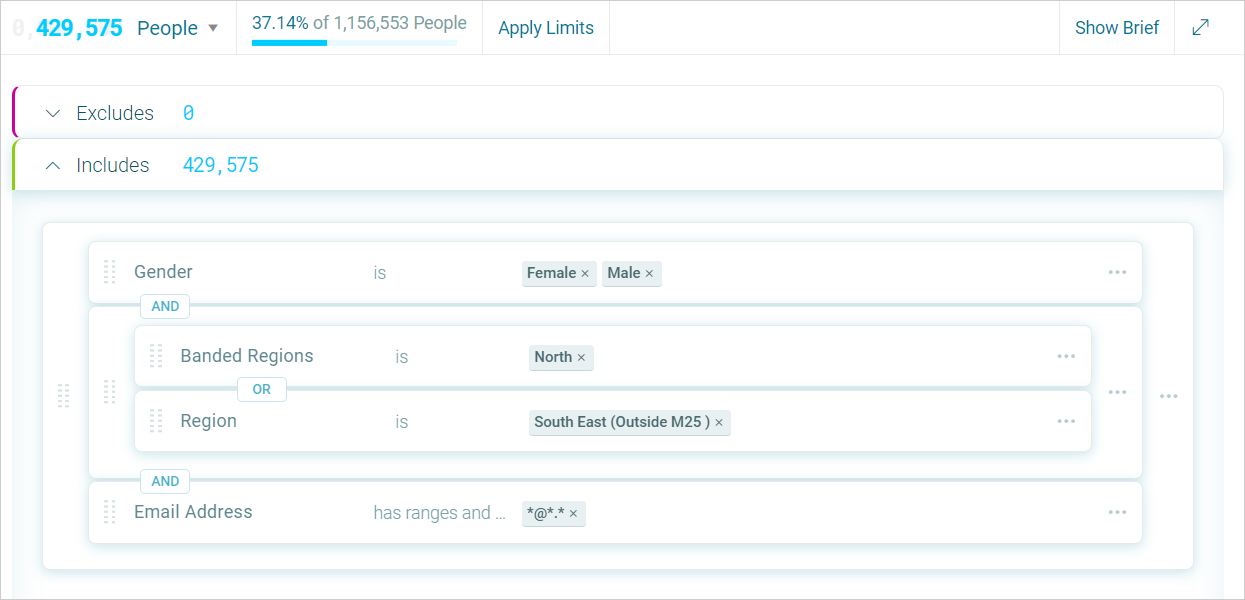
- Use Search data… to locate the Email Address variable
- Click on the drop-down menu and select Has ranges and wildcards of and enter
*@*.*
This allows you to select only people who have a valid email address.
Step 2 - Prepare the Export section
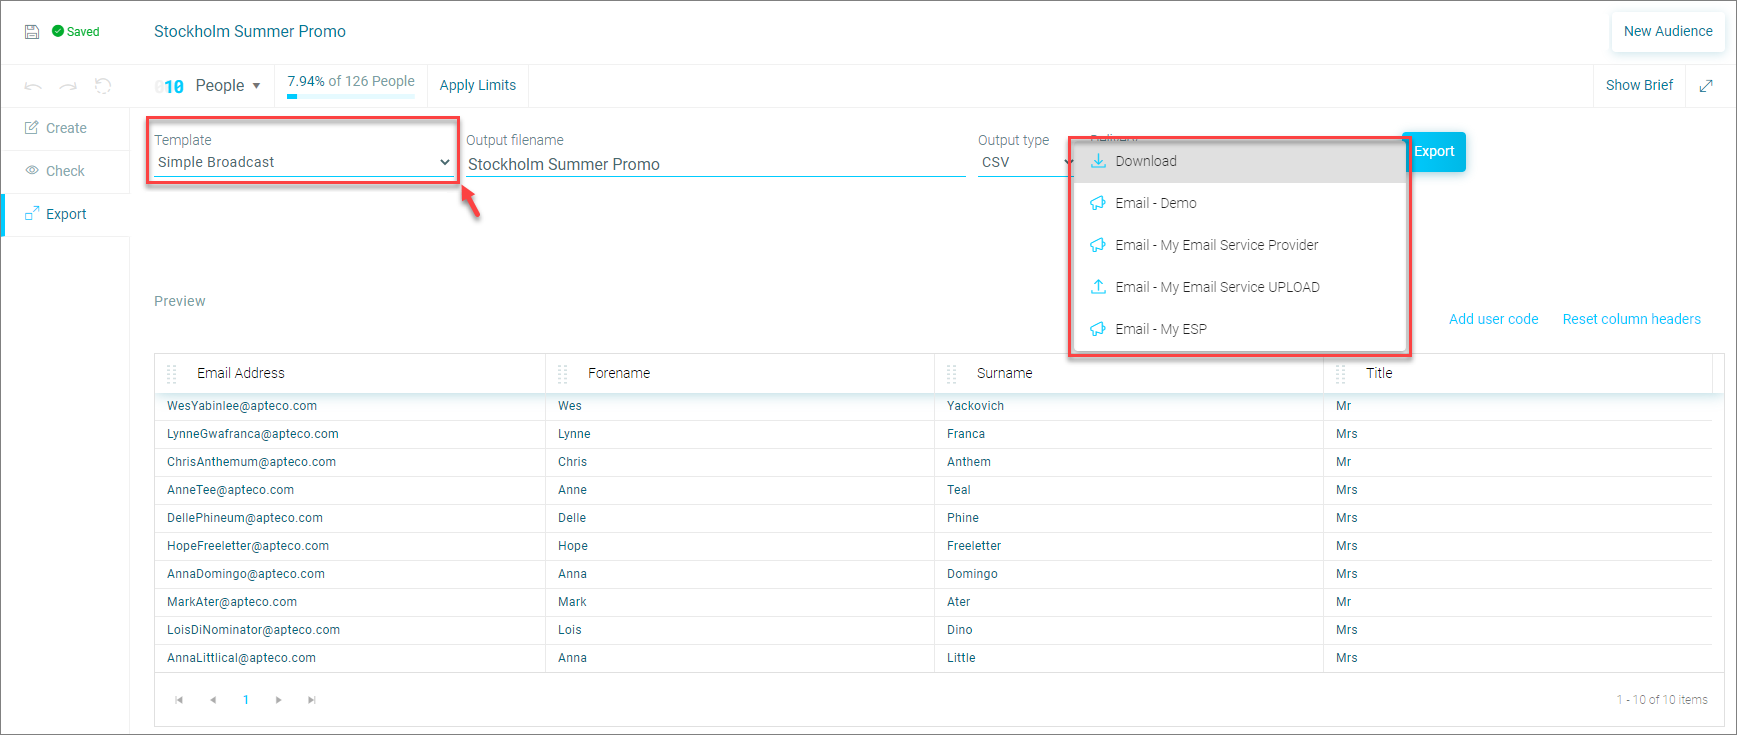
- Select an Export Template to use with the Upload
Note
The Template should already be prepared by an administrator to use with your ESP
See Export Templates
- Select the ESP to use in the Delivery drop-down menu
Note
If you choose to use an email channel that has been configured for Upload Only, you will not see the Message Template
-
To Upload and Broadcast search for a message in the Message Template cell.
-
Click Export
The Confirm Export message box loads
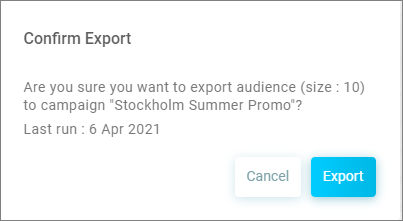
- Click Export to Upload and Broadcast the List to the ESP
Step 3 - Orbit Creates a Campaign
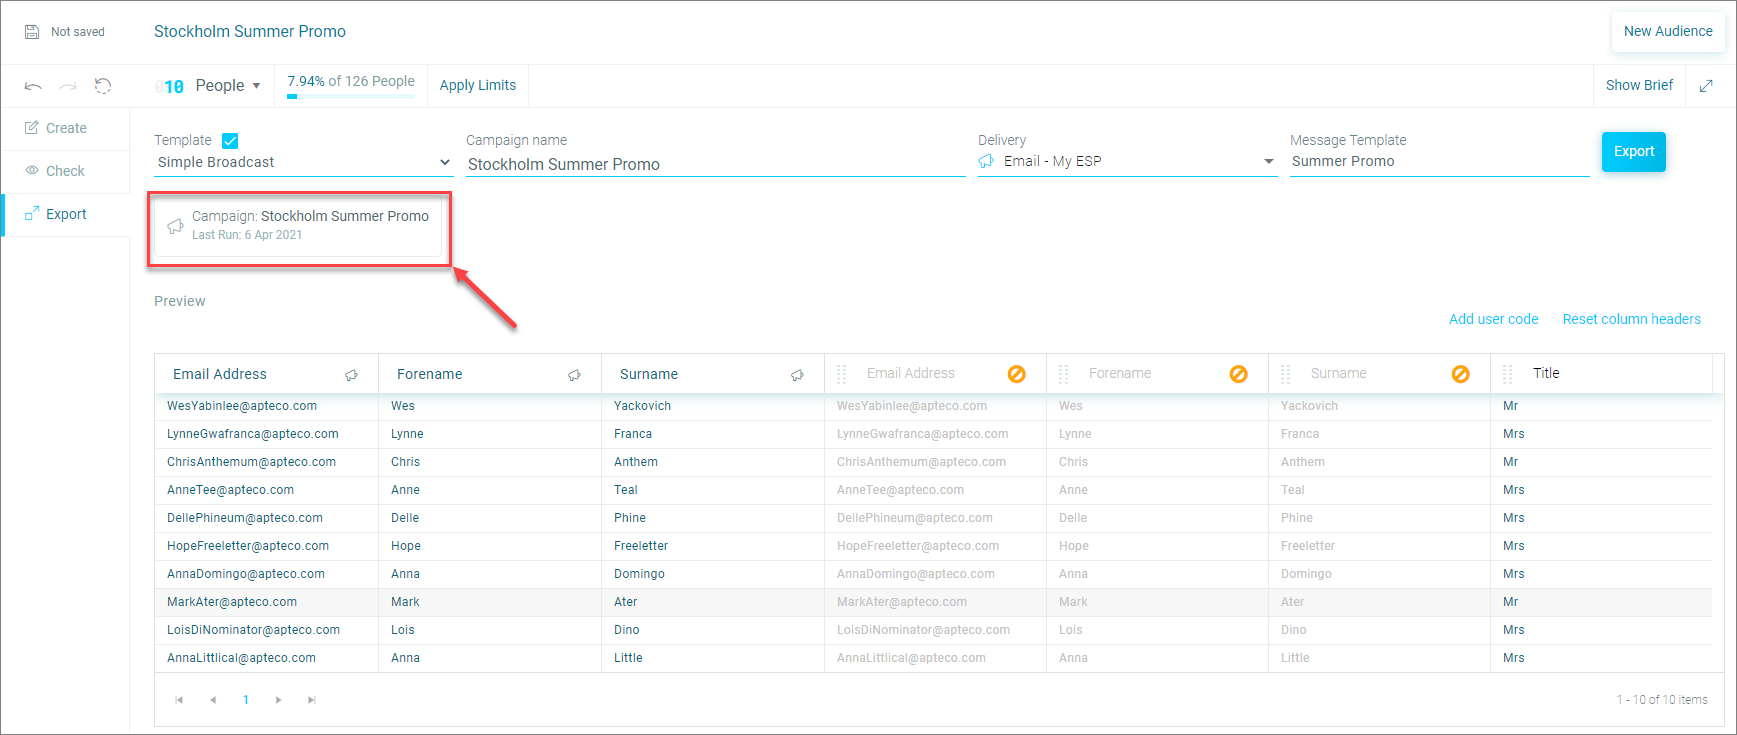
- You can click on the Campaign link to monitor the progress
Campaign monitoring steps
When a campaign is processed, it moves through several steps, shown in Orbit:
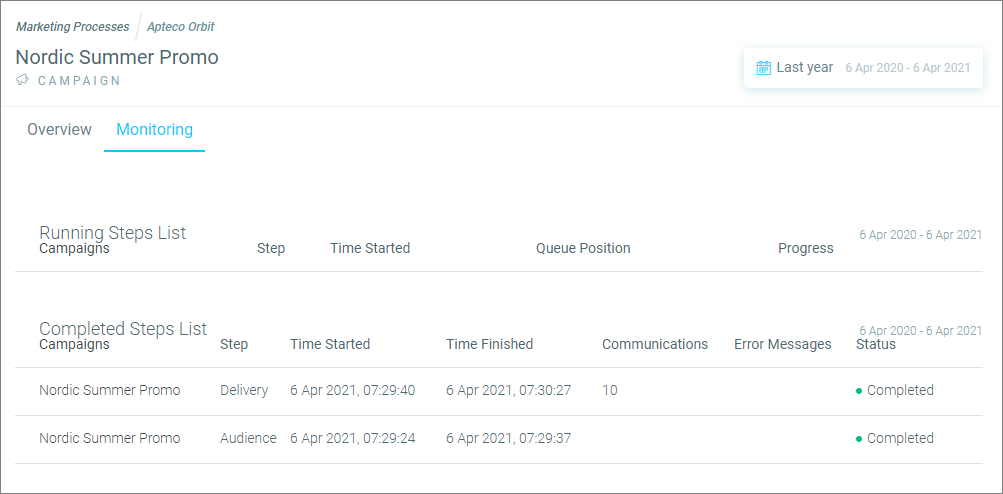
Running steps
The first step to run is the Audience step - Apteco creates an audience to use in the campaign.
Next is the Delivery step - this indicates that the list has been delivered to the email service provider.
Completed steps
Audience and Delivery steps are listed with details about the campaign:
- Time started - the time the step started
- Time finished - the time the step finished
- Communications - the count of items in the list, which will be people for an email
- Error messages - any error messages are displayed here
- Status
Additional message at the top of the Campaign Monitoring page:
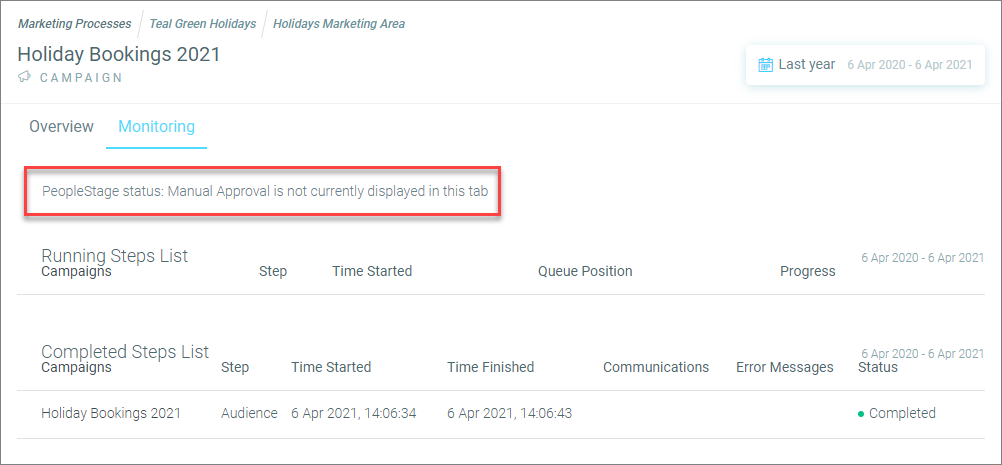
PeopleStage status: Manual Approval isn't currently displayed in this tab.
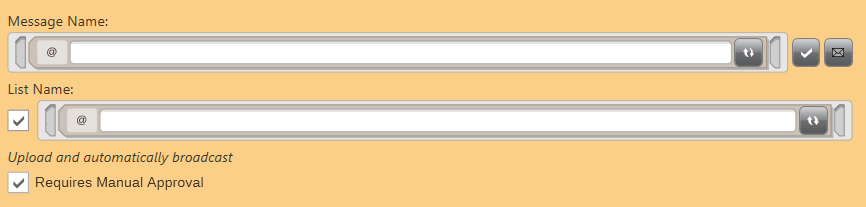
If the campaign only shows an Audience step, it may be a campaign started in PeopleStage with a Manual Approval step.