Attributes
Custom contact attributes extend the Apteco standard data model by letting you store custom information against contact records. Whilst the Apteco data model includes standard fields (Individual ID, FirstName, DOB, Email, Address, etc.), attributes let you capture any additional data relevant to your organisation and store this information against either an individual or a contact point relating to a specific record.
You can add attributes to:
- Individuals
- Email addresses
- Mobile numbers
- Landline numbers
- Addresses
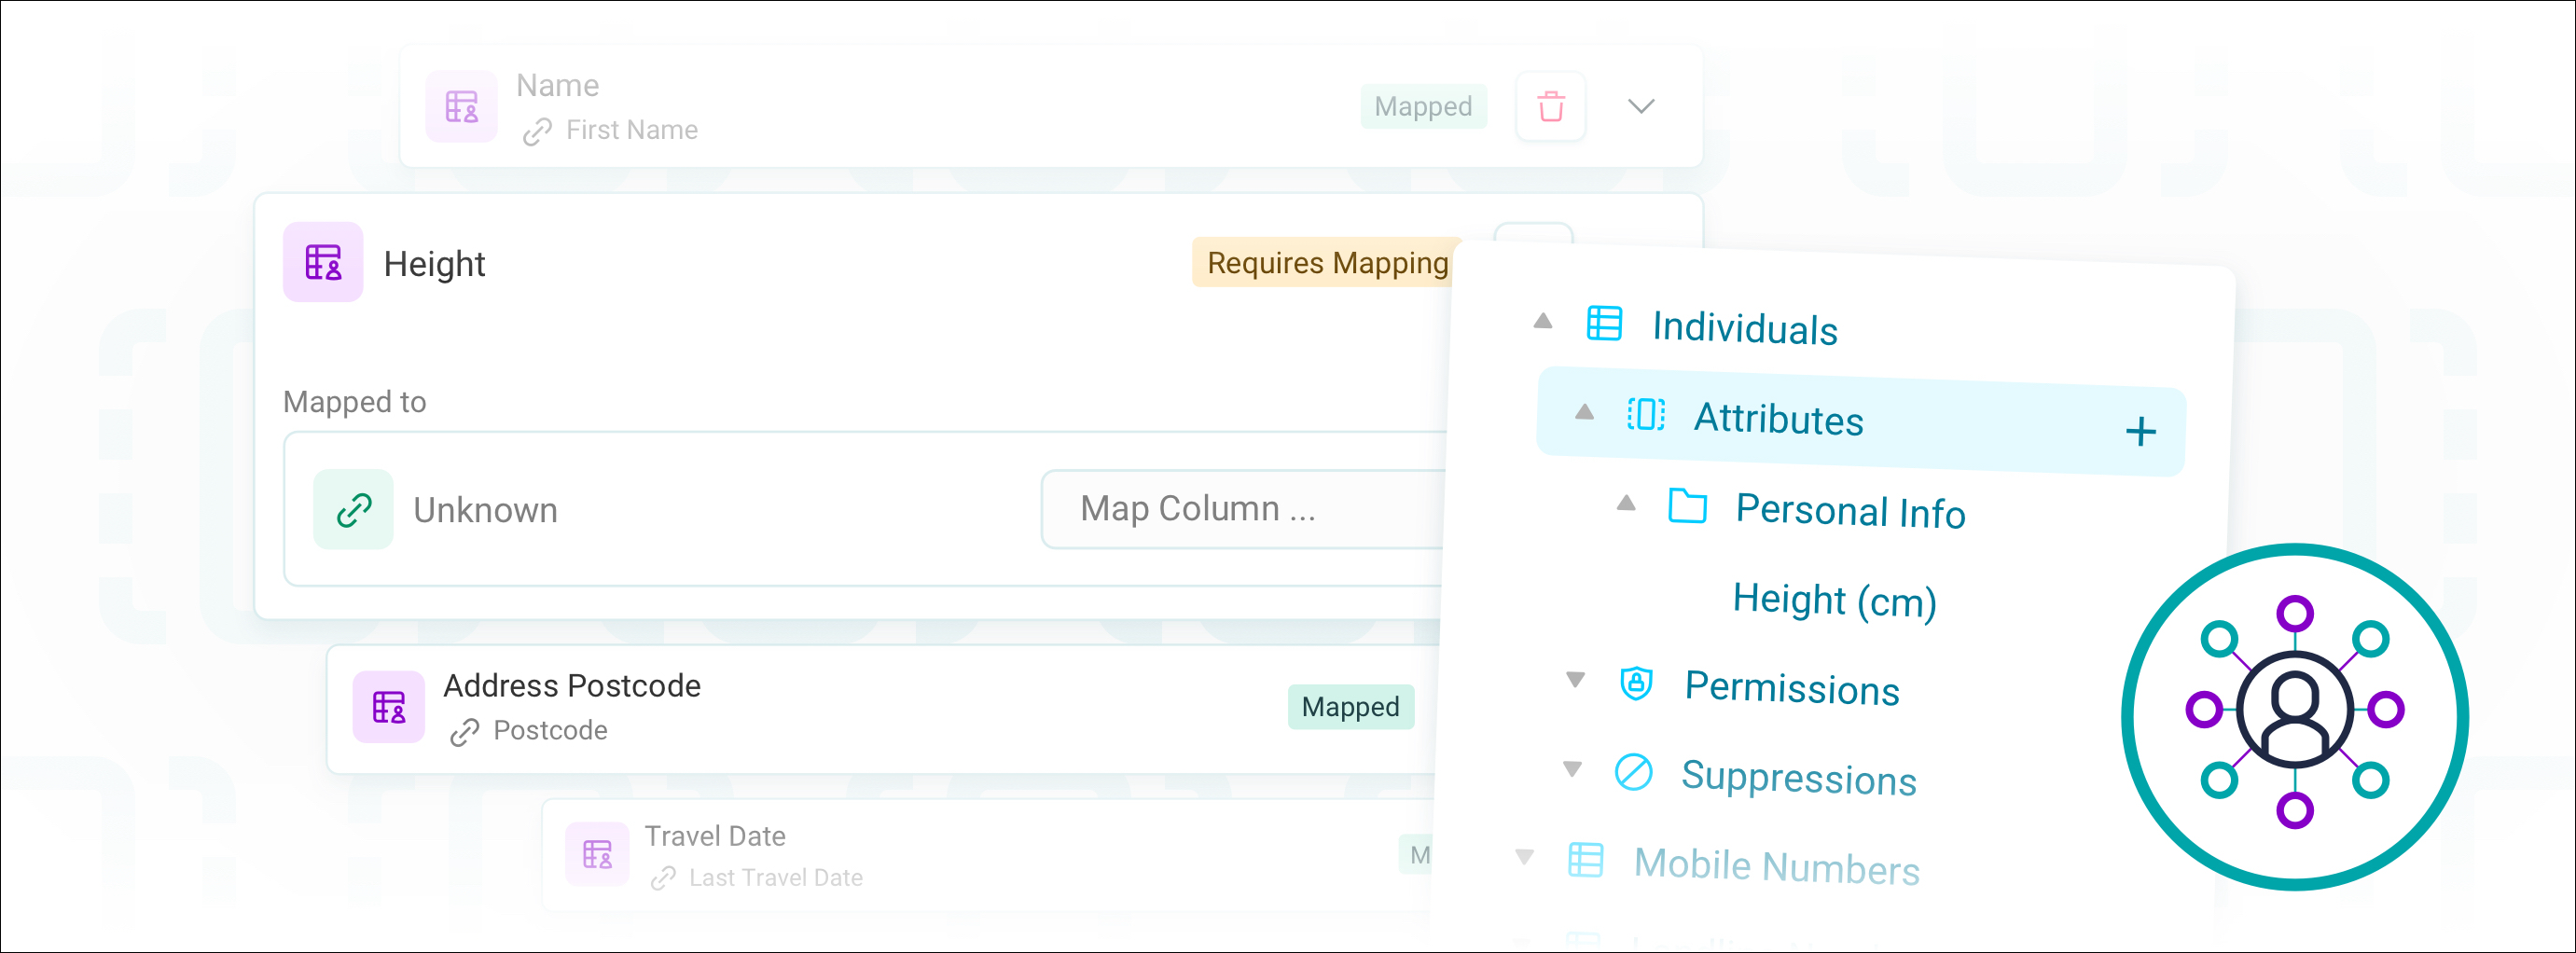
Unlike a User Defined Table (UDT), attributes integrate directly into your data model. Once you define an attribute, any data source can update it, ensuring you maintain a single, current version of each piece of information.
Prerequisites
To use attributes you must have:
- Access to Orbit connect
- A configured data source
- Data containing custom fields not included in the standard data model
Example use cases
Pet and animal information for charities
Store pet ownership data alongside donor profiles to personalise communications and segment audiences. Record attributes such as pet type, pet name, and pet age under Individuals. When donors update their information through different channels like website, events, or phone, all sources automatically update the same attributes.
Loyalty programme physical characteristics
Capture physical characteristics from your loyalty programme data without creating complex table joins. Use attributes to store information such as height, eye colour, and clothing size against individual records. This allows your retail team to access and segment customers by these characteristics directly in audience selection, making it easier to personalise product recommendations and targeted offers.
External system identifiers and reference data
Map custom identifiers from external systems into your Orbit data model as attributes. Store source system IDs, vendor reference numbers, or legacy database keys against contact records. This enables quality data synchronisation across multiple systems whilst keeping your customer records unified.
Adding an attribute
To add an attribute to your data mapping:
-
In Orbit connect, go to Data Mappings.

-
Click + New Data Mapping.
-
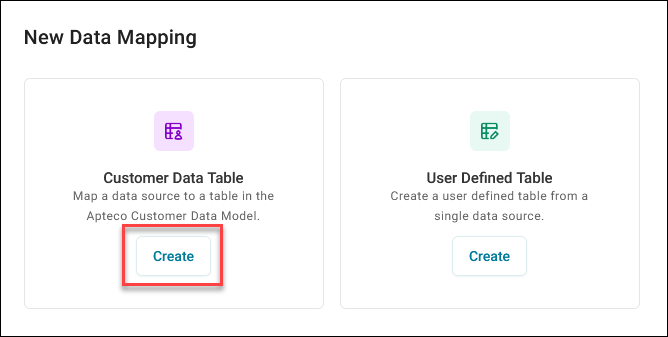
Click Create under Customer Data Table.
-
Give your data mapping a Name then click Create.
- Select your data source from the Data Source dropdown.
- In the column mapping section to the left, find your custom data that can't easily be mapped to existing contact points.
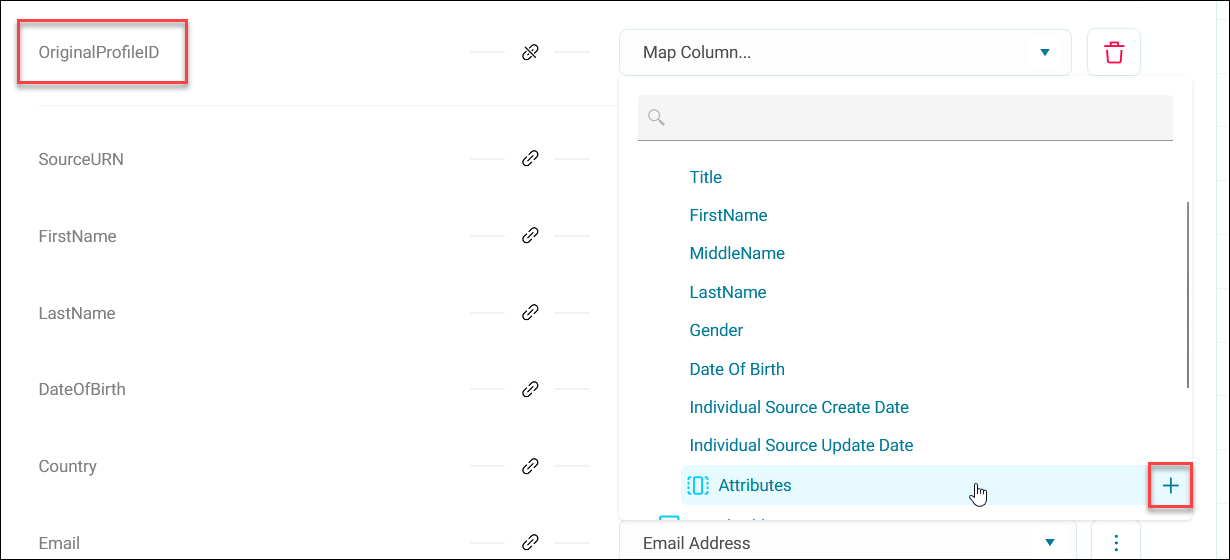
- Click Map Column and select which standard contact point you want to add an attribute to.
-
Scroll down to the Attributes folder and click the +.
In this example we're mapping a numeric source ID from another system.
Note
You can expand any Attributes folder if you have already defined some.
-
Your new attribute automatically takes the name of the column it was created from. You can keep this Attribute Name or enter a new one.
-
Select or create a folder to organise your attribute.
Note
Folders determine where your attribute appears in the data model hierarchy of your Orbit system. For example, creating a Personal Details folder places your attributes under Individuals > Personal Details.
-
Select the Data Type from the dropdown:
- Selector
- Date
- DateTime
- Numeric
- Text
- Currency
-
Click Add.
Your new attribute appears in the dropdown when mapping future columns.
Tip
To update the name, folder, or data type of an existing attribute, expand the Customer Data Model dropdown next to your column, then click the pencil icon next to your attribute.
You've now created a new attribute in your customer data model.
You can now run a system build and deploy to make your attribute data available in audience selections and other areas of your Orbit system.
Use attributes in audience selection
Once you've created and imported your attributes data into your Orbit system, you can use them to build audiences. Attributes function like standard fields, allowing you to filter, segment, and analyse your data.
To access attributes in audience selection:
- In your Orbit system, go to Audiences.
- Click + New Audience and give it a name.
-
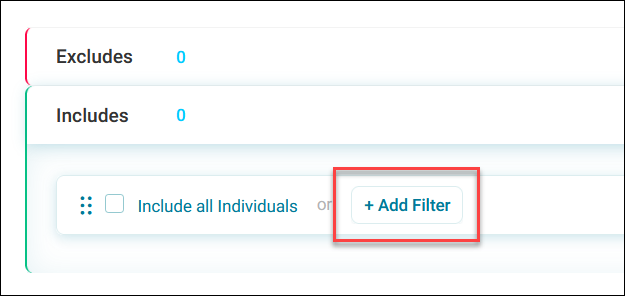
Click + Add Filter.
-
Expand the relevant data point folder, for example, Individuals.
- Locate your custom folder, for example, Personal Details or System Attributes.
-
Select the attribute variable you want to use in your criteria.
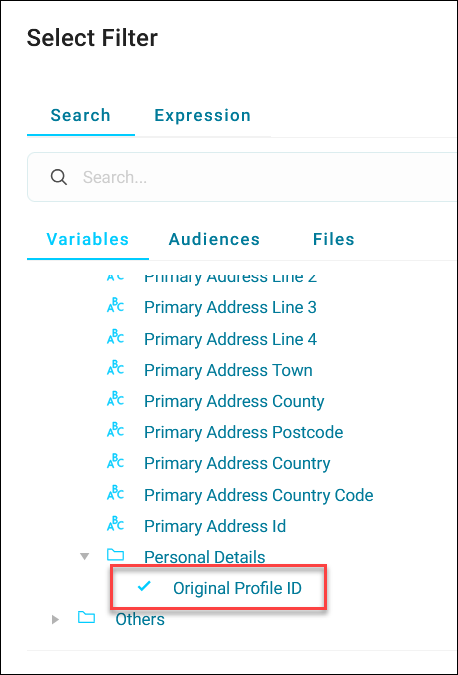
You can now use this attribute field in your audience selection process.
Best practices
- Group related attributes together, for example, Pet Information, Personal Details to make them easier to find and maintain.
- Select the correct data type when creating attributes. This ensures proper storage and enables appropriate filtering options in audience selection.
- Before creating a new attribute, check whether a standard field already exists. Use attributes only for data that doesn't fit the standard model.