Transactional data
Load transactional data directly into your Apteco CDP alongside contact and individual data, creating hierarchical relationships and updating records incrementally.
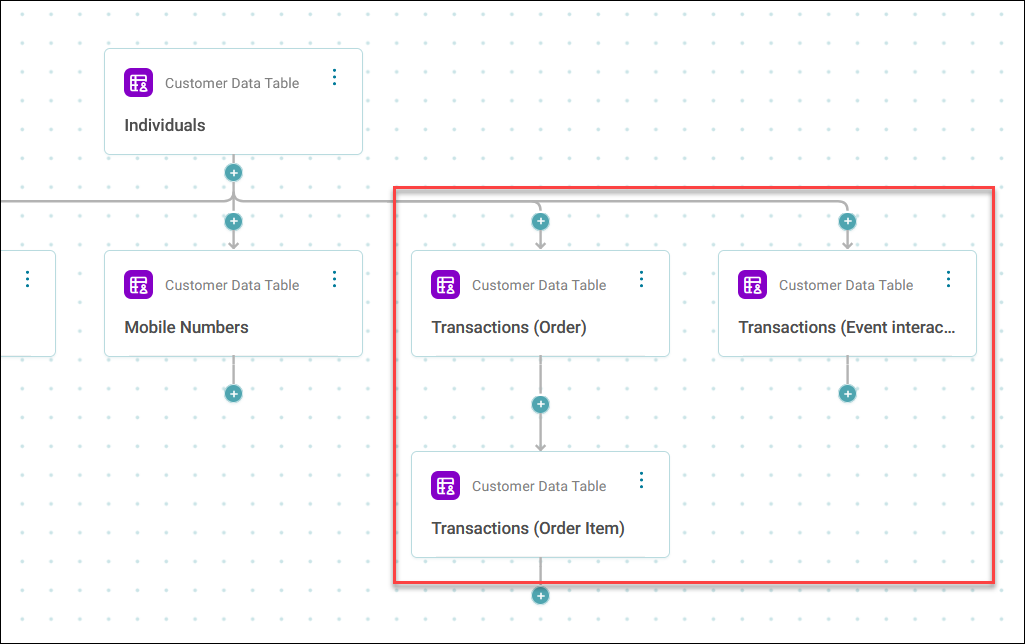
How transactional tables relate to individuals
Transactional tables connect to the Individual table in one-to-many relationships. Each individual can have multiple transaction records, and you can create parent-child relationships between transactional tables.
Tip
Create multiple sibling transaction tables as well as parent-child structures. The sibling approach works well when you have different transaction types in a single file.
Example use cases
E-commerce order history
Load customer data with order and product information from repeated rows per customer and order.
Data source includes:
- Customer details
- Order information (order ID, date, status, payment method)
- Order items (product, quantity, unit price, total price)
Transactional tables:
- Order (parent: Individual)
- Order Item (parent: Order)
Banking transaction history
Load customer account data with transaction records and categories.
Data source includes:
- Customer details
- Transaction information (transaction ID, date, amount, type)
- Transaction categories (category ID, description, merchant)
Transactional tables:
- Transaction (parent: Individual)
- Transaction Category (parent: Transaction)
Prerequisites
Before you begin, ensure that:
- You've imported your data source into Orbit
- Your source data includes a unique identifier for each transaction type
- You understand the hierarchical relationships between your transaction types
Note
Duplicate row counts are expected when loading transactional data, as multiple transaction records per individual create repeated rows in the source.
Net out duplicate rows during the ID resolution processing.
Creating a transactional mapping
You create transactional mappings as part of your data mapping process to a Customer Data Table.
To create a transactional mapping:
- Go to Data Mappings and click + New Data Mapping.
- Under Customer Data Table click Create.
- Enter a Name and click Create.
- Select your Data Source from the dropdown.
- Select your Source Group from the dropdown.
- Toggle on Transactional Mapping.
-
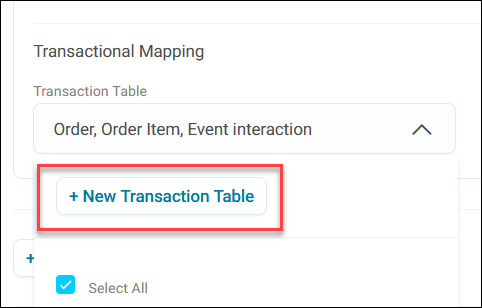
Select an existing Transaction Table or click + New Transaction Table.
-
Enter a descriptive Transaction Table Name.
-
Select a Parent Transaction Table for hierarchical relationships (leave as default for top-level tables).
Note
You cannot edit the parent table setting after creation. Select the correct parent before creating the table.
-
Click Add.
- Repeat for any additional transactional tables.
-
Use the Transaction Table dropdown to control which transactional tables appear as mapping options.
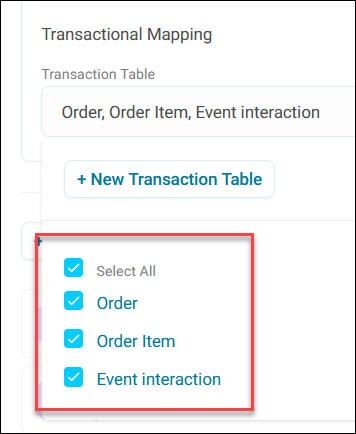
You can now map your source columns to the appropriate tables.
Mapping columns to transactional tables
After creating your transactional table, map your source columns to them.
To map columns to a transactional table:
- Expand the unmapped column you want to assign.
- Click Map Column.
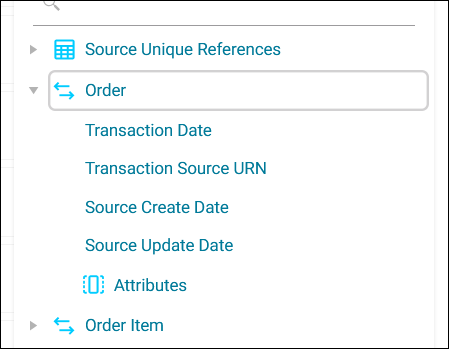
- Expand the transactional table you want to map to (identified by the arrows icon).
-
Map to either:
Note
Custom transactional attributes support the same data types as individual attributes. See Attributes.
Example use case
Custom transactional attributes could include order status, payment method, product names, quantities, etc.
Tip
Use selector types for fields with limited distinct values (such as payment methods or order statuses) to enable efficient filtering and analysis.
-
Apply your ID Resolution Rules.
- Click Save, then Import.
Note
You must map either Transaction Date or Transaction Source URN for the load to proceed. At least one of these columns is required.
Standard transactional columns
Each transactional table includes standard columns you can map to:
| Column | Description | Required |
|---|---|---|
| Transaction Source URN | A unique identifier for the transaction | At least one required column must be mapped |
| Transaction Date | The date the transaction occurred | At least one required column must be mapped |
| Source create date | The date the data source was created | Optional |
| Source update date | The date the data source was last updated | Optional |
Building and deploying transactional tables
After importing your transactional data, you add the transactional tables to your system build.
To add transactional tables to your system:
- Go to System Builds.
- Expand the option menu on your system and click Edit.
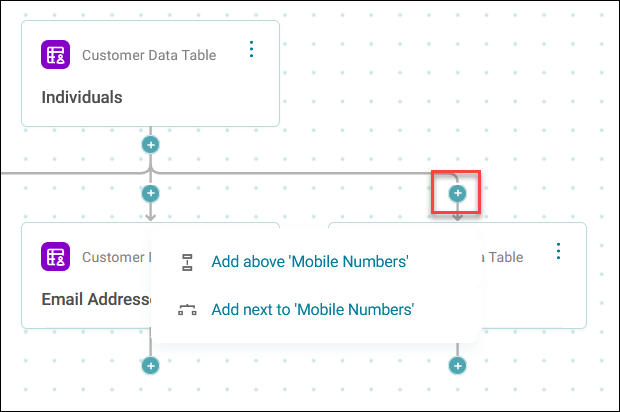
- Click the + where you want to add your table in the hierarchy.
-
If the + was above another table, then decide whether to add your transactional table above or next to that table.
-
Select your transactional table from the list.
Note
Orbit understands the table relationships and adds any child tables automatically.
-
Click Save.
- Click Build and deploy when complete.
The transactional tables appear in your system with their defined relationships to individuals and parent transactional tables.