Permissions and suppressions
Permissions and suppressions let you manage contact preferences for your customers against data points in your customer data model. These specific rights control whether or not you can contact someone through a particular channel.
- Permissions: Grant you the right to contact someone
- Suppressions: Indicate that someone should not be contacted
You can record these rights against any standard contact point in your data model, for example:
- Email addresses
- Mobile numbers
- Landline numbers
- Addresses
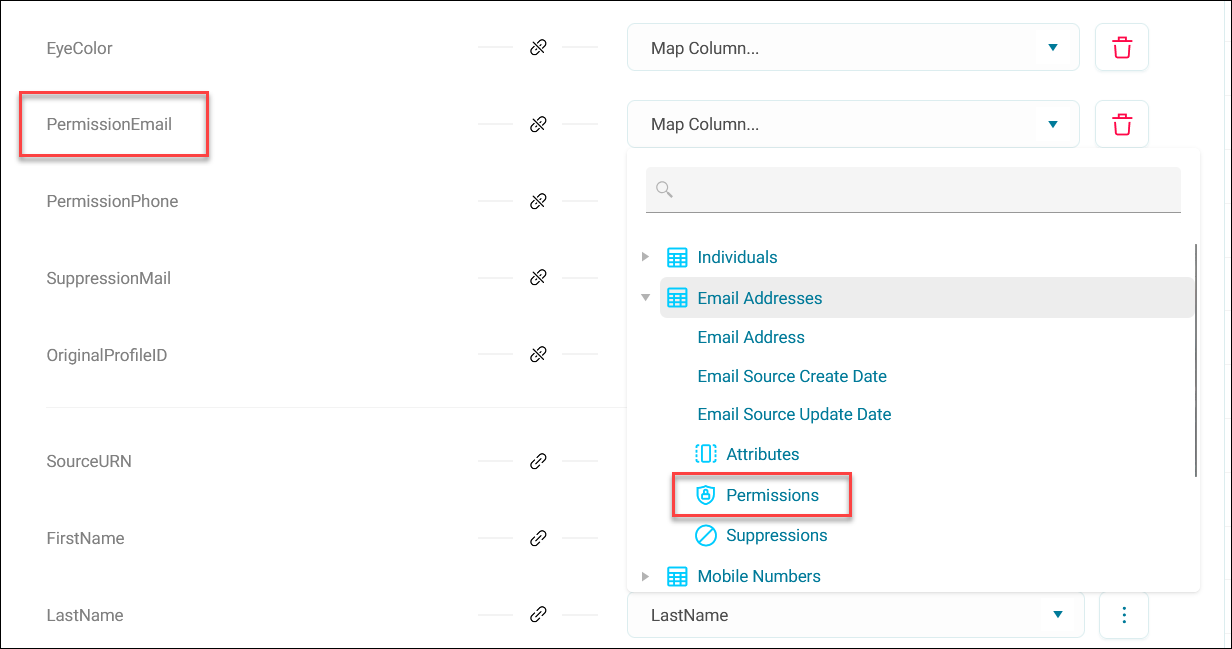
When you define a permission or suppression, you give it a name. Any data source can then update that same permission or suppression, ensuring you always work with the latest version. The system maintains a complete history of changes, allowing you to verify what permissions were active at any point in time.
Prerequisites
To use permissions or suppressions you must have:
- Access to Orbit connect
- A configured data source
- Data containing custom fields not included in the standard data model
Example use cases
Multi-channel email and communication preferences
Receive email opt-in data from multiple sources like website sign-ups, event registrations, and partner organisations, and map all sources to a single permission named "OK to Email" against Email Addresses. The system maintains one accurate record of each contact's email preference, automatically updating whenever new data arrives from any source.
Direct mail and postal suppressions
Create a suppression named "Do Not Mail" against Addresses for customers who have opted out of direct mail communications. When new suppression data arrives from your eCommerce platform, retail stores, or customer service team, it automatically updates the same suppression record.
Channel-specific contact restrictions
Manage granular contact preferences by creating suppressions for specific channels or use cases. For example, create a suppression named "Do Not SMS" against Mobile Numbers for customers who prefer not to receive SMS marketing, or a suppression named "Do Not Call" against Landline Numbers for those who opt out of telephone contact.
Adding a permission or suppression
To add a permission or suppression to your data mapping:
-
In Orbit connect, go to Data Mappings.

-
Click + New Data Mapping.
-
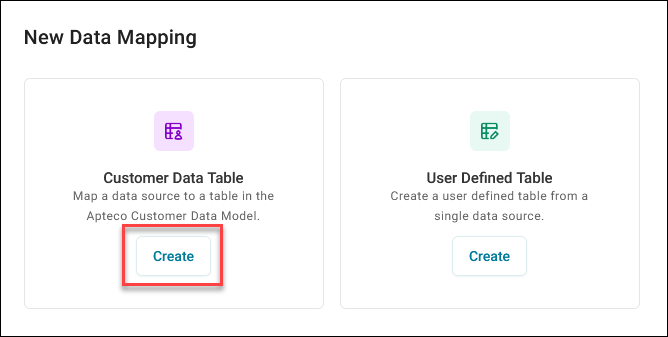
Click Create under Customer Data Table.
-
Give your data mapping a Name then click Create.
- Select your data source from the Data Source dropdown.
- In the column mapping section to the left, find your permission or suppression data.
-
Click Map Column and expand the relevant contact point folder: Email Addresses, Mobile Numbers, Landline Numbers, or Addresses.
-
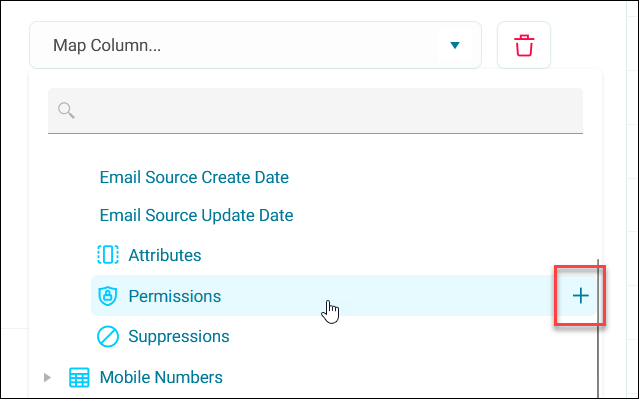
Click the + next to Permissions or Suppressions to create a new one, depending on your data type.
-
Enter a descriptive Name (for example, "OK to Email" or "Do Not Mail") then click Add.
Your new attribute appears in the dropdown when mapping future columns.
Tip
To change the name of an existing entry, click the pencil icon.
-
Review the Allowed Values Validation rules that appear.
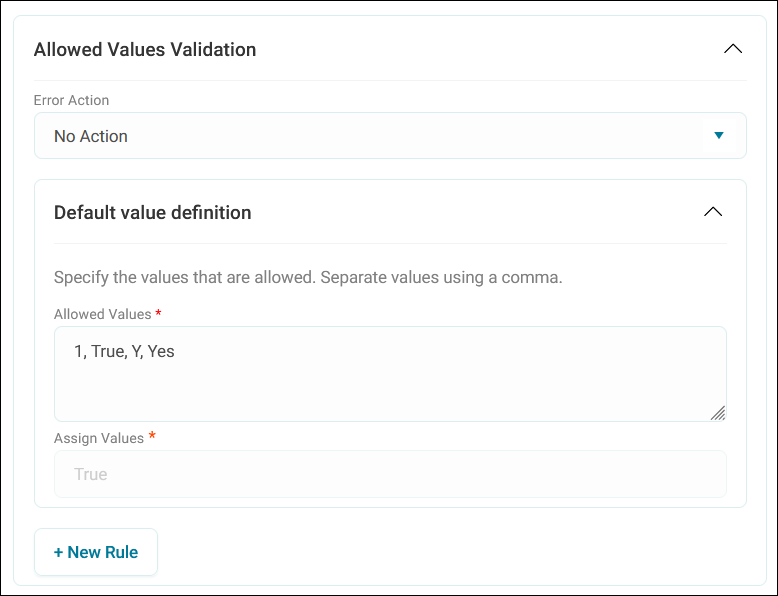
The system displays validation rules that determine how your source data maps to stored values. For Permissions, by default, the system accepts common variations of "yes" (such as 1, True, Y, and Yes, irrespective of case) and stores them as
True.Note
For Suppressions, adjust the above defaults as required.
-
Modify the validation rules if your data uses different values then click Apply.
Tip
To modify validation rules for an existing entry, click the Option button next to the mapped column, then click Validation Rules.
You've now created a new permission or suppression in your customer data model.
You can now run a system build to make your data available in audience selections and other areas of your Orbit system.
Best practices
- Use clear, consistent names across all data sources. This makes it easier for subsequent imports to update the correct records.
- Before importing data, check that your validation rules cover all possible values in your source data to prevent unexpected rejections.
- The system stores permission and suppression history automatically. Use this to verify what permissions were active when you contacted someone, supporting compliance requirements.
- Ensure you map permissions to the appropriate contact point. Email permissions belong under Email Addresses, not Mobile Numbers or other contact points.
Troubleshooting
Values not importing
Check that your source values match the validation rules. If your data uses "0" and "1" but validation rules expect "true" and "false", modify the rules accordingly.
Cannot find existing permission
Permissions and suppressions are organised by contact point type. Ensure you're looking in the correct folder (Email Addresses, Mobile Numbers, Landline Numbers, or Addresses).