Configure thematic mapping
To display shaded (thematic) maps, you need to obtain a shape file that defines the boundaries of the geographic entity displayed. A shape file, or boundary file, is actually a set of several files. Each set of shapes to be used is defined by a .shp file containing the geographic shapes, a .shx file containing a shape index (not used or required by FastStats), and a .dbf file which connects the shapes to the data.
For a more detailed explanation, see Shapefile—Wikipedia.
The boundaries may include:
- Continents
- Countries
- Counties
- Regions
- Postcode areas
- Postcode districts
- Postcode sectors
- 5-digit zip codes
- 3-digit zip codes
- Territories
The shape files need to be based on the WGS84 co-ordinate system. You need to convert your shape files to WGS84 if they were supplied in the UK National Grid or another co-ordinate system. See Resources for details of utilities to help create the appropriate shape files.
Once you have the .shp file and the associated .dbf file, you then need to connect the polygons in the shape file to the data that it represents in your FastStats variable. FastStats thematic maps are created from selector variables which have a series of categories, each with a code and description. You need to add these codes to the .dbf file by adding two columns:
- FS_CODE—populate with the codes for each appropriate category in the FastStats selector
- FS_DESC—optionally populate with the descriptive text for each category in the FastStats selector variable
Boundary files for thematic mapping
UK boundaries
The following boundaries are available from Apteco via their partners:
- UK postcode area
- UK postcode district
- UK postcode sector
These boundary files are configured to the WGS84 co-ordinate system and have been coded to match the typical decodes for each postcode variable.
For FastStats systems that use non-standard decodes, contact Apteco for details on editing the .dbf files.
Other boundaries
If you choose to source your own boundary files and require instructions on how to configure them for use within FastStats, contact Apteco via your partner for documentation and support.
Boundary file names
It is easiest to rename your boundary files to the reference name of the equivalent FastStats variable. However, if you wish to retain the original boundary names, you may specify the GeoFormat parameter in your autoexec.fsf file:
Where x is the variable reference as stated in the system, and y is the name you have called your shape file.
Installing boundary files
Boundary files are held in the Maps folder, in one of the following locations:
Note
You need to create the appropriate Maps folder when adding online mapping to a FastStats system, if not already in place.
- On the web server in …\FastStats\Maps—if using the Apteco FastStats Launcher
- On the user's PC in …\Program Files\Apteco\FastStats Discoverer (x64)\Maps—for a locally installed Apteco FastStats connecting to a local system (i.e. using a
.system.xmlconnection file such as when launched from FastStats Designer) - On the user's PC in …\Program Files\Apteco\FastStats Discoverer (x64)\Maps—for a locally installed Apteco FastStats connecting to an Enterprise system (i.e. via the FastStats WebService)
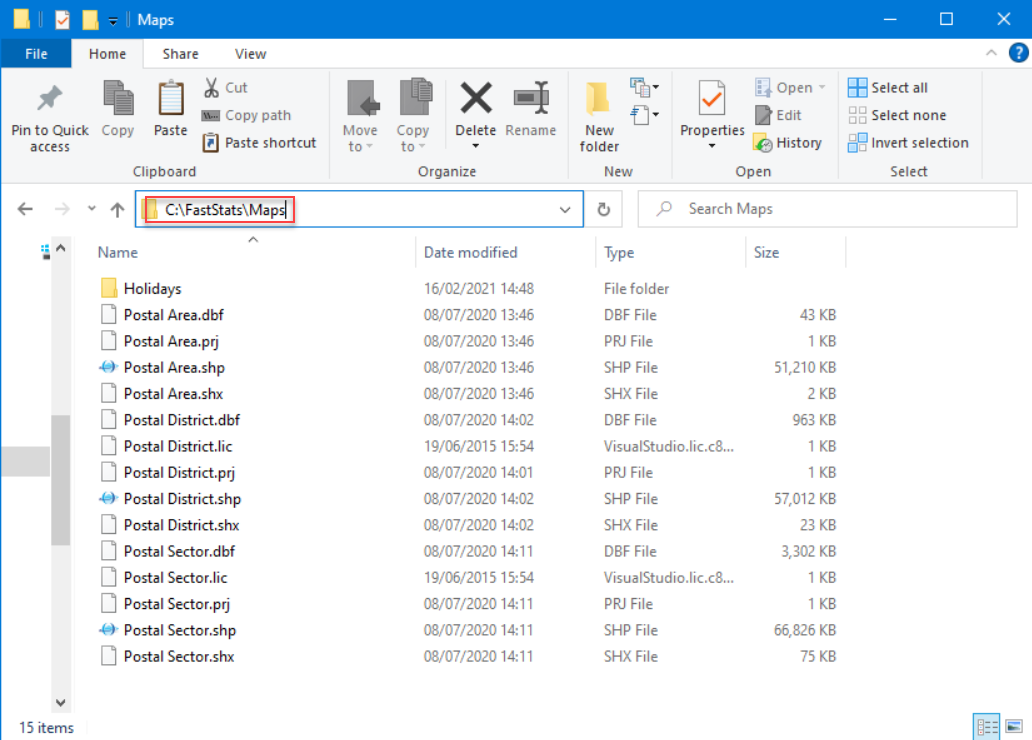
Inserting boundary files into binaries
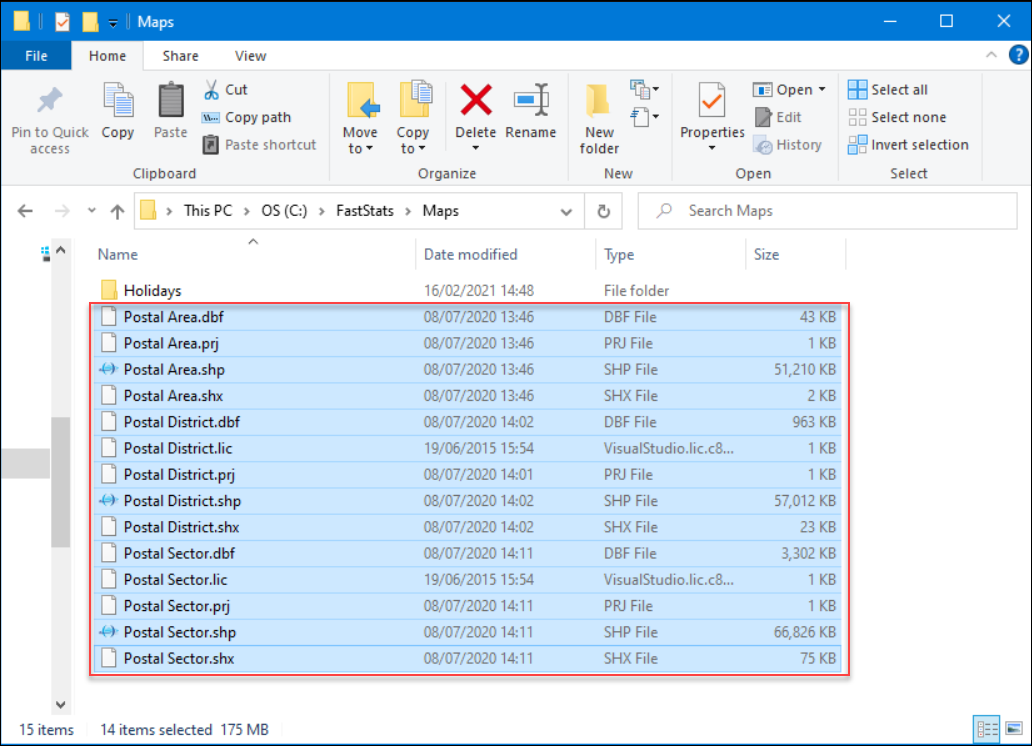
The process of installing the boundary files into the Client Binaries is the same as installing the Bing key up to step 5. From step 5, insert the boundary files by selecting all files (except the [SystemName] folder) and clicking Open:
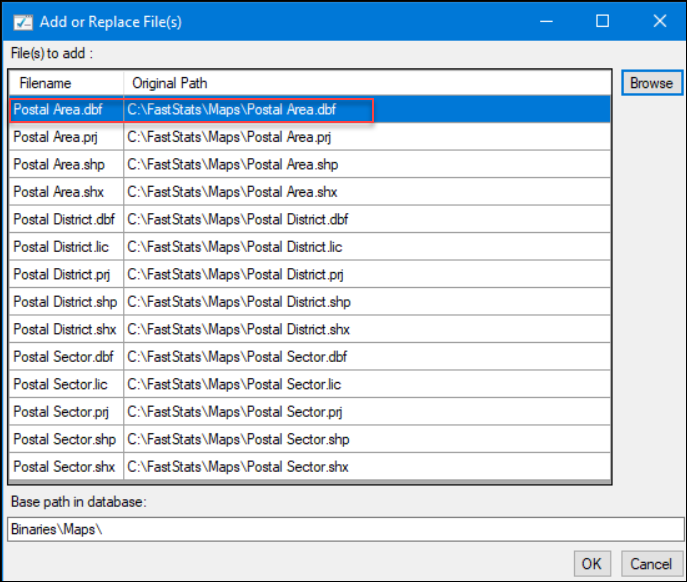
The files are then displayed in the Add or Replace File(s) menu window as files to add. Insert Binaries\Maps into the Base path in database field and click OK:
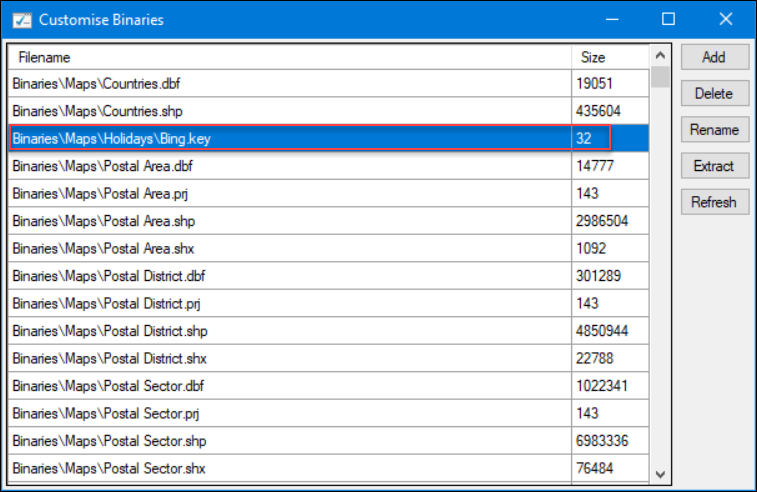
The files should now be viewable in the Customise Binaries window: