Transaction summary
This wizard summarises a set of transactional records associated with a record from a higher table (e.g. a summary of a person's bookings), creating a flag array virtual variable on the grouping table (e.g. of all their holiday destinations).
You can restrict which transactions are summarised in the following steps, by applying both a filter selection and a priority restriction (e.g. Filter to Package Holidays, restrict to the Last 3 bookings made).
Target
Drag the variable on to the drop zone you wish to be summarised.
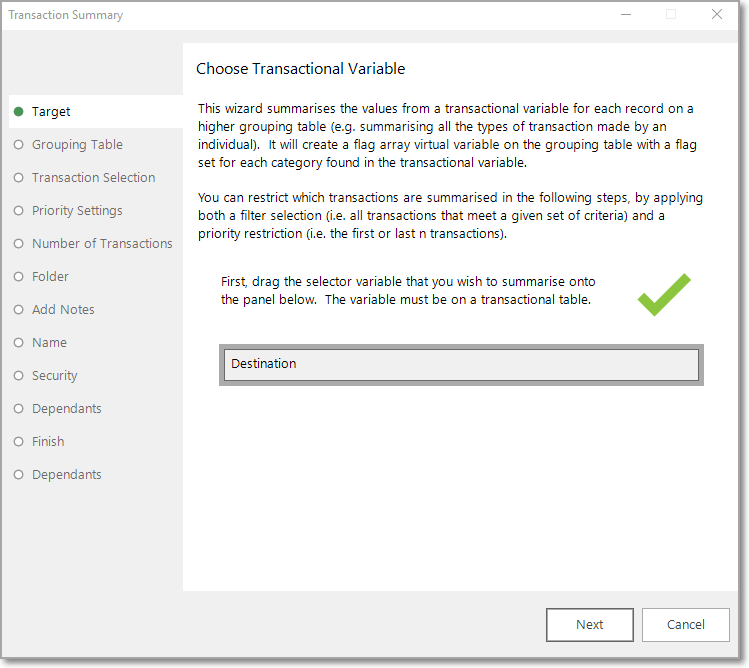
Grouping table
Once a transaction table has been chosen, the grouping table can then be specified.
 Q418.png)
The grouping table must be a parent or "ancestor" table of the transaction table (i.e. it must be higher up the System Tables diagram than the transaction table.
For example, if the Bookings table was specified as the transaction table, the grouping table could either be People or Households given the following table structure:
 Q217.png)
Transaction selection
If you wish to add a transaction filter, drag the selection onto the drop box here.
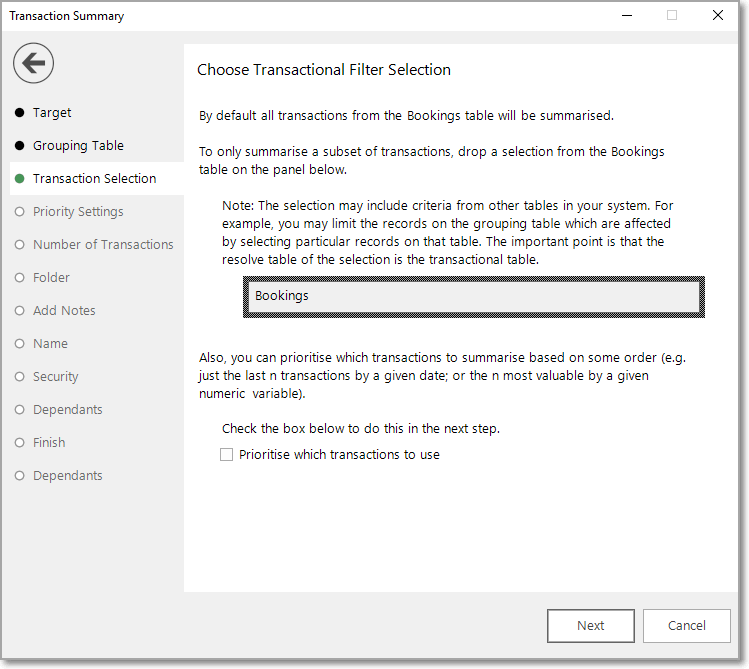
To set a prioritisation on the transactions to summarise tick the box Prioritise which transactions to use.
Priority settings
Drag the variable you wish to use to order the transactions by across and onto the drop zone.
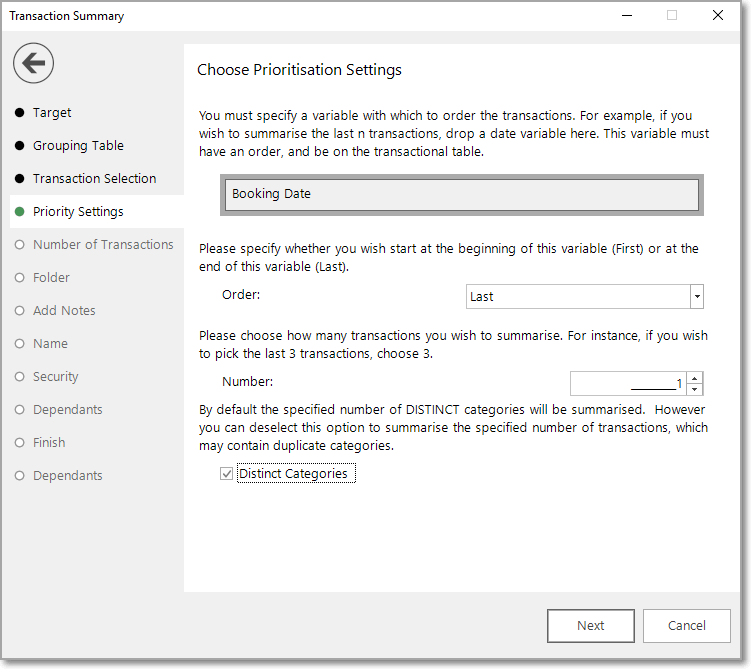
Set the Order to the First or Last of the entries in the variable selected.
Enter a Number to summarise the amount of transactions.
Optionally deselect the summarisation by distinct categories.
Number of transactions
Optionally specify a minimum / maximum number of transactions that should be present for a record to be flagged for inclusion in creating a virtual variable.
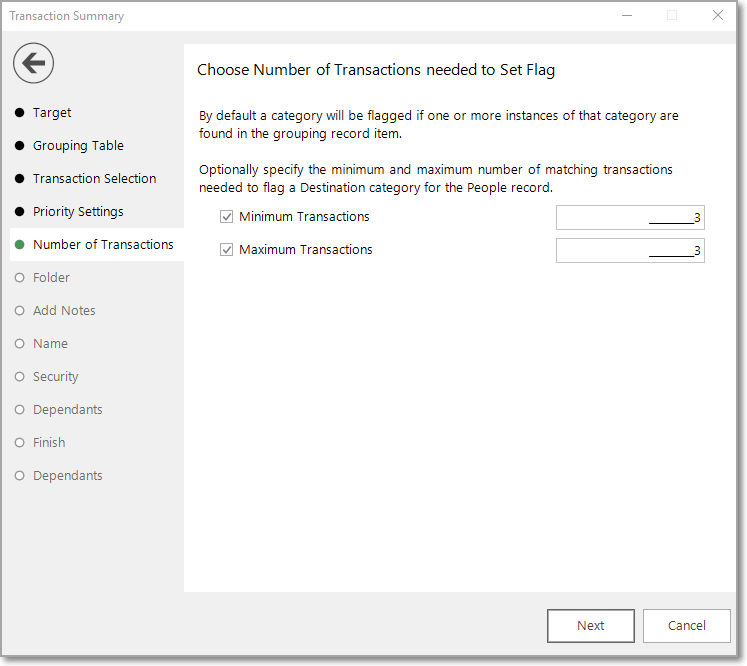
In the above example, for a record to be flagged as 'yes', a person would have to have made exactly 3 bookings to a particular Destination.
Folder
Choose the folder that the new variable should be created in.
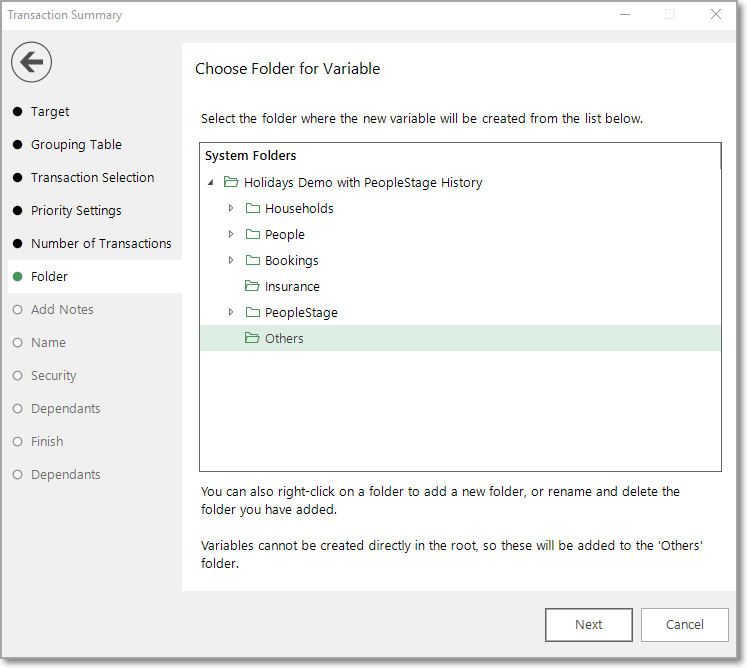
Create (if necessary) and highlight the folder to hold your Virtual Variable.
Add notes
You can choose to add notes to your variable. These can be viewed later by right-clicking on the variable once it is in the System explorer window.
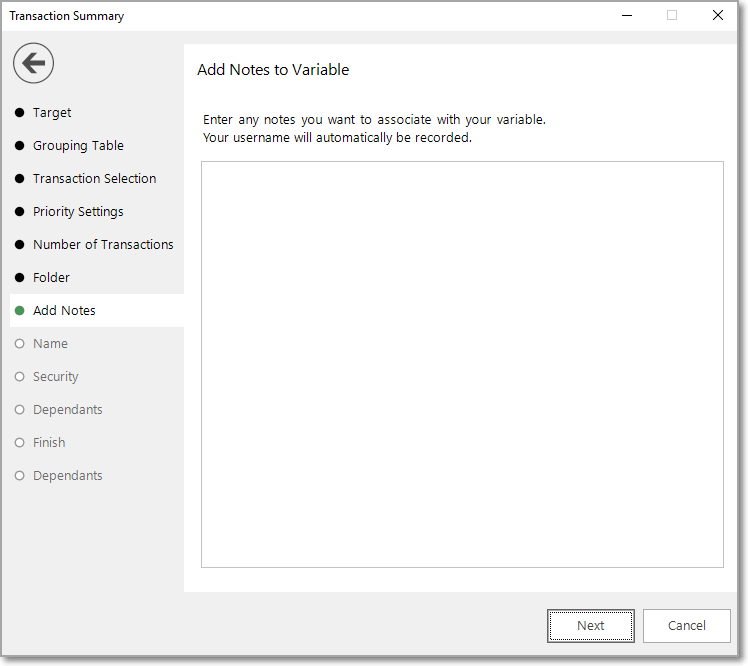
Enter any notes you wish to record.
Name
This step of the wizard allows you to define what the Virtual Variable will be called.
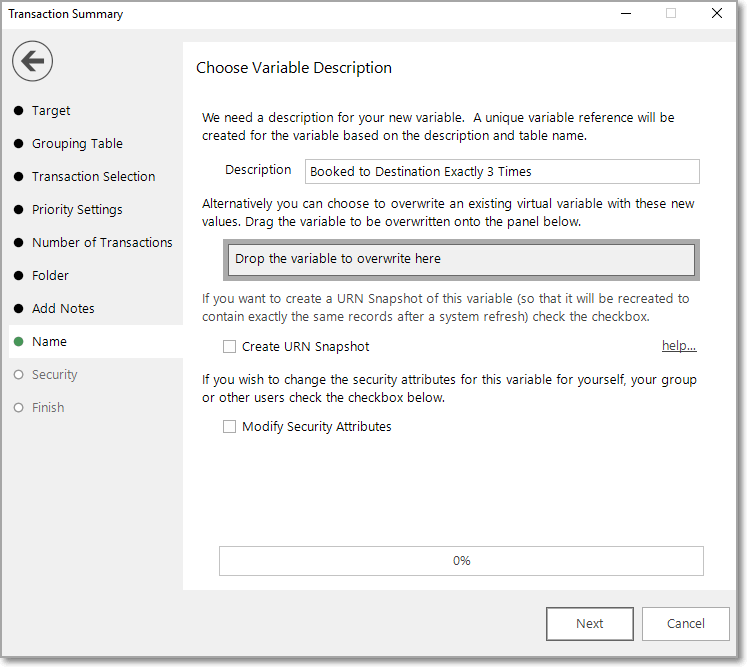
Enter the name of your variable in the Description box.
To overwrite an existing virtual variable drag it on to the Drop the variable to overwrite here drop box.
Tick the Create URN Snapshot box to record the exact records found at this time so it can be recreated after a refresh of the data if needed.
Tick the Modify Security Attributes box to allow you access to Security (This option is only available on the Enterprise Version).
Security
This is an optional step available on the Enterprise version of the software.
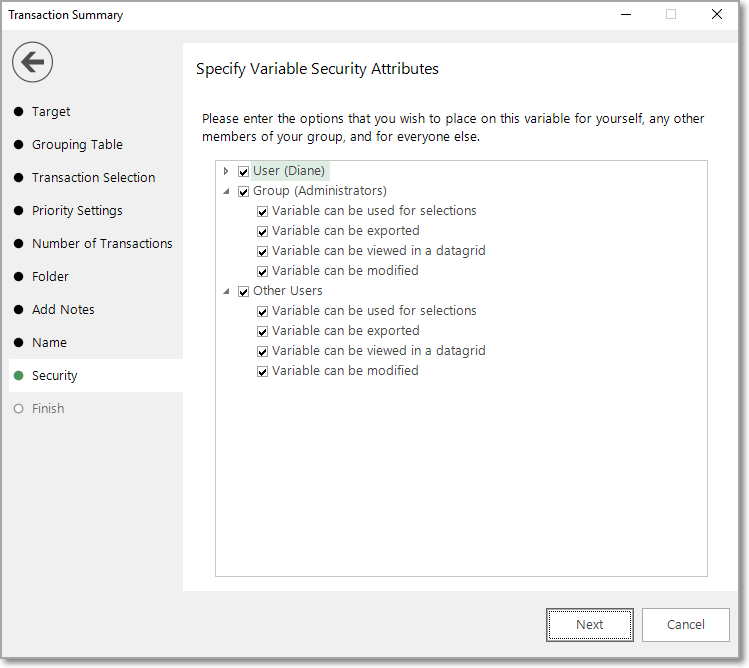
Use the tick boxes to set the security setting you wish to apply to this variable.
Finish
This step is shown after the actions required by this wizard have been completed. The new variable has been created and highlighted in the System explorer.
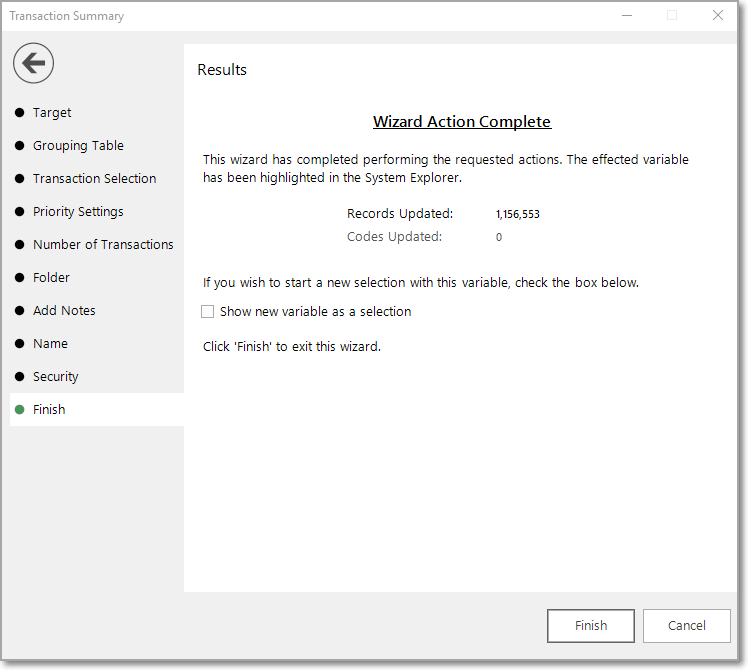
Tick the box Show new variable as a selection if you want to view the variable when the wizard is closed.
Click Finish to close the wizard.