Salesforce.com wizard
FastStats users can prepare customer segmentation and data modelling in FastStats and upload targeted data directly to Salesforce, so that prospects identified in FastStats can be seamlessly integrated into CRM sales activities. The Salesforce.com wizard takes you step by step through the uploading process.
Note
To use this functionality, your FastStats Administrator needs to make configuration changes to your system.
Identify your customer segment:
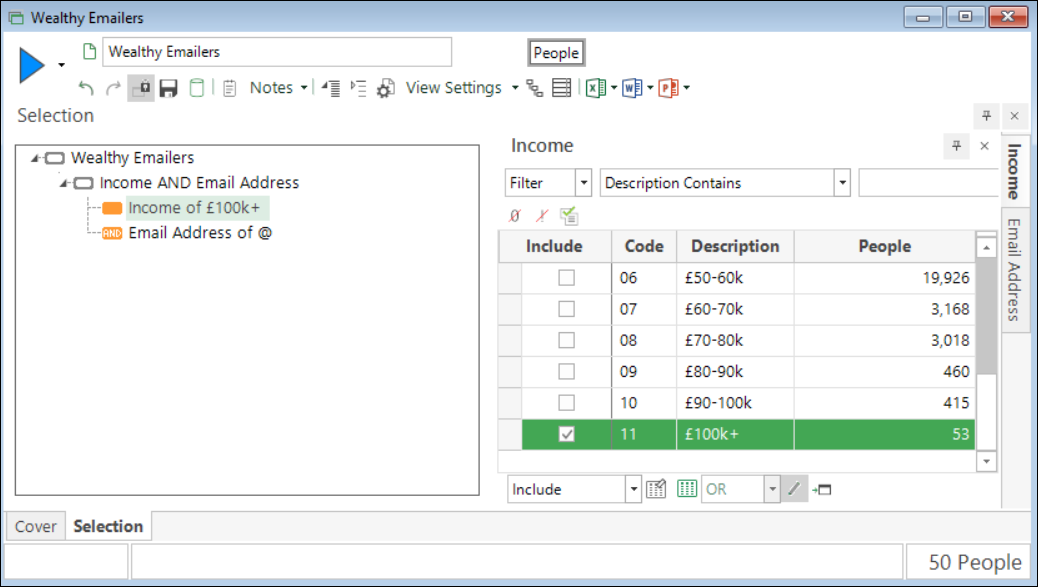
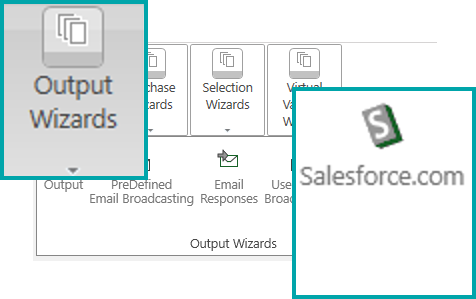
Once you have identified the data for upload, navigate to the Output Wizards section of the Wizards ribbon bar and click the Salesforce.com icon to start the wizard:
Upload table
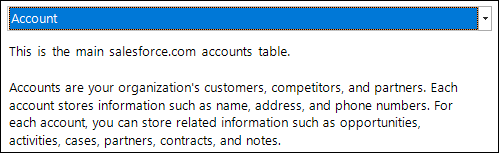
At this first step, select the Salesforce table to which the details of the selected records should be uploaded.
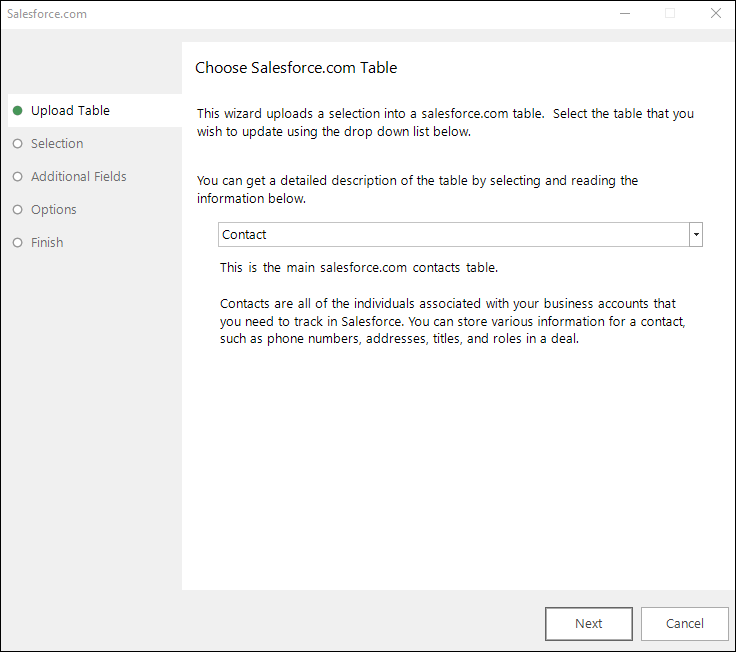
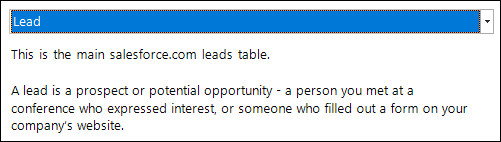
This defaults to the Contact table, but the Lead and Account tables are available from the drop-down menu:
Selection
Drag your selection onto the Drop your selection here box to identify the records you wish to upload.
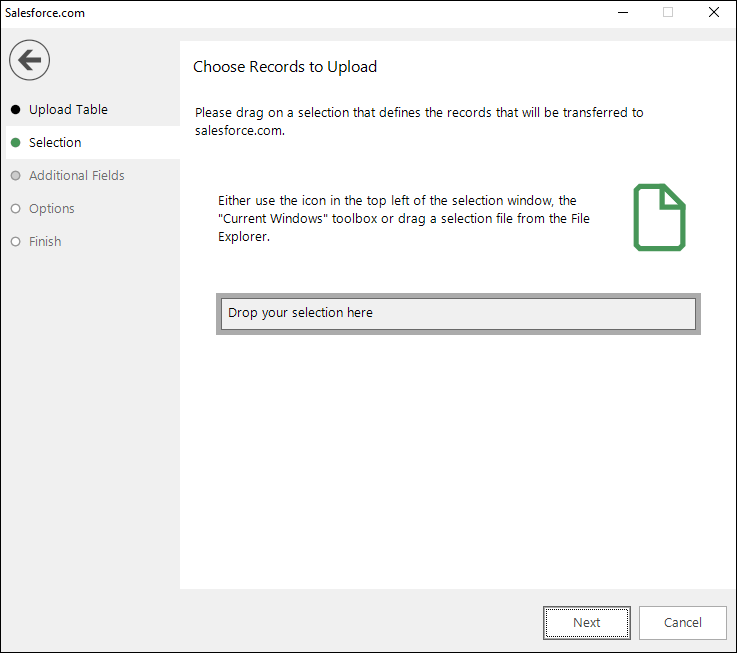
Drag your selection onto the Drop your selection here box.
Additional fields
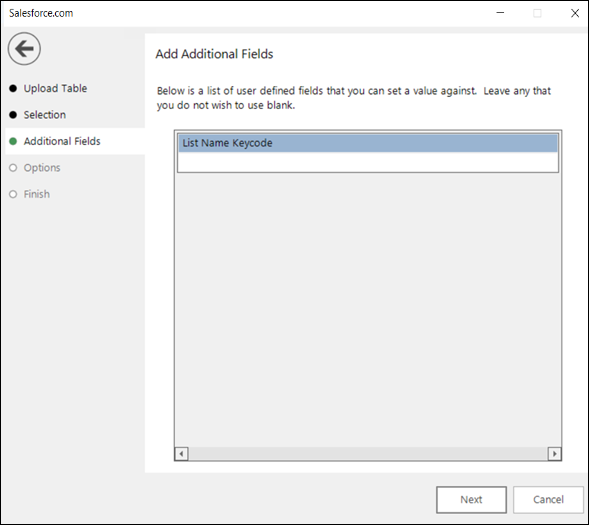
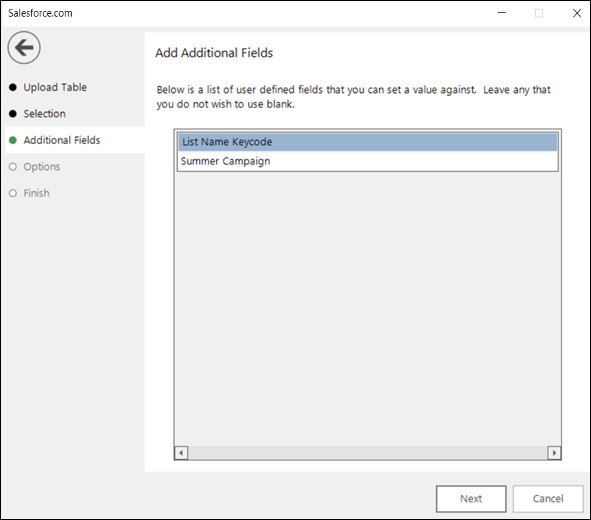
In some cases, there may be free text fields set up allowing you to enter additional information as part of the wizard process. For example, you may need to add keycode or campaign information:
Options
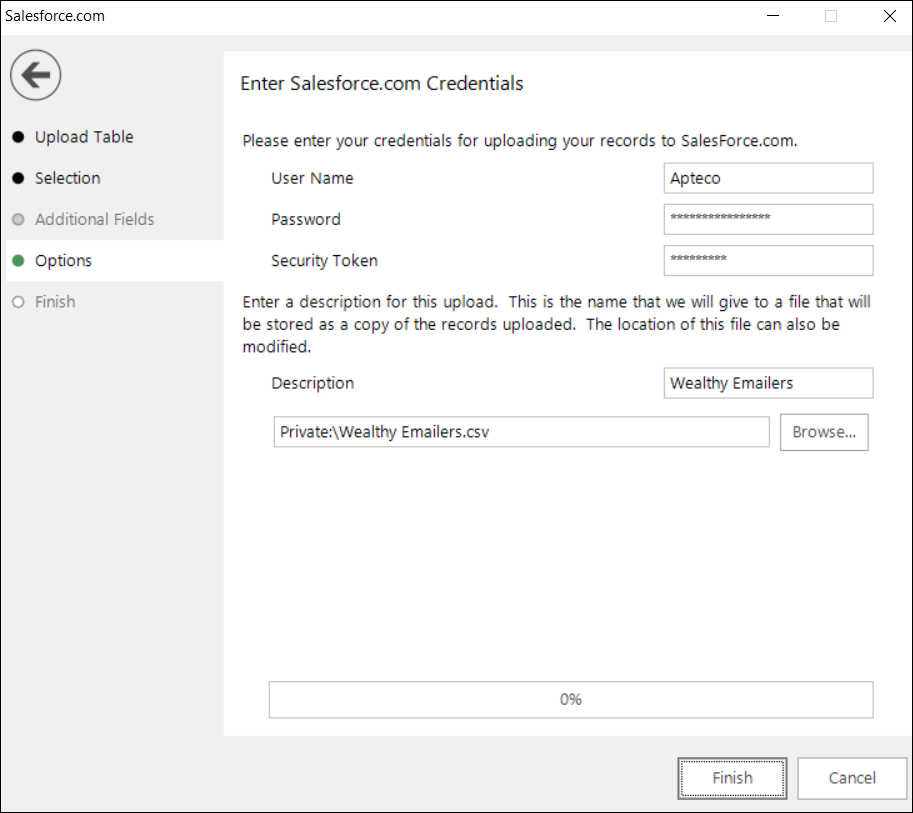
Enter your login details for the Salesforce site and confirm where to save a copy of the file.
-
Enter your User Name and Password for Salesforce.
Note
When using Salesforce from outside of your company's trusted network, you need a Security Token to add to your password at this step. You can obtain this from the Salesforce website under Setup > My Personal Information > Reset Security Token.
-
For Description, specify a meaningful name for the uploaded list.
- Check the default location for where a copy of the list should be saved and use the Browse button to amend this if necessary.
Finish
The final step confirms how many records have been exported and successfully uploaded.
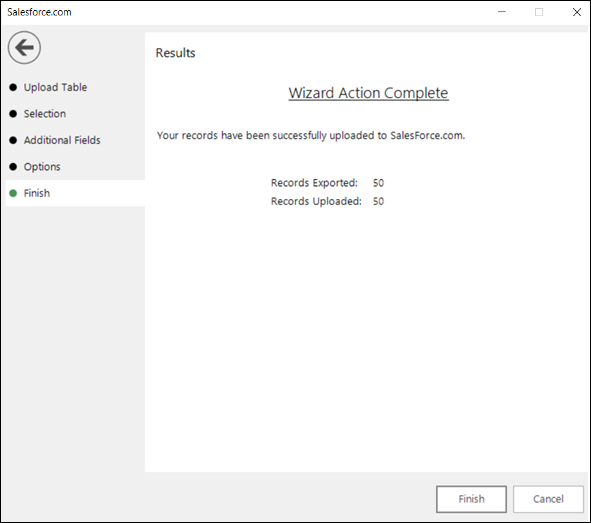
Click Finish to close the wizard, then log in to Salesforce to continue with the process.