Count wizard
The Count wizard creates a virtual variable on a specified table in the system (identified as the grouping table) that contains the number of records on a child table (the transaction table) that are associated with each grouping record.
The grouping table and transaction table can be specified in the wizard or by dragging on a selection with a RFV Frequency.
If an RFV Frequency selection is used, the constraints specified in the RFV Frequency definition will also be used. For example, suppose you have an RFV selection with the grouping table of People and transaction table of Bookings and the frequency element of the RFV has a value of ">=2". Using this in the wizard will create a variable on the grouping table (People) that contains the number of Bookings associated with that Person. As the RFV Frequency value was ">=2", any People that only have one Booking associated with them will have no value associated with them for this variable (the value will be "missing").
On the Wizards tab click on the link to start the wizard - Start
Start
This is the first page of the count wizard and lets you choose how to define the variable to be created.
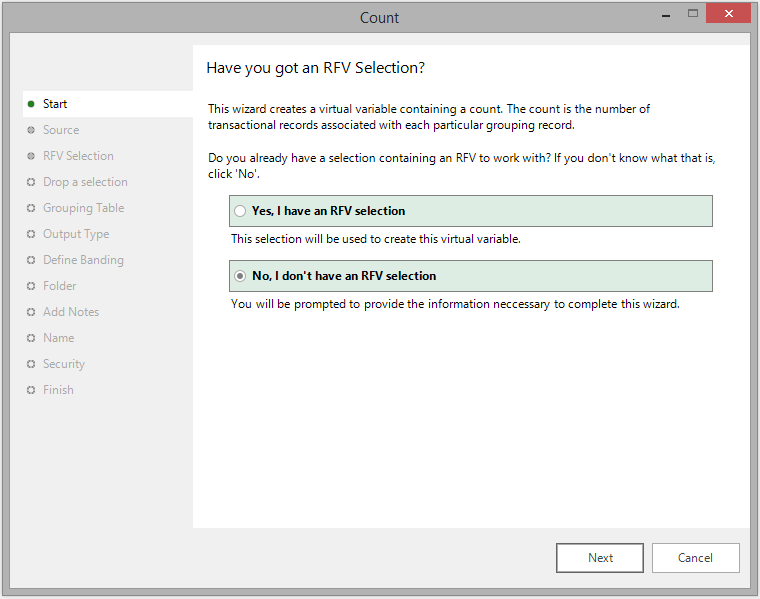
If you have an RFV Frequency selection that you want to use to set how the variable will be defined, then choose the Yes radio button and you will be asked to specify the selection. If you don't, then choosing the No radio button will allow you to define the grouping and transaction tables.
If you select:
- Yes, I have an RFV selection — click Next to go to Source
- No, I don't have an RFV selection — click Next to go to Drop a selection
Source
If you have an RFV Frequency selection to use you should specify it here. If there is more than one RFV element in the selection the next step of the
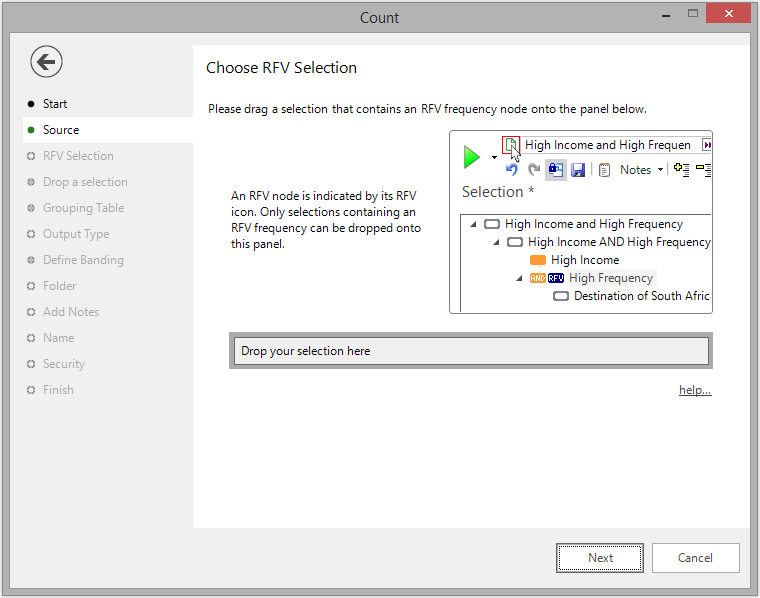
Any selection elements "above" the RFV element will select which grouping records to set the virtual variable for. Any grouping records that fall outside of this selection will have no value set.
Drag on the selection containing the RFV node(s)
- If there is only one RFV Frequency node, click Next to go to Output type
- If there is more than one RFV Frequency node, click Next to go to RFV selection
RFV selection
If the selection that was specified in the previous step had more than one RFV element in it, you will have to specify which RFV element to use
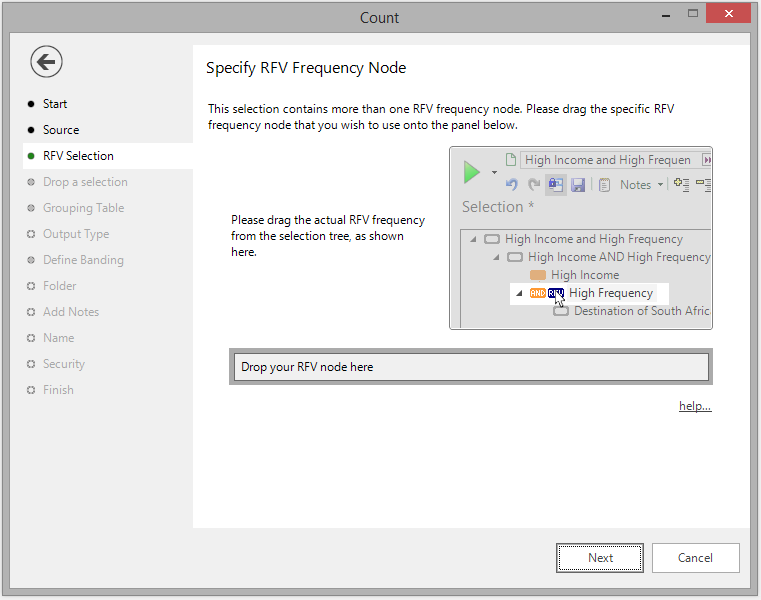
Drag the appropriate RFV Frequency node on to the drop box.
Click Next to go to Output Type.
Drop a selection
If you don't have a RFV Frequency selection then you need to specify a grouping and transaction table. The transaction table is the first one to be specified and is done so by specifying the group of transaction records to include.
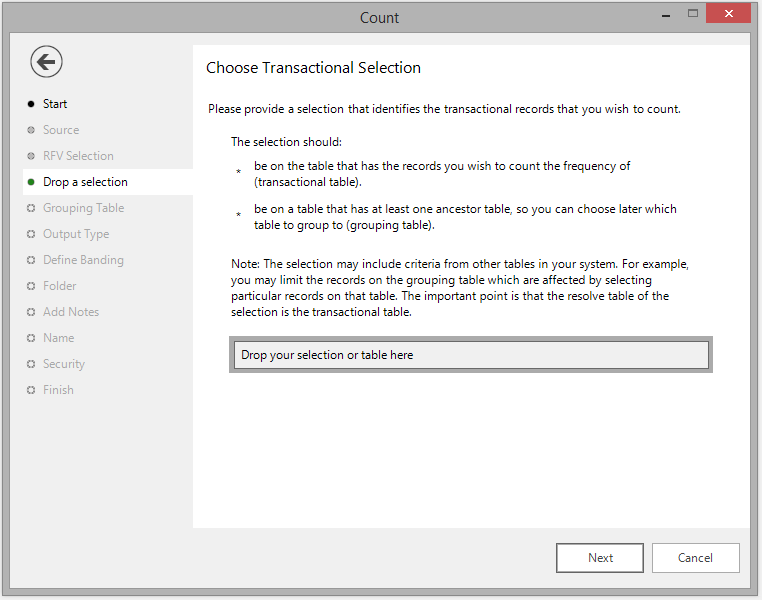
For example, a grouping table could be People and a transaction table could be Bookings. The Count wizard would then create a new variable on the People table that would record the number of Bookings associated with each Person. In this case, an empty holiday selection should be dropped here.
If, however, you want to count the number of flight-only bookings taken by each person, drop a selection of bookings that are flight-only here.
Grouping table
Once a transaction table has been chosen, the grouping table can then be specified.
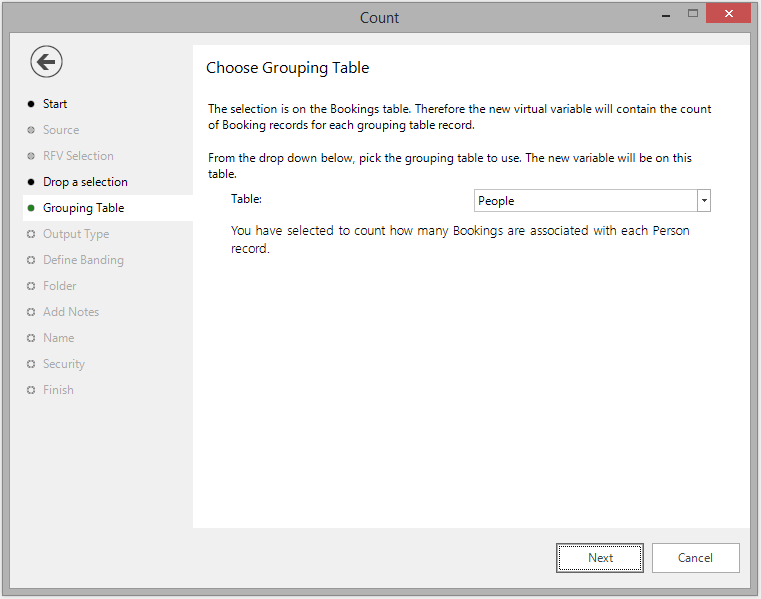
The grouping table must be a parent or "ancestor" table of the transaction table (i.e. it must be higher up the System Tables diagram than the transaction table.
For example, if the Bookings table was specified as the transaction table, the grouping table could either be People or Households given the following table structure:
.png)
Output type
Regardless of whether an RFV selection was used at the beginning or whether transaction and grouping tables were specified explicitly, you can then specify if you want the results of the wizard to be returned as a banded Selector variable or an actual Numeric variable.
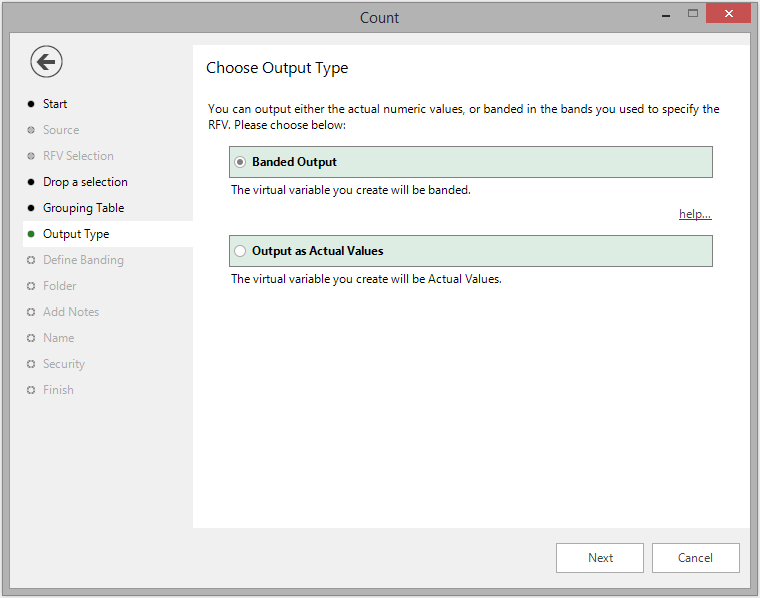
- If you select Banded Output and predefined your RFV selection, click Next to go to Folder
- If you select Banded Output and did not predefine your RFV selection, click Next to go to Define banding
- If you select Output as Actual Values, click Next to go to Folder
Define banding
If the transaction and grouping tables were defined explicitly and the output type was specified as Banded Output, this step of the wizard allows you to define what bandings you want.
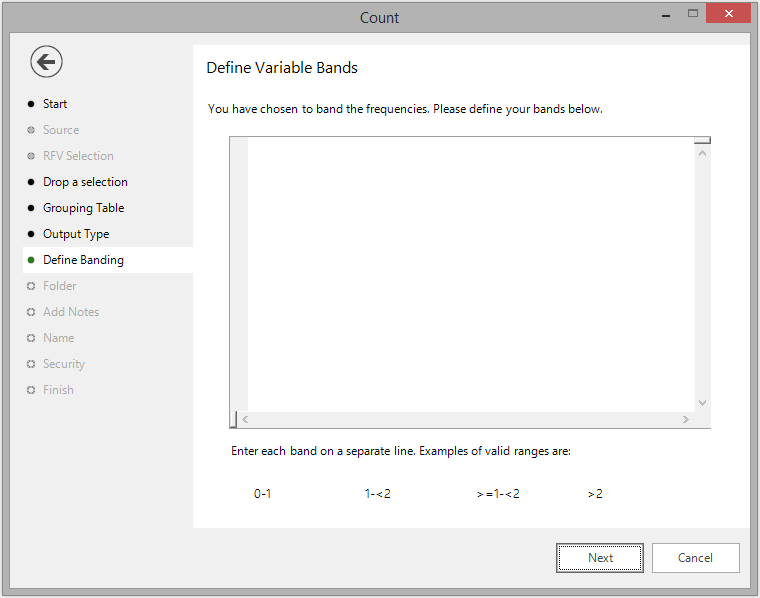
Each band should be defined on a separate line and be in one of the following forms:
xThe band will contain only the number xx - yEquivalent to (>=x - <=y), the band will contain all numbers between x and y (including x and y)x - <yThe band will contain all numbers between x and y (not including y)>x - yThe band will contain all numbers between x and y (not including x)>xThe band will contain all numbers greater than (but not including) x<yThe band will contain all numbers less than (but not including) y
For example, if you specify the following RFV Frequency settings:
12>=3
and specify Banded Output you will create a Selector variable with the following bands:
Unclassified12>=3
The "1" band will contain all records that only had one transaction record associated with their grouping record, the "2" band will contain all records that had two transaction records associated with their grouping record, and the ">=3" band will contain all records that had three or more transaction records associated with their grouping record.
The "Unclassified" band will contain all grouping records that have no transaction records associated with them, or that fell outside the initial selection.
Enter the band definitions.
Folder
Choose the folder that the new variable should be created in.
Create (if necessary) and highlight the folder to hold your Virtual Variable.
Add notes
You can choose to add notes to your variable. These can be viewed later by right-clicking on the variable once it is in the System Explorer.
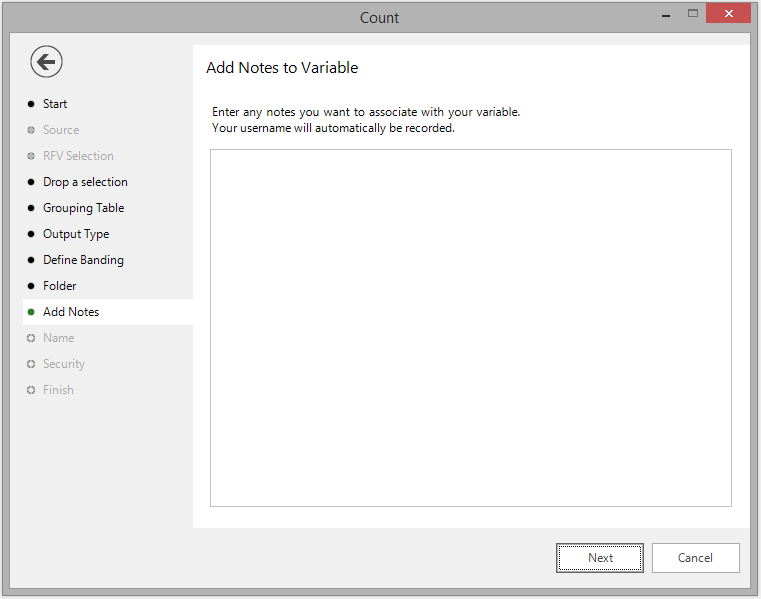
Enter any notes you wish to record.
Name
This step of the wizard allows you to define what the Virtual Variable will be called.
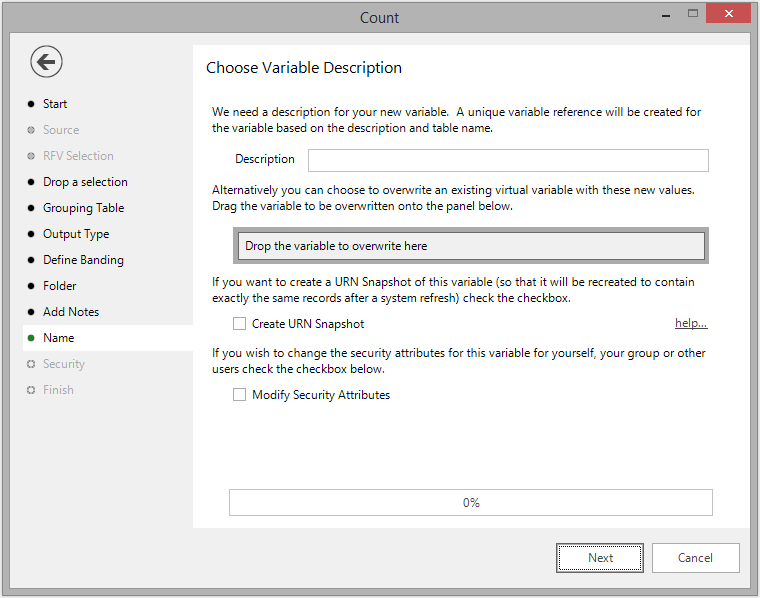
Enter the name of your variable in the Description box.
To overwrite an existing virtual variable drag it on to the Drop the variable to overwrite here drop box.
Tick the Create URN Snapshot box to record the exact records found at this time so it can be recreated after a refresh of the data if needed.
Tick the Modify Security Attributes box to allow you access to Security (This option is only available on the Enterprise Version)
Security
This is an optional step available on the Enterprise version of the software.
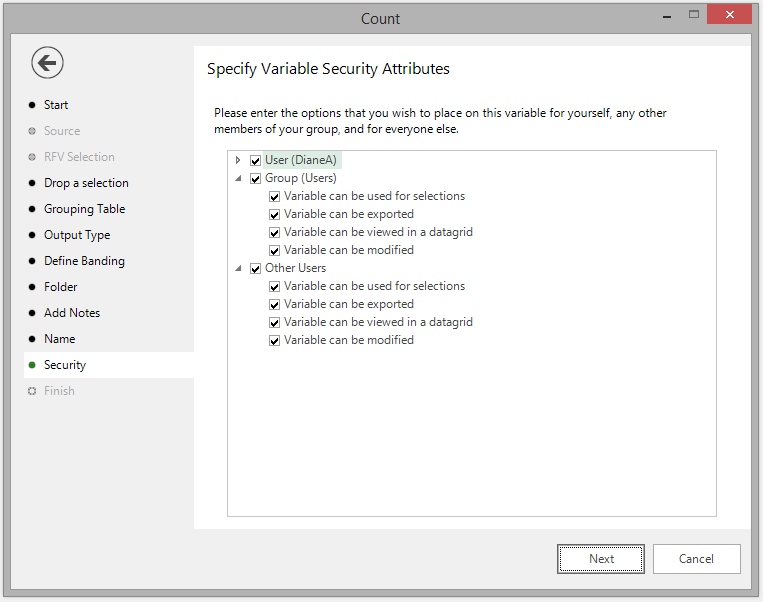
Use the tick boxes to set the security setting you wish to apply to this variable.
Finish
This step is shown after the actions required by this wizard have been completed. The new variable has been created and highlighted in the System Variables explorer window.
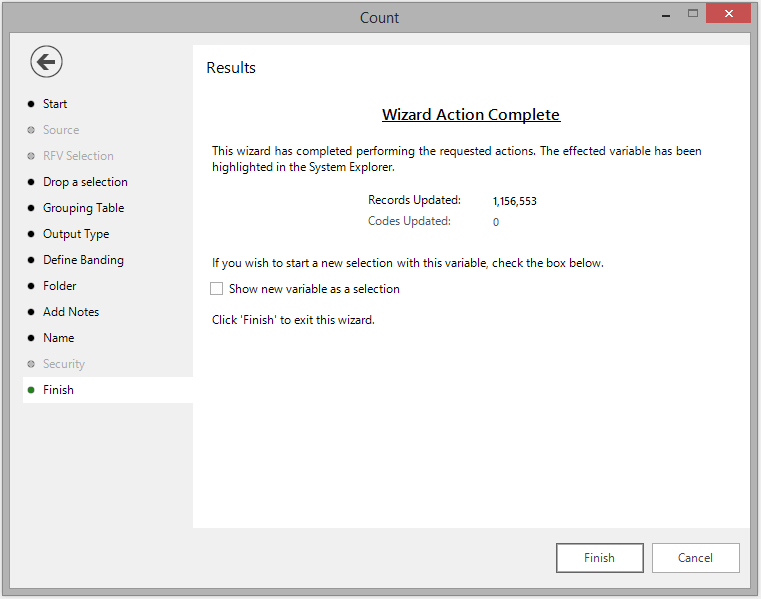
Tick the Show new variable as a selection box if you want to view the variable when the wizard is closed.
Click Finish to close the wizard.