Setting up your form
Once you have designed your opt-in form, confirmation page, and double opt-in email, you can now finish setting up the overall flow of form process.
To set up your form:
- From the Email Builder, click Form setup in the top-right corner.
-
Click Create new form.
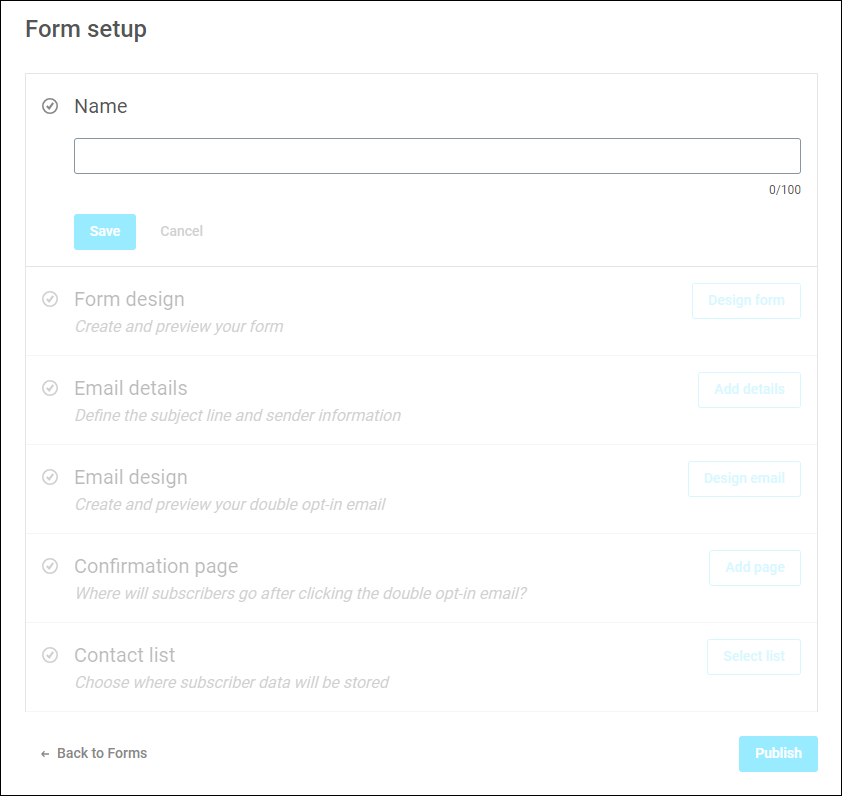
This page shows you the stages of your form flow to configure. As you complete each stage, the corresponding checkmark becomes green.
-
Name: Give your form a meaningful name.
-
Form design: Click Design Form.
- Under the template you want to use, click Select, then click Use this template.
- Now you can preview your template by clicking Preview. If you’re happy with the design, click Save & Apply.
-
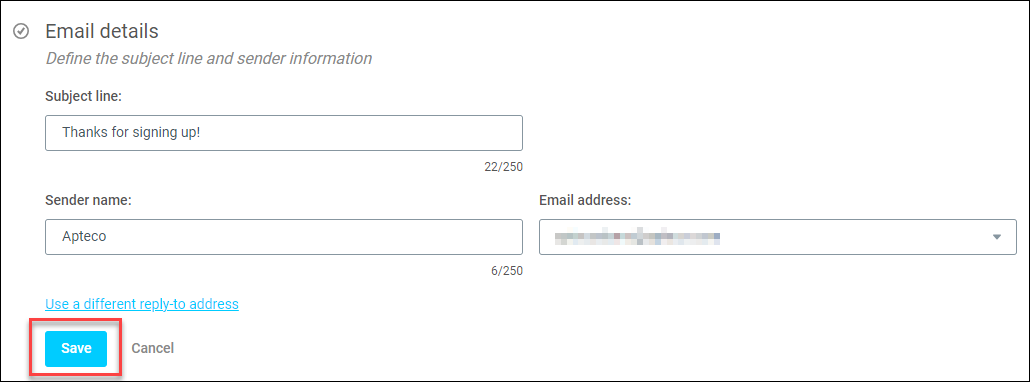
Email details: Click Add details.
- Enter a subject line for the confirmation email.
- Add the sender’s name and email address.
-
Click Save.
-
Email design: Click Design email.
- Under the template you want to use, click Select, then click Use this template.
- Now you can preview your template by clicking Preview. If you’re happy with the design, click Save & Apply.
-
Confirmation page: Once someone signs up using your form, they receive a confirmation email with a link to validate their registration. By default, this link leads to the confirmation page hosted by Mailjet which you design in the form builder. If you wish to use your own confirmation page on your website, click Send subscribers to an external URL and then enter the URL.
To create and use a confirmation page:
- Select the first option, then click Design page.
- Under the template you want to use, click Select, then click Use this template.
- Now you can preview your template by clicking Preview. If you’re happy with the design, click Save & Apply.
-
Contact list: Choose where to store your subscriber data.
- Click Select list.
-
Use the search box to find the contact list you want to use.
Contact lists for forms always start with
Opt. Orbit automatically checks for all the Opt-in email templates and ensures that there is a contact list for each one called#OPT-IN-LIST <opt-in email name>.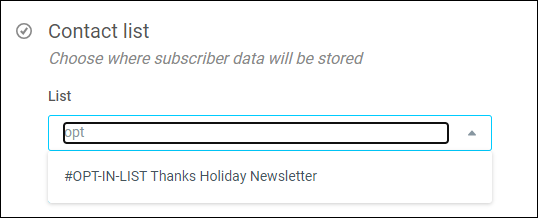
Once you have created an email template and search for a contact list you will find the one created automatically.
Note
The search is not case sensitive.
-
Click Save.
-
When all your form stages have green confirmation checkmarks, check back through each stage of your form to see if you are happy with the set up.
- Once you’re happy with everything, click Publish to publish your form.
You can now integrate your form into your website.
Integrating your form into your website
The last step in setting up your subscription form is to integrate the HTML code into your website.
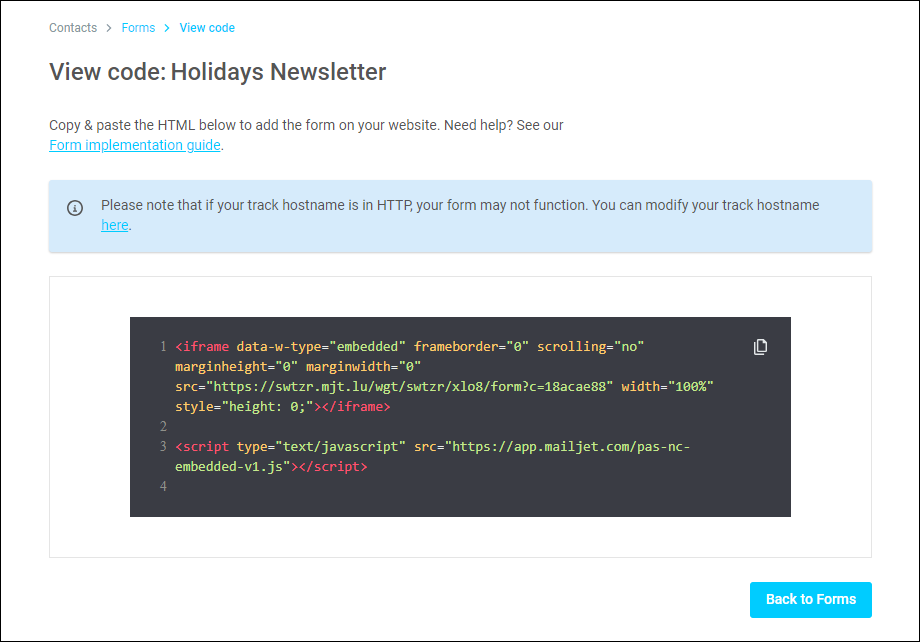
All you have to do is copy and paste the code into your website.