Dynamic email content
In Apteco email, you can create dynamic email content by displaying different images to different recipients using the Selector variable for personalised content.
Defining selector variables
Before you start, ensure you have a Selector variable defined in your Apteco FastStats system.
The goal here is to configure your email template so that it displays different images based on the category assigned to each person.
Configuring your Apteco email channel
To configure your Apteco email channel:
- Open Apteco Orbit.
- Click the person icon in the right-hand corner and click Application Settings.
- Click Campaigning Channel Editor.
- Edit the relevant Apteco Email campaign.
- On the Parameters tab, add the field name into the File Mapping setting.
- Enter the field description into the File Mapping textbox. If you have multiple fields, separate them with a pipe character (|).
- Click Save All Changes.
Editing the email template
To create a dynamic email template, follow these steps:
- Open the email builder.
- Choose transactional templates.
- If you are editing an existing template, click Edit. Alternatively, click Create New Template and choose a template from the gallery or create one from scratch.
- Within your template, you can add image placeholders.
This example has 600 x 160 images across the email header.
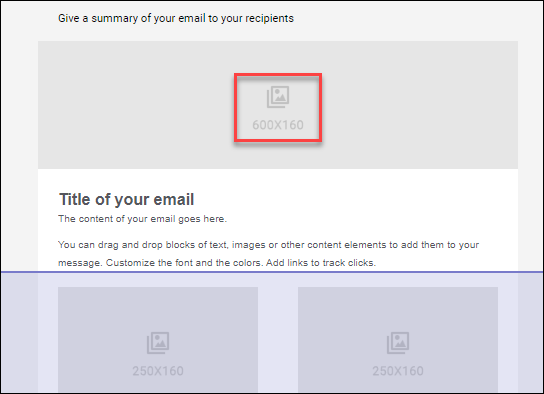
To add images, click the image box and then click Image.
You can then upload a different image and specify a URL. 5. To create multiple sections with different images, click on a section and use the copy icon on the right-hand side.
You can then replace the images in these sections.
Setting the conditions
For each section in your email template, you need to add conditions to control when they are displayed.
To add a condition:
- Click on a section and then click Add Condition.
- Select the Only If option.
- Enter the variable description in the left textbox. Set it to ‘equals’ and then enter the code of the category associated with that image. For example:
- Repeat this process for each section with different images.
- Continue creating your template, and save and publish it when finished.
Adding personalisation fields to a campaign
To add personalisation to a campaign you can:
- Add a variable as an Additional Field into the channel definition.
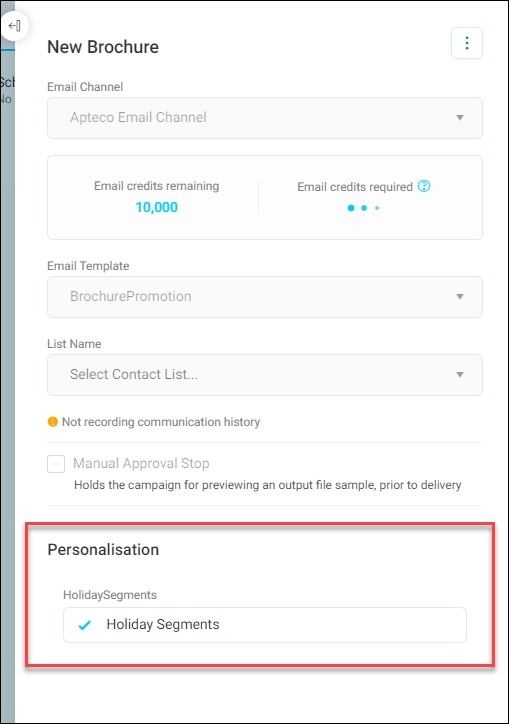
- Add the variable as a Personalisation field into the email section of the campaign journey.