Adding journey steps
Once you have created your audience, the next task is to add a communication output channel.
To add a channel step:
-
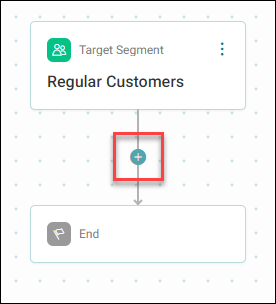
Click the + on the campaign journey.
-
Choose the Journey Step required. In this case, we have selected an Email output channel.
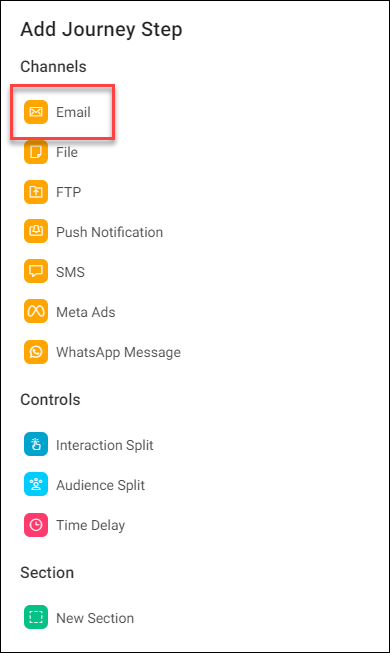
Once selected, the journey step appears on the campaign journey.
-
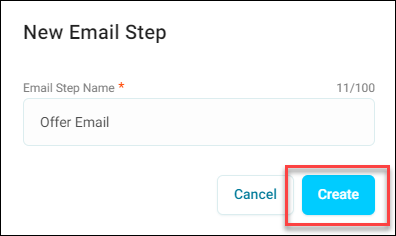
Click the Email step to add a name for it, then click Create.
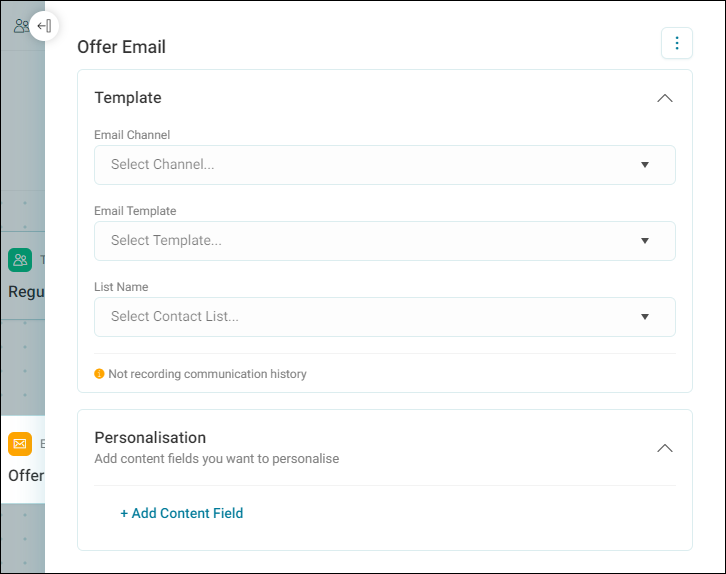
At this point, the journey builder updates to confirm that the channel has been created, and a settings panel appears on the right side of the screen. You can click anywhere on a journey step to open the settings side panel and start editing.
Note
You have the option to record communication history for your campaign later in the process, via Campaign set up. By default, the campaign is set not to record communication history. This is shown on the warning message during the email set up.
Note
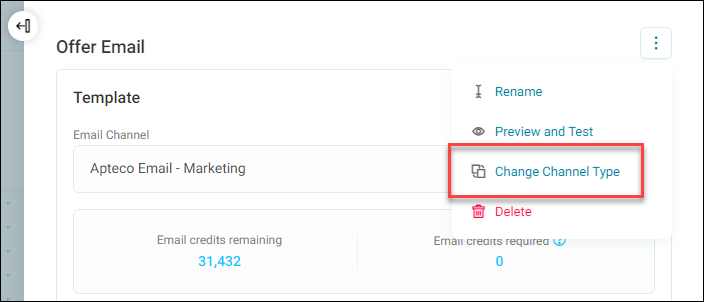
You can also change the channel type on the fly for a message step and retain all personalisation settings from the original channel. For example, you could change from an email step to a WhatsApp step without losing any personalisation.
Just click the Option menu in the step side panel, then click Change Channel Type.
You can now add many other journey steps to your campaign journey to create a personalised and engaging campaign. For more information on the steps available, see Multi-stage campaigns and Redirect sections.