Email responses wizard
This wizard allows you to generate a virtual variable based upon the responses to an email broadcast that has been set up using the Email Broadcast wizard or through Cascade. As part of the wizard steps you are able to configure the virtual variable to be refreshed on a periodic basis.
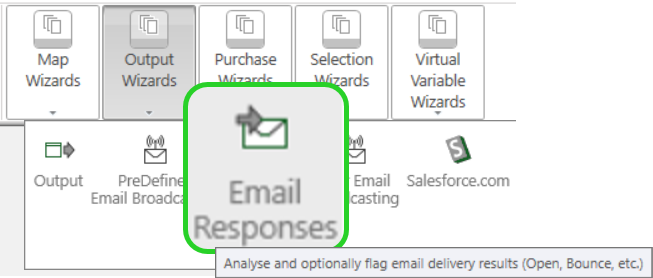
The categories displayed are:
Unopened - where someone has received but not opened the message.
Bounced - where a message has been returned as undeliverable.
Opened - where someone has received and opened the message.
Clicked through - where someone has clicked on a link within the message.
Opted in - where someone has been added to the message list e.g. signed up to receive messages through a website.
Opted out - where someone has unsubscribed so as not to receive any more messages.
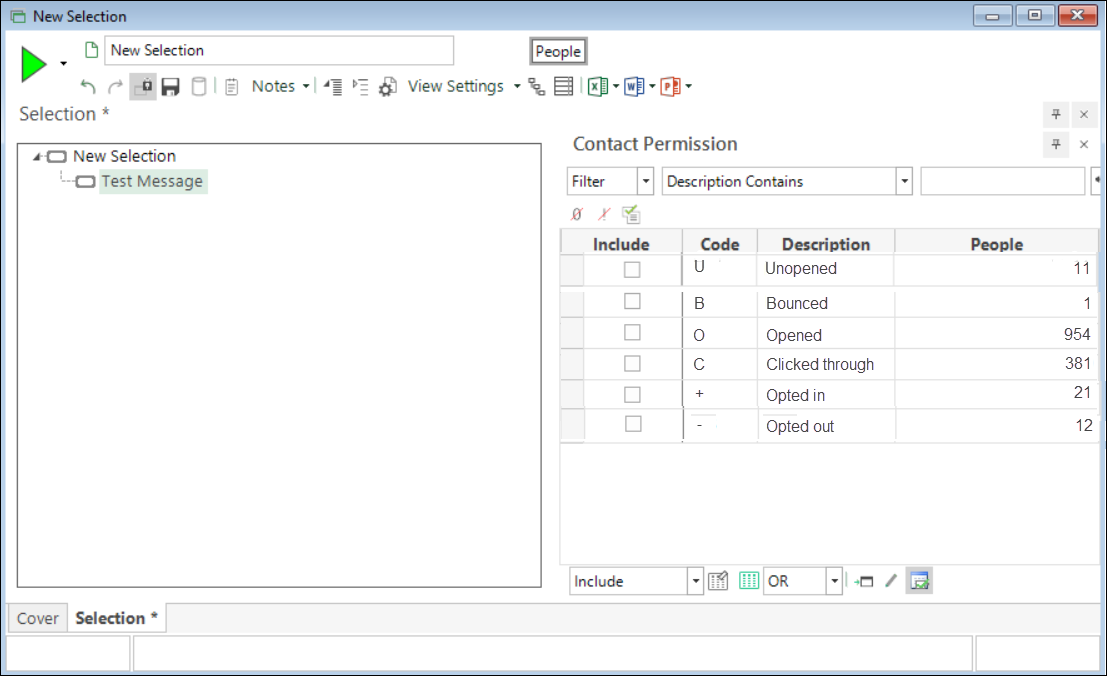
To get started:
On the Wizard tab click on the Email Responses link within the Output section to start the wizard.
Message
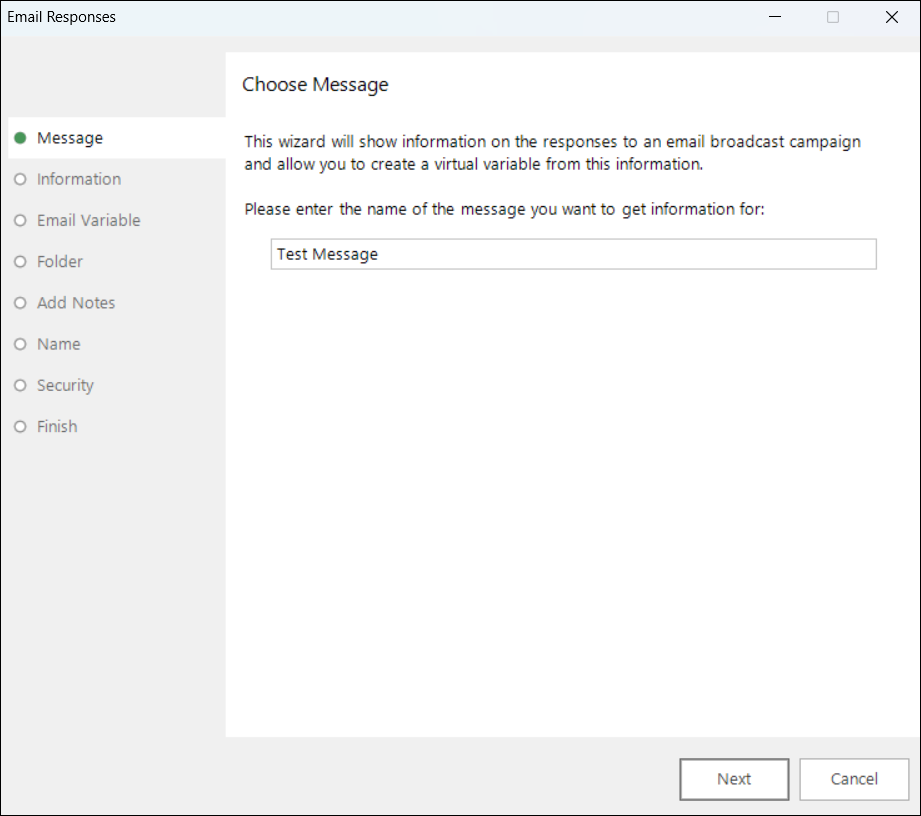
Enter the name of the specific message used in the email broadcast in the box displayed.
Information
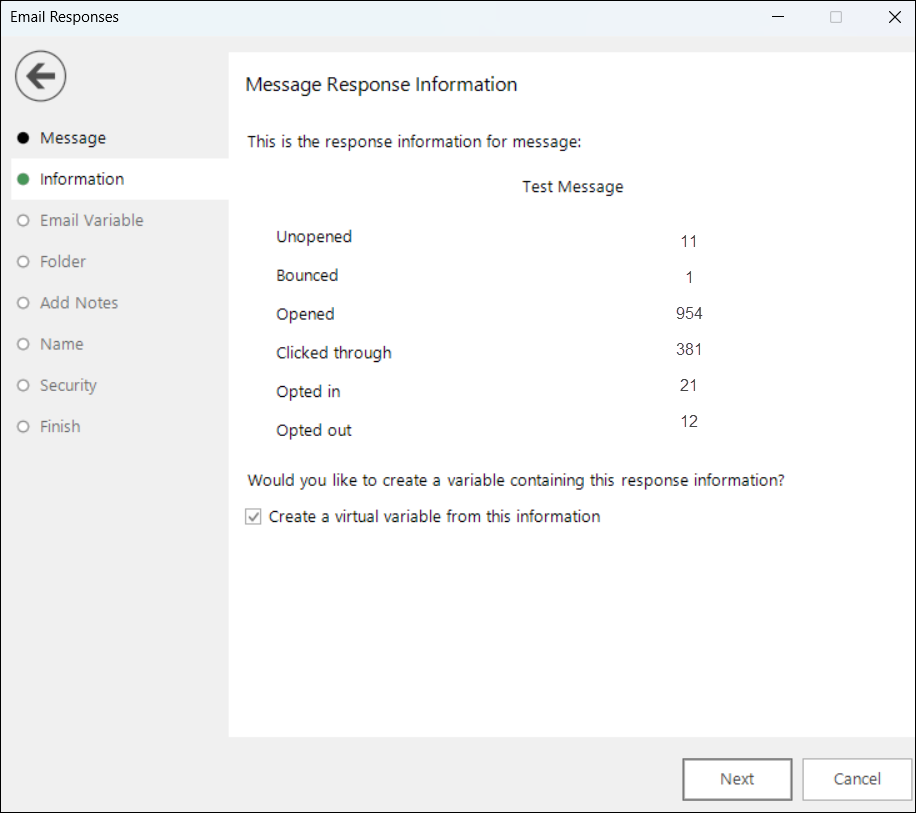
The latest responses from the email broadcaster will be displayed.
Unopened - where someone has received but not opened the message.
Bounced - where a message has been returned as undeliverable.
Opened - where someone has received and opened the message.
Clicked through - where someone has clicked on a link within the message.
Opted in - where someone has been added to the message list e.g. signed up to receive messages through a website.
Opted out - where someone has unsubscribed so as not to receive any more messages.
By default the Create a virtual variable containing this response information? option will be ticked. If this is unticked when you click next you will be taken to Step 8, the Finish step, without a Virtual Variable being created.
Email variable
In this step of the wizard, simply drag and drop the variable that was used to send the message onto the drop-box displayed - for example, the Email Address variable.
Folder
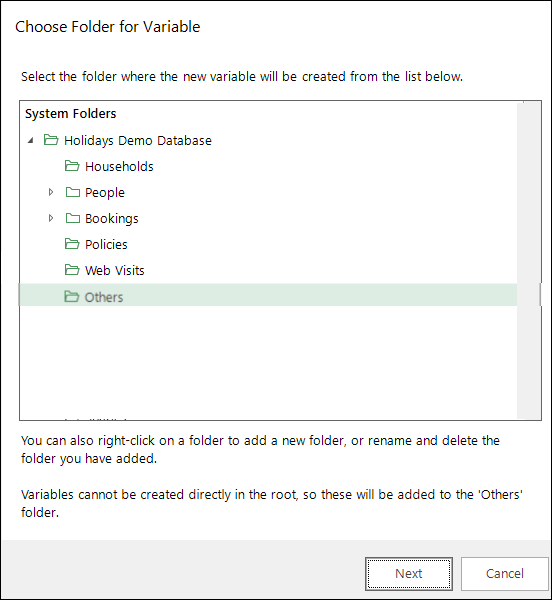
This step allows you to decide where the virtual variable will be created and located in the System explorer. Clicking on a folder will determine that will be where the virtual variable will be placed. Right clicking on an existing folder gives you the opportunity to create a sub- folder to store the virtual variable. By default the Others folder will be highlighted.
Highlight a folder or create a sub-folder where you want the virtual variable to be placed.
Add notes
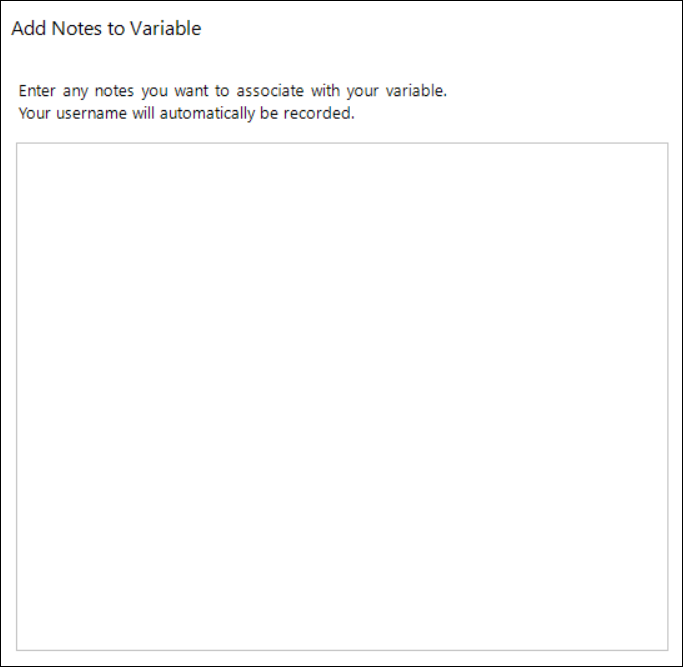
Enter any notes you wish to associate with this virtual variable. The notes can be accessed by right clicking on the Virtual Variable in the System Explorer when created.
Name
-
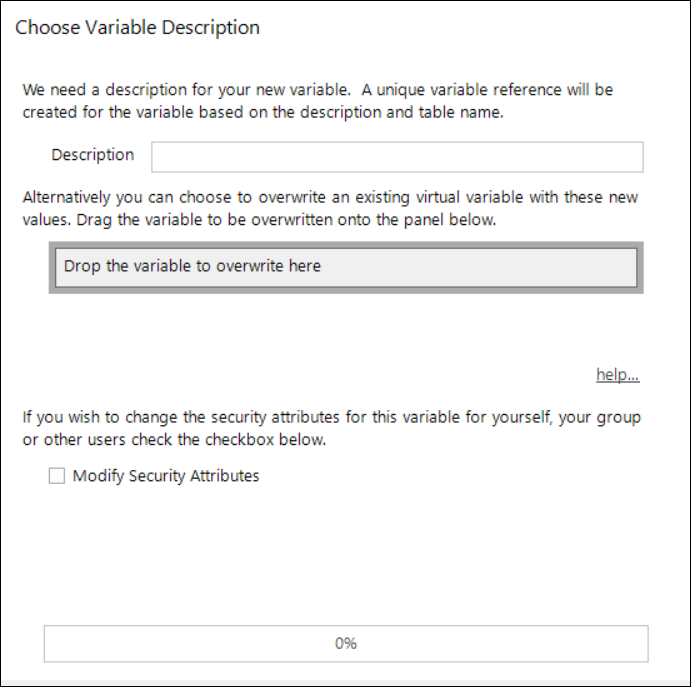
Enter the name of the virtual variable in the Description box.
-
If a variable already exists that will be superseded by this virtual variable, you can drag that variable on to the Drop the variable to overwrite here drop-box.
-
Tick the Modify Security Attributes box to allow you access to Security (This option is only available on an Enterprise version of FastStats).
Security
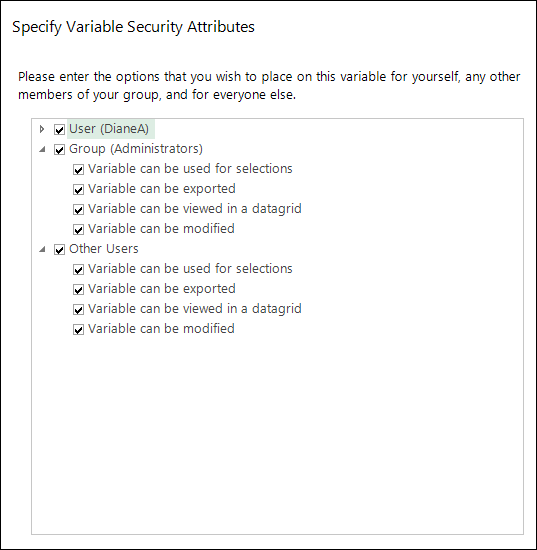
Amend the options for this virtual variable by ticking or unticking the appropriate boxes.
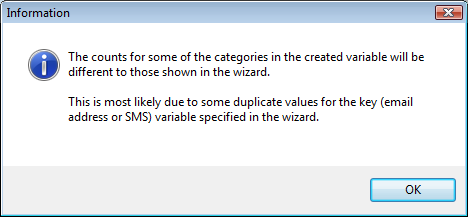
If the Information window shown above appears take note of the wording and click OK.
Finish
This step gives you a summary of the records updated.
-
Tick the box Show new variable as a selection if you want the virtual variable to open when the Finish button is clicked.
-
If you click on the Update this variable on a schedule... you can edit the frequency that the virtual variable is refreshed.
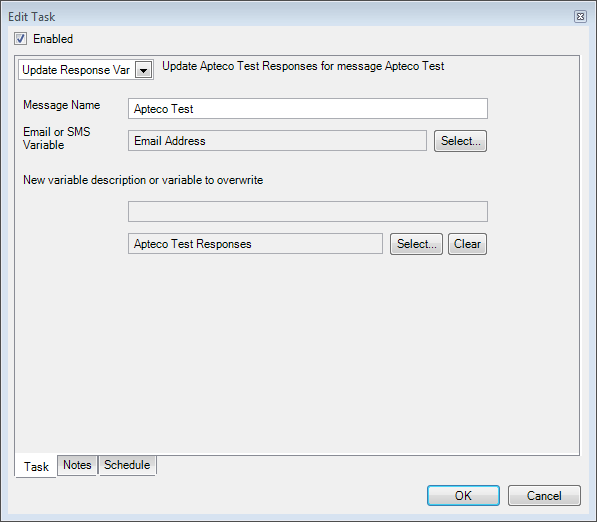
-
Click OK.
- Click Finish to close the wizard.