Installing boundary map files
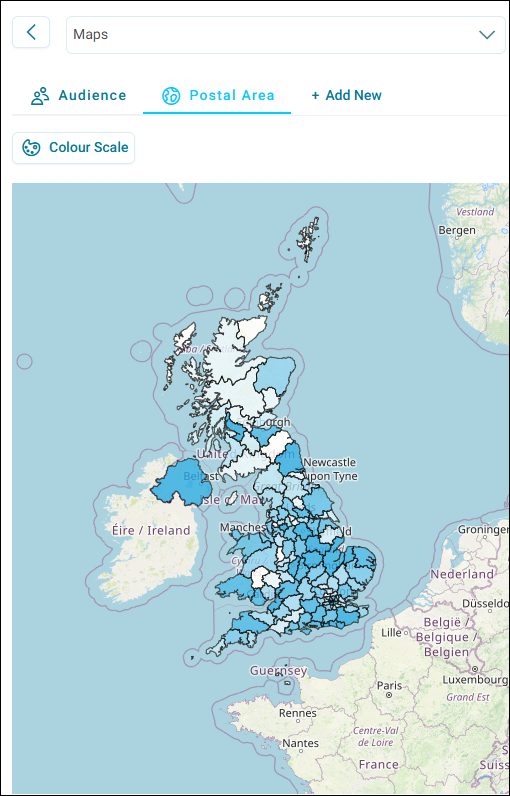
Postal maps display geographical boundaries with thematic shading that represents data values across different postal areas, districts, and sectors. These visualisations help you identify patterns and trends in your data by location.
You can streamline geographical shape file management by using JSON files instead of traditional .shp and .dbf files in FastStats and Orbit. This approach simplifies file management while maintaining full functionality.
Pre-requisite
Before adding new shaded postal map files, remove the .shp, .dbf, .shx, and .lic files for Postal Area, Postal District, and Postal Sector from the client binaries.
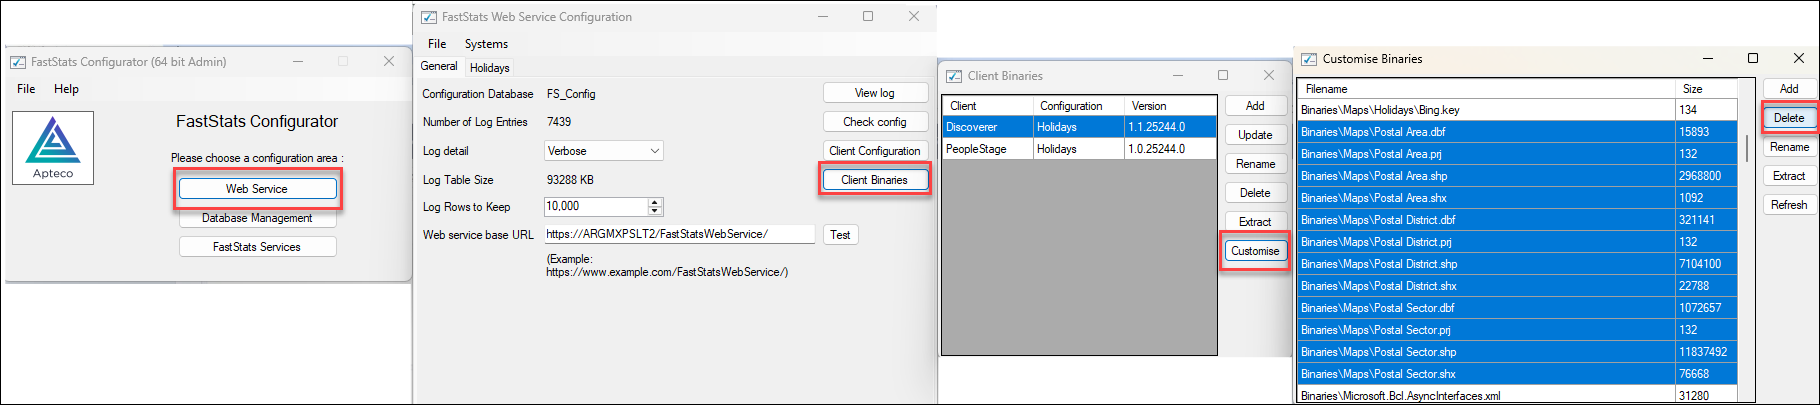
To do this:
- Open your FastStats Configurator.
- Click Web Service.
- Click Client Binaries.
- Select each Discoverer client in turn and click Customise.
- Select any existing Postal Area, Postal District, or Postal Sector files.
- Click Delete.
You can now begin installing your JSON files.
Downloading map files
Before installing JSON map files, download the standard map files from the Apteco portal.
To download map files:
- Go to portal.apteco.com/software-releases and log in.
-
Expand the Current Apteco Orbit download section.
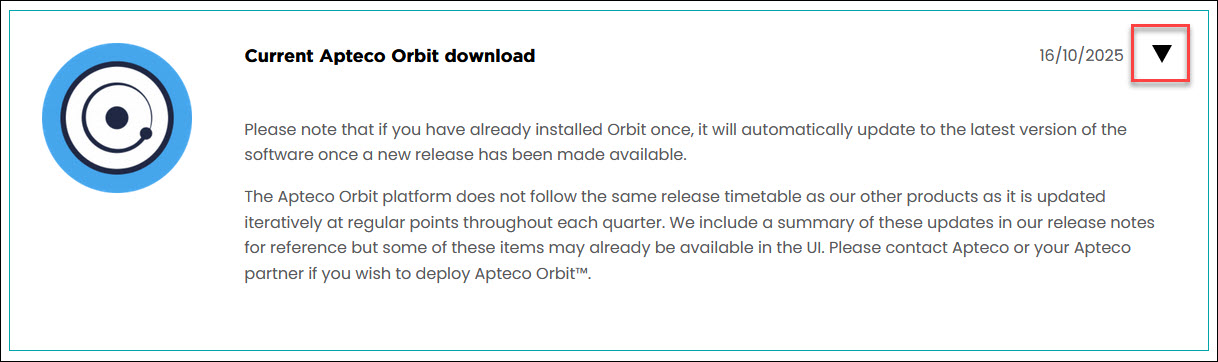
-
Download the appropriate map file:
- OrbitBoundaryMaps.zip—contains UK Postal Area maps and international maps
- UK Shaded Postal Maps yyyy-mm.zip—contains detailed UK postcode maps (only available if you have purchased the detailed UK postcodes add-on)
Installing JSON files in FastStats
When files are stored correctly, you see a thematically shaded shape file populated on your map.
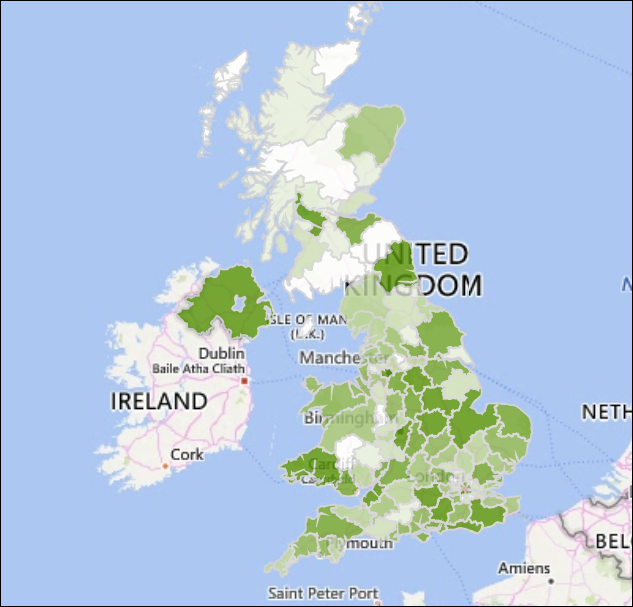
To install JSON files in FastStats:
-
Save your
.jsonfiles (for example,Postal Area.json,Postal District.json, andPostal Sector.json) on the application server in a Maps subfolder of the Project directory. Typically this is the public folder. -
To find the location of the Project folder, run the FastStats Configurator and select FastStats Services.
-
The files come as a
.zipfile. Extract to this location so that only the.jsonfiles exist there.Note
If the Maps folder doesn't exist, create one.
-
Verify your installation by checking the Debug Log when you create or use a map.
The FastStats Launcher automatically checks this folder location first when downloading shape files.
Troubleshooting
If your JSON files are not in the correct location, the Debug Log displays an error message when you create or use a map, indicating that the shape file cannot be found.

Moving your files to the specified directory resolves this issue.
Installing JSON files in Orbit
After downloading the zip files from the Apteco portal, you can choose which maps to install in your Orbit system.
To install JSON files in Orbit:
- Log in as an Administrator.
-
Select Map Definitions.
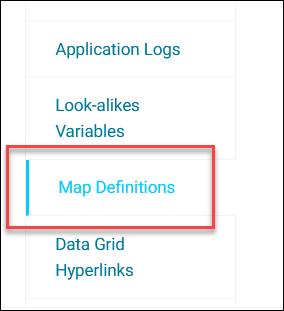
-
Select your map and click + Add Shape Files.
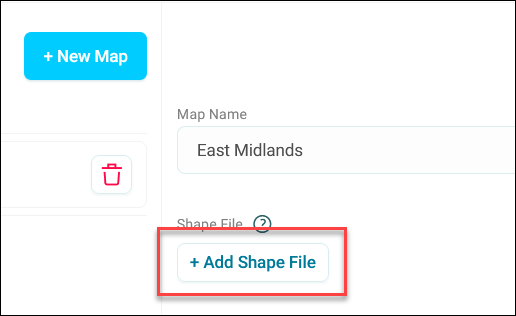
-
Insert your JSON files and click Add.
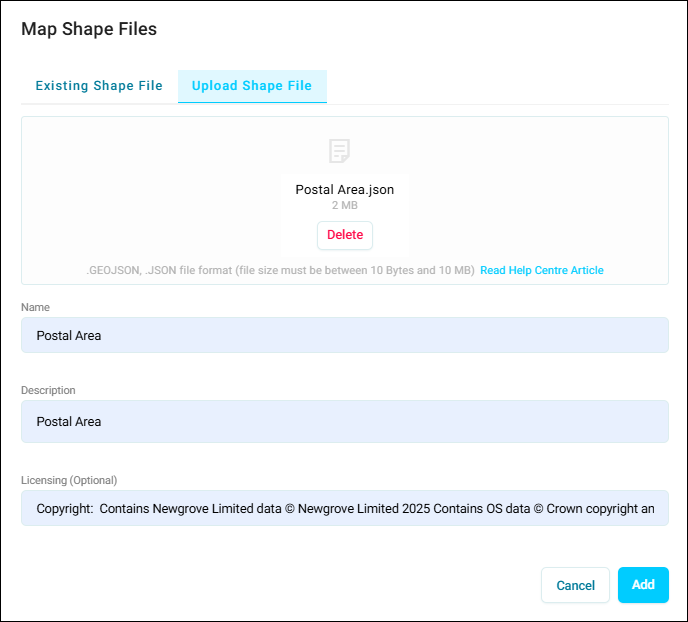
-
Match the files to the corresponding variables in your system by clicking + Add Variable. For example, match the Postal Area shape file to the Postal Area Virtual Variable.
- Select which category fields to match to for Codes and Descriptions. FS_CODE and FS_DESC exist to match to the variables for District and Sector.
-
For Postal Area, choose AREA to match.
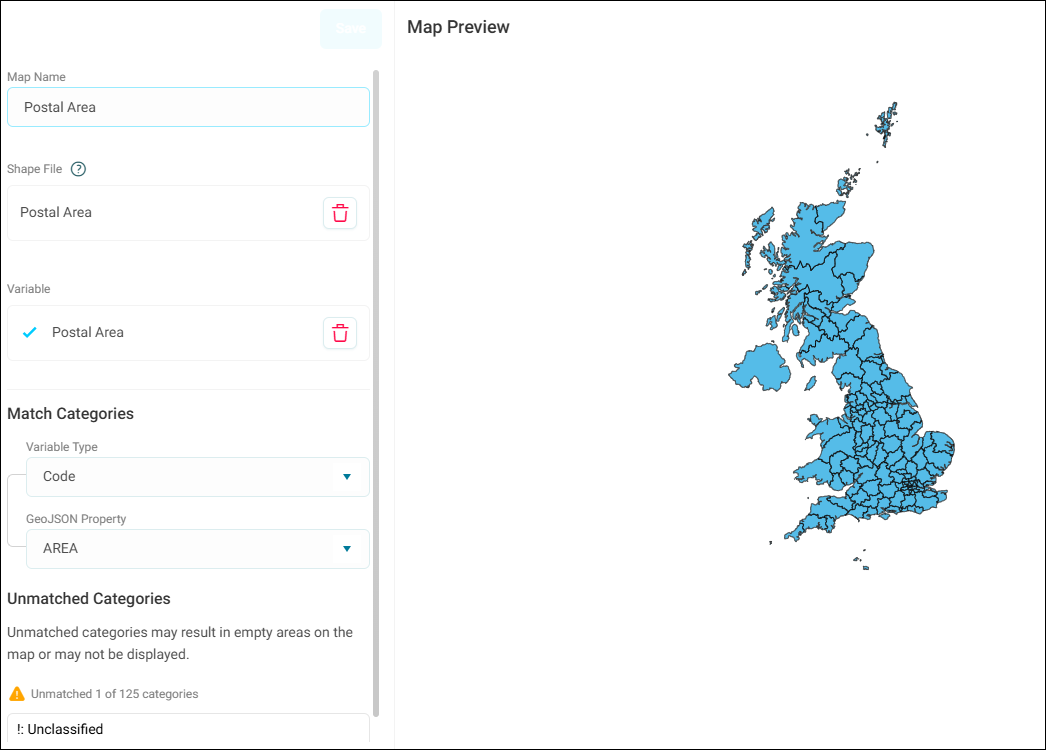
-
Click Save.
Your map definition is now available for use in both Dashboards and Audiences.
Example dashboard map
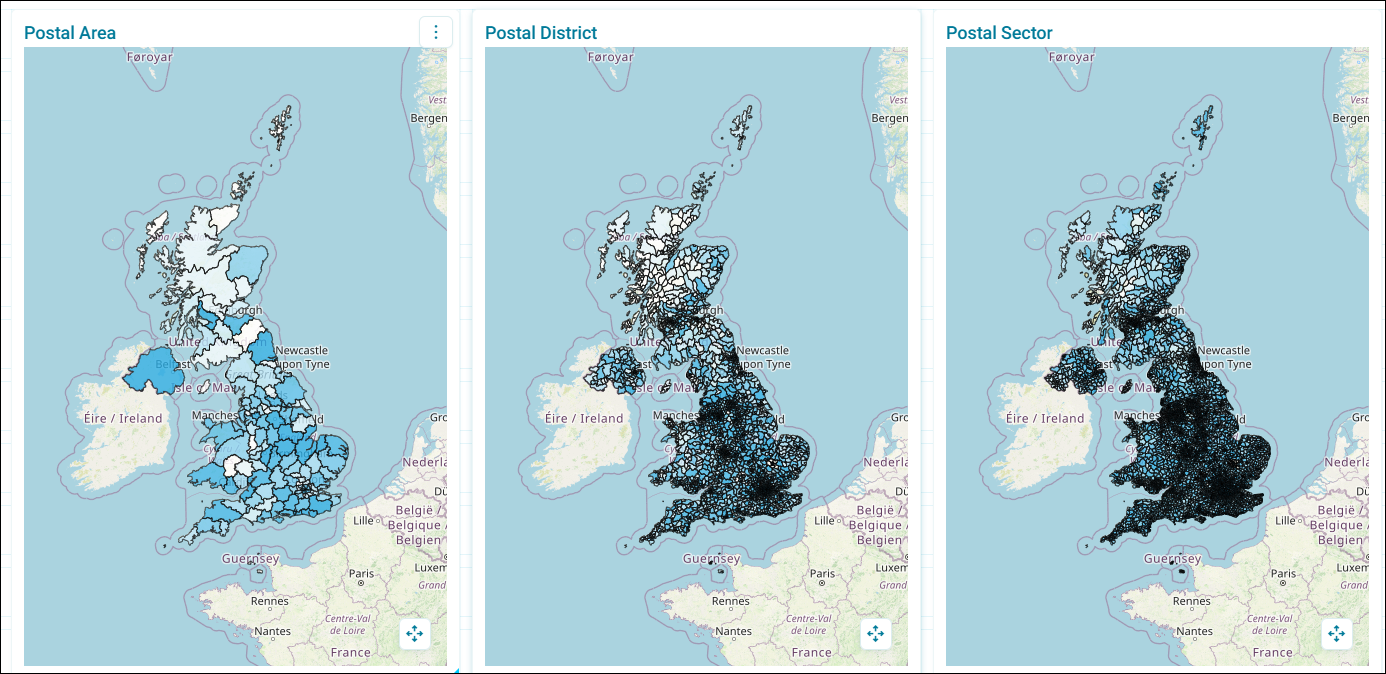
Example audience map
Note
If you encounter any issues, contact the Technical Services team at support@apteco.com.