Orbit installation
Note
The installation of the .NET Core Runtime, Windows Server Hosting, and URL Rewrite modules described in Prerequisites must be completed and validated before continuing.
Reset IIS
Restart the web service to ensure that .NET Core is installed and running.
To restart IIS:
- Search for CMD in the Start menu.
- Right-click Command Prompt and select Run as administrator.
- Type
IISResetand close the CMD window when 'Internet Services Successfully Restarted' is displayed. Alternatively, reboot the machine.
Create the Orbit database
The Orbit database stores information about available collections and collection sharing details.
-
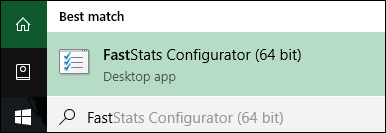
Open the FastStats Configurator.
Note
Search for "Fast" in the Start menu to locate it.
-
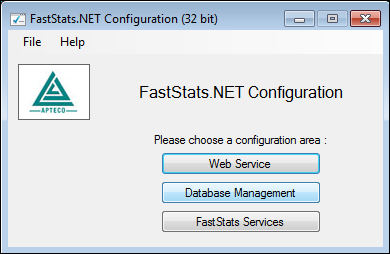
Select Database Management.
-
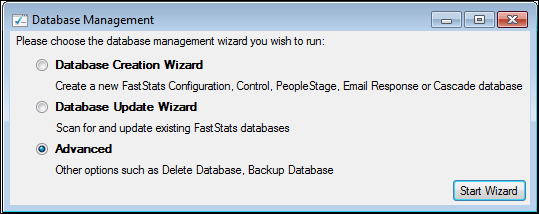
Select Advanced in the Database management dialogue, then click Start Wizard.
-
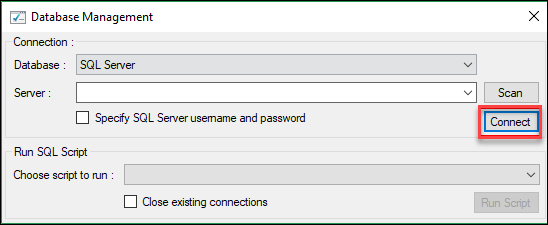
Select SQL Server from the Database drop-down and enter the database server name in the Server box.
-
Click Connect.
-
Select Create Orbit Database from the drop-down.
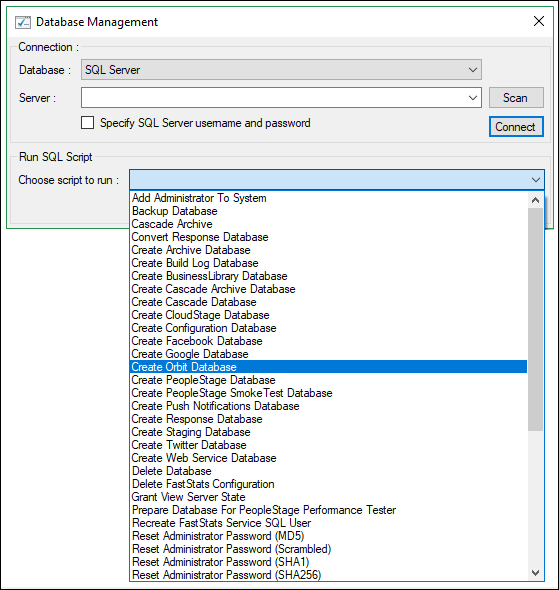
Note
Orbit uses one database in a FastStats multi-system environment. DataViews are used to control which system a user can access in Orbit.
-
Enter a name in the Database Name field for the Orbit database, for example OB_Global.
-
Click Run Script.
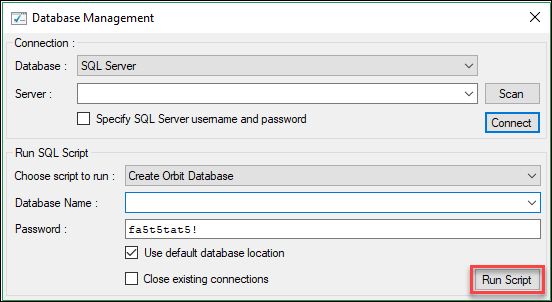
-
The Running Database Script dialogue opens. Click Close when it has completed successfully.
Note
The Orbit database creation script checks for an existing FastStats system database and uses your faststats_service user and password.
Install the Updater service
Run OrbitUpdaterService.msi (right-click and select Run as Administrator). This installs the FastStats Orbit Updater in:
The Orbit Updater Configurator launches automatically.
Note
You can manually launch the FastStats Orbit Updater Configurator from: C:\Program Files (x86)\Apteco\FastStats Orbit Updater\UpdaterConfigurator.exe