Custom tables in Dynamics 365
Create a new customised table
- Log in to the Dynamics 365 web interface.
-
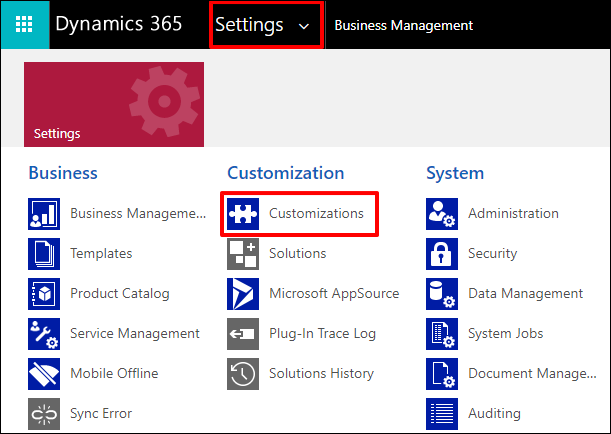
Click Customize the System.
-
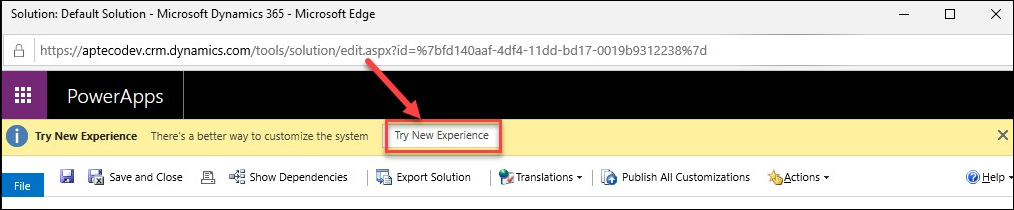
In the Solution window, click Try New Experience.
-
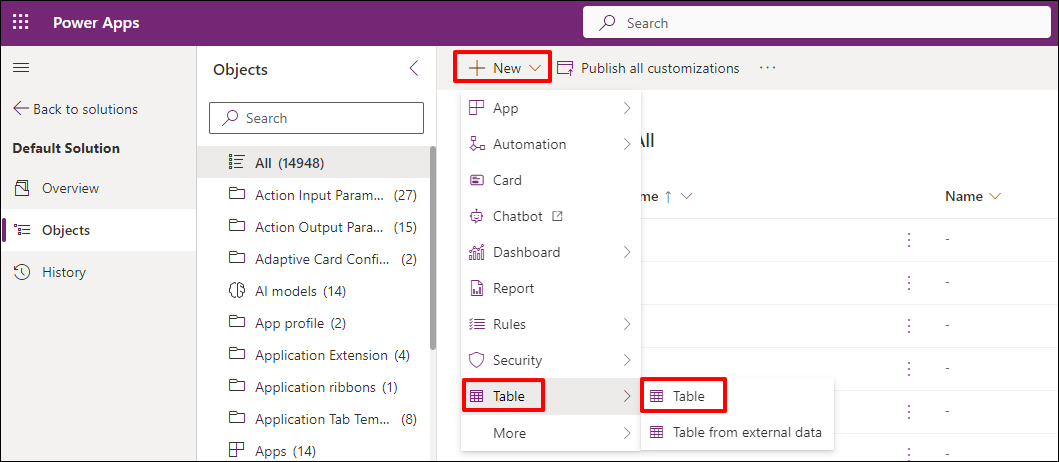
In the Power Apps editor, select + New > Table > Table.
-
Complete the Display name, Plural name, and make a note of the Schema name for later. Click Save.
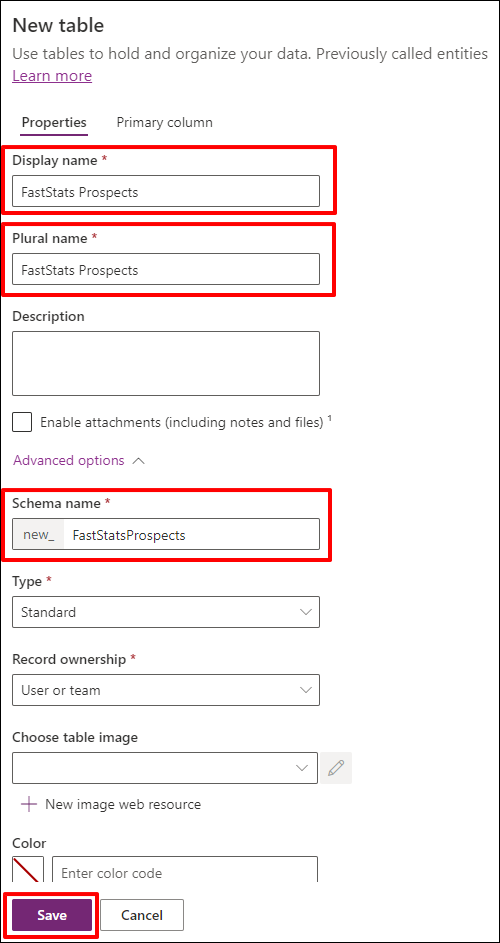
Item Description Display name FastStats Prospect Plural display name FastStats Prospects Schema name new_faststatsprospects -
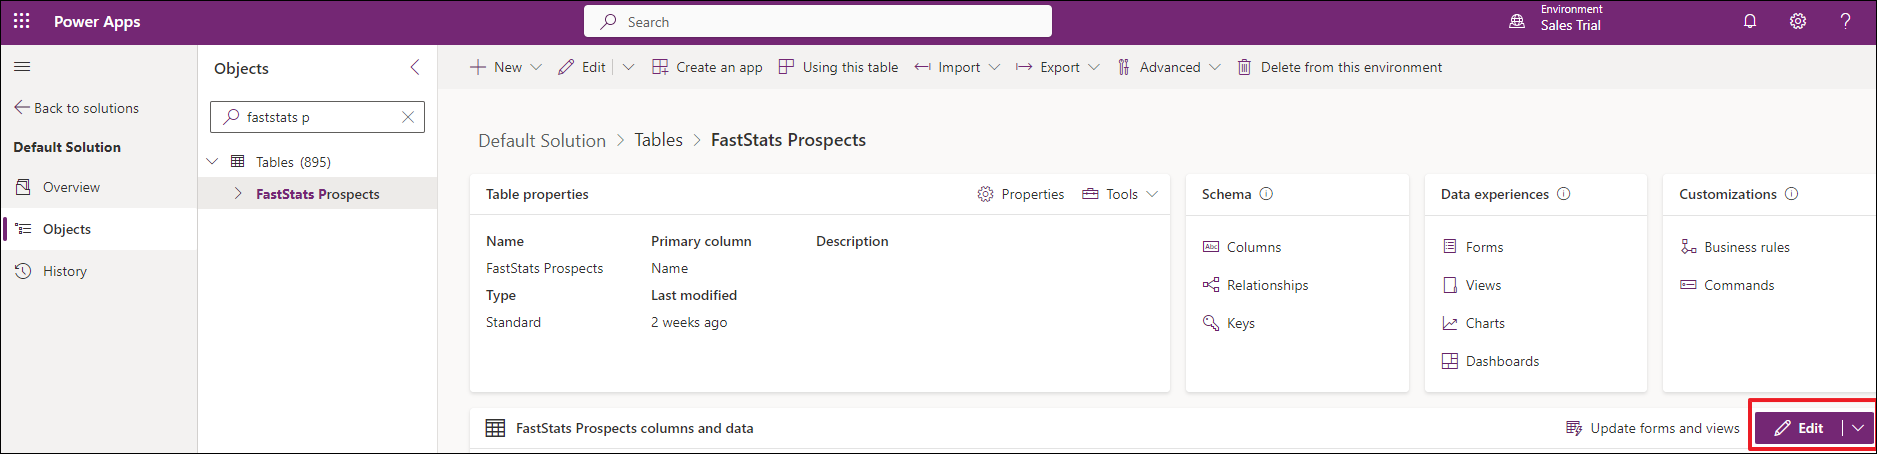
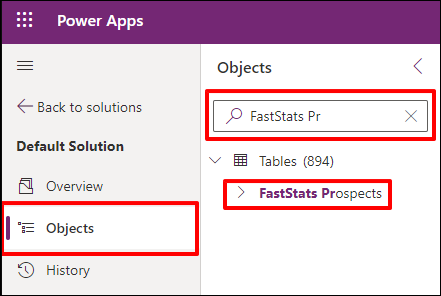
Search for your table by typing the name in the Objects search bar, then click on your new table.
-
Click Edit.