Set up mapping fields in FastStats
Mapping the fields
To map Microsoft Dynamics fields in FastStats:
-
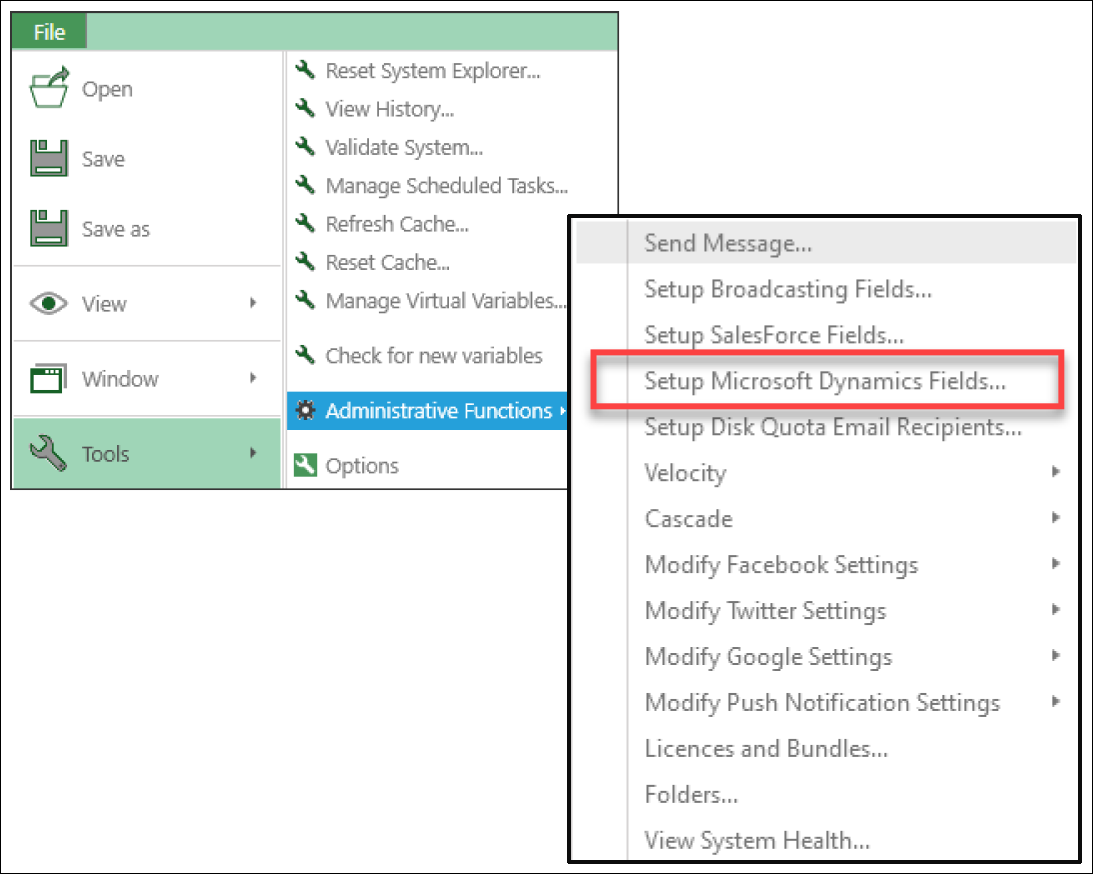
From FastStats, select File > Tools > Administrative Functions > Setup Microsoft Dynamics Fields.
-
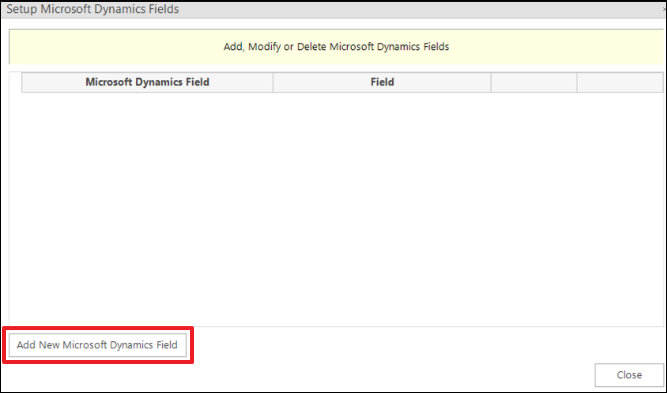
The Setup Microsoft Dynamics Fields dialogue opens. Click Add New Microsoft Dynamics Field.
-
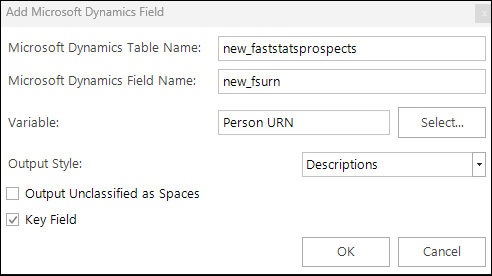
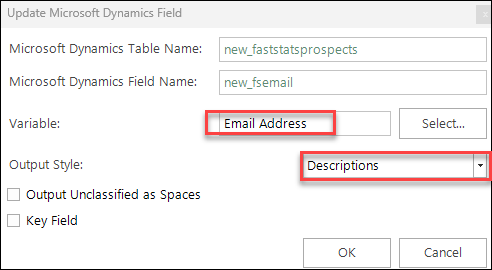
Enter the Microsoft Dynamics Table Name.
- Enter the Microsoft Dynamics Field Name"”this is the logical name of your column.
-
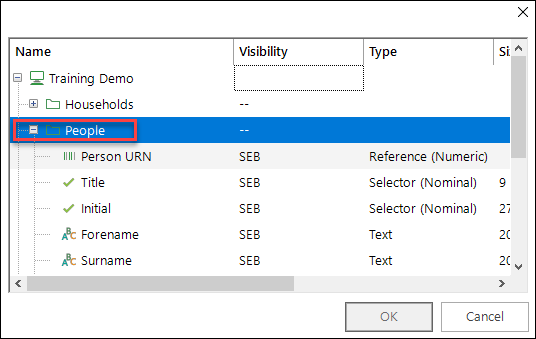
Click Select to select the FastStats variable Person URN from the list under the People Table, then click OK.
-
Select Codes or Descriptions (depending on your variable) from the Output Style dropdown.
-
Select the Key Field check box to define this as the primary key field.
Note
There must be one key field or the upload will not work.
-
Click OK.
-
Repeat steps 2 to 8 for all the fields you created in Dynamics 365:
-
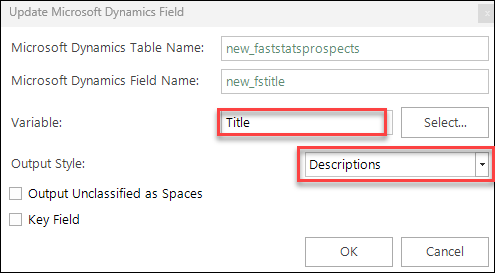
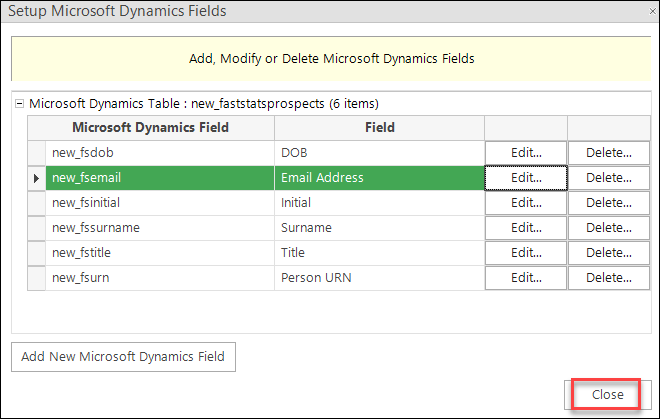
Map new_fstitle with FastStats Title"”select Descriptions.
-
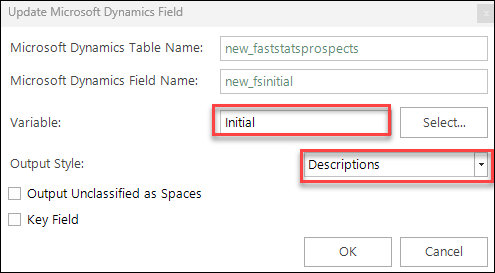
Map new_fsinitial with FastStats Initial"”select Descriptions.
-
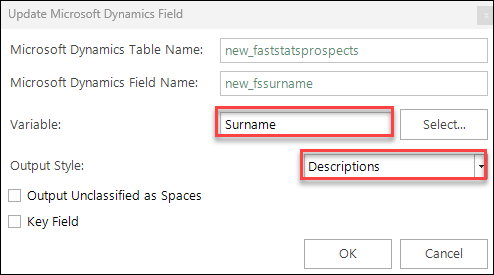
Map new_fssurname with FastStats Surname"”select Descriptions.
-
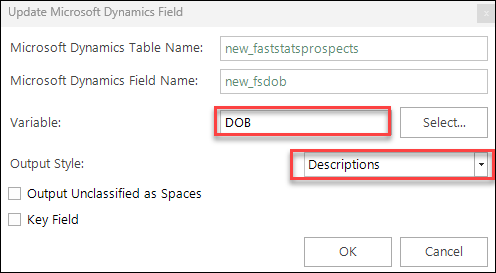
Map new_fsdob with FastStats DOB"”select Descriptions.
-
Map new_fsemail with FastStats Email Address"”select Descriptions.
-
-
Click Close to finish mapping fields.
Editing or deleting mappings
You can update or delete existing Microsoft Dynamics mapping fields:
- To update a mapping field, click Edit.
- To delete a mapping field, click Delete.
Note
You need to exit FastStats and log in again for these changes to take effect.