Date banding wizard
The Date Banding Wizard is a Virtual Variable Wizard which provides an easy way to make a new virtual variable from a date. It uses an existing FastStats date variable as a source.
Examples of the types of banded virtual variables you can create are:
- Banded into quarters for two years until a given date
- Fifty-two weekly bands ending today
You can also band dates using the Combine Categories Wizard. This will easily combine days together into months, years or decades, but works on absolute bandings rather than relative to a particular date.
On the Wizard tab click on the Date Banding link to start the wizard.
Source
Simply drag the date variable you wish to use as a source from the System Explorer onto the drop on box provided.
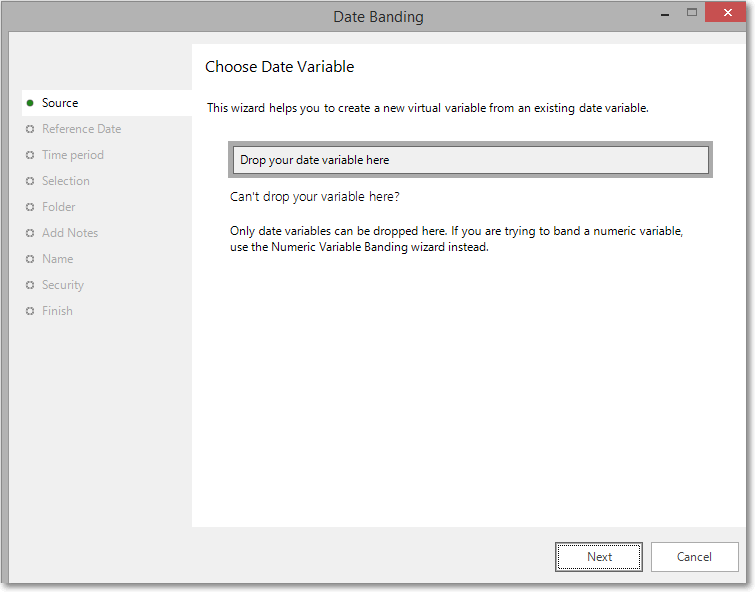
If you have dragged a date variable directly onto the wizard's icon in the Wizards Ribbon Bar, this action will have been completed automatically.
Reference date
On this step you need to specify a reference date for this date banding. The reference date is the last day of the time periods you are making. For example, if you are making a new variable which is the twelve months of 2016, the reference date would be 31st December 2016.
You can select to use today's date (as a default), the day the FastStats system was loaded, or any custom date. A calendar is provided to choose the custom date.
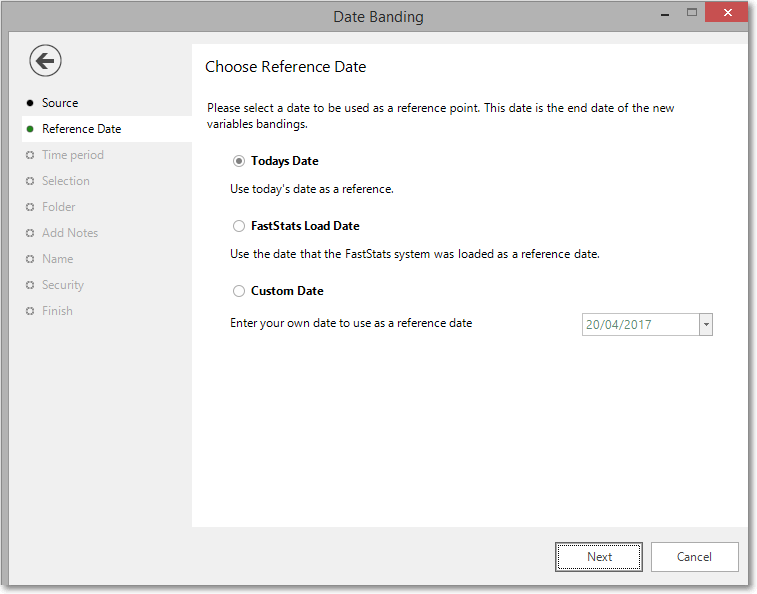
Each band will then proceed backwards from this date. For example, imagine you select Today's Date and the Time Period is set to Month. If the date today is the 24th August 2005 then the first code will hold all dates from the 24th August 2005 to 25th July 2005. Then next code will then hold all dates from 24th July to 25th June, and so on.
Time period
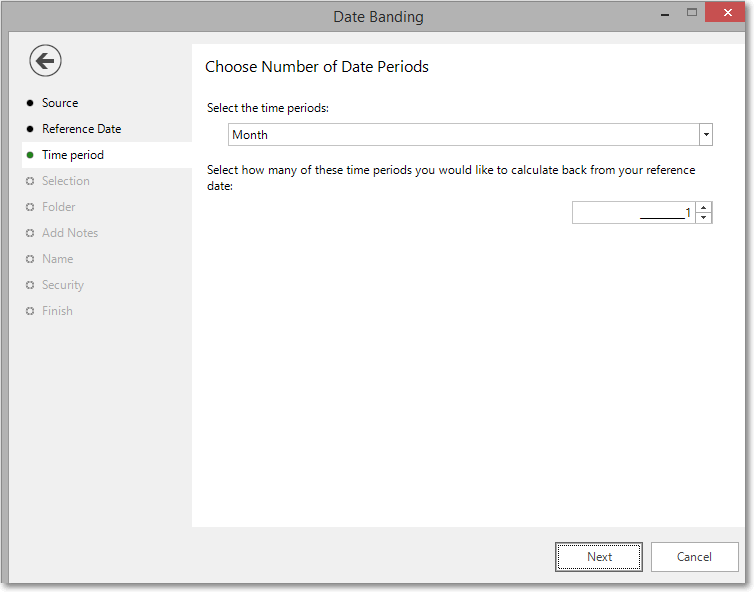
This step allows you to define which types of time periods you wish to use, and how many. Choose a time period from the drop down list. Then choose the number of periods to create.
For example, if you were looking to create a new variable which displays the twelve months of 2005, you would choose Month as the time period and choose to create twelve of them.
Selection
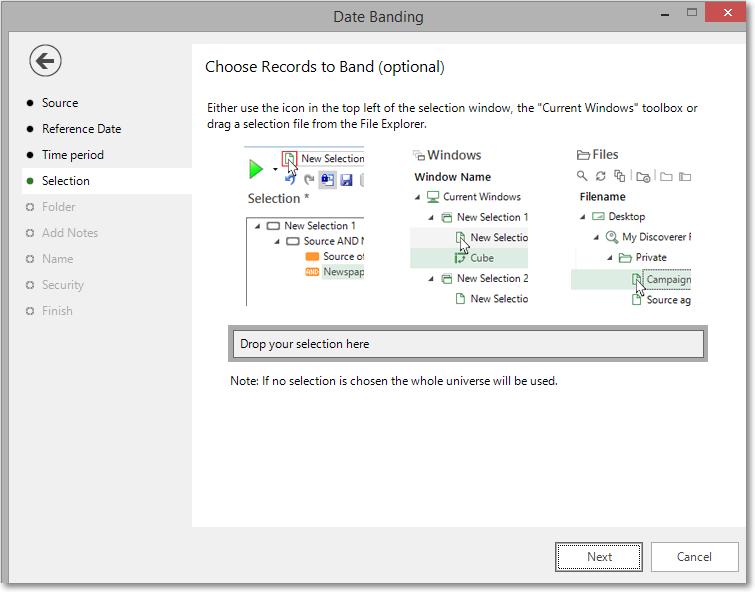
As with most wizards, it is possible to limit the records that are affected. This is not always required, therefore skipping this section means that all records are updated.
Drag a selection of the records you wish to effect onto the drop on box.
Folder
Choose the folder that the new variable should be created in.
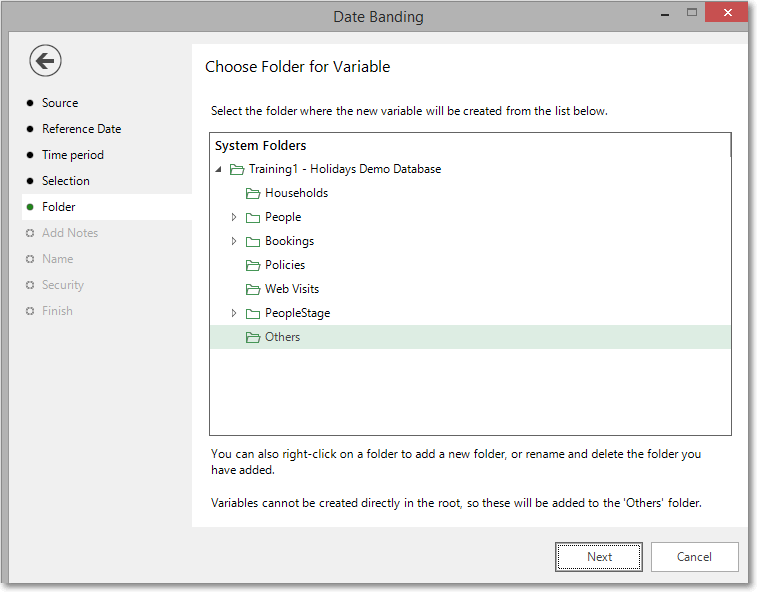
Create (if necessary) and highlight the folder to hold the virtual variables you are about to generate.
Add notes
You can choose to add notes to your variable. These can be viewed later by right-clicking on the variable once it is in the System explorer window.
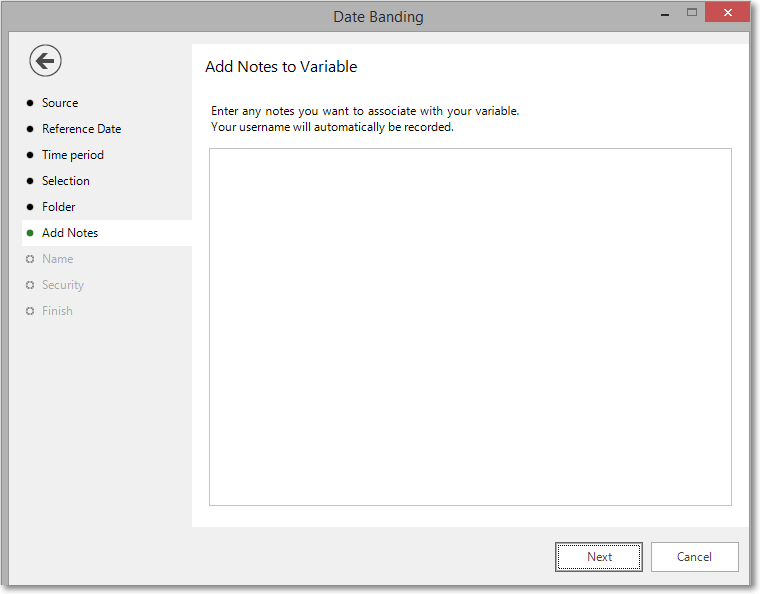
Enter any Notes you wish to record.
Name
This step of the wizard allows you to define what the Virtual Variable will be called.
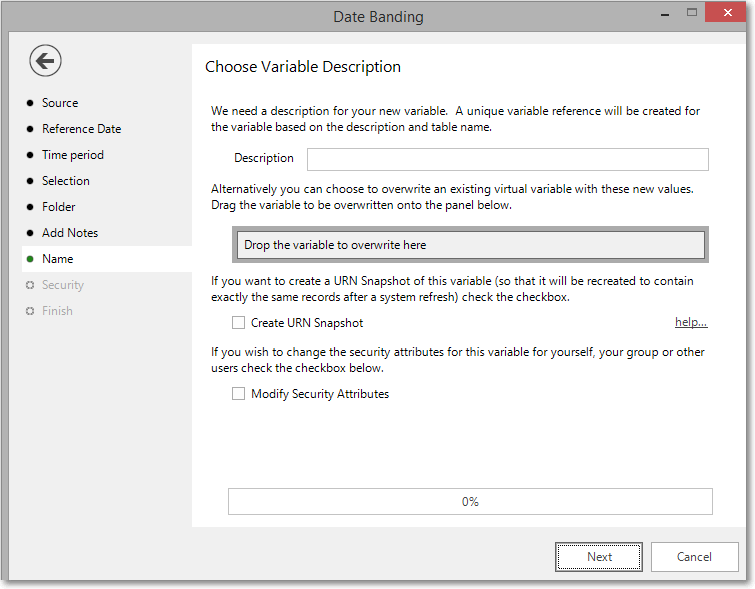
Enter the name of your variable in the Description box.
To overwrite an existing virtual variable drag it on to the Drop the variable to overwrite here drop box.
Tick the Create URN Snapshot box to record the exact records found at this time so it can be recreated after a refresh of the data if needed.
Tick the Modify Security Attributes box to allow you access to Security (This option is only available on the Enterprise Version)
Security
This is an optional step available on the Enterprise version of the software.
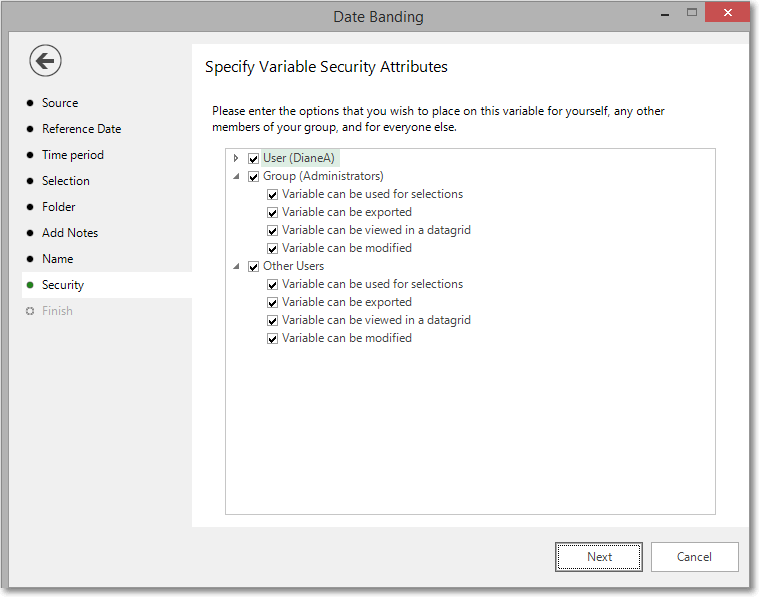
Use the tick boxes to set the security setting you wish to apply to this variable.
Finish
When you reach this step, the actions required by this wizard have been performed. The new variable has been highlighted in the System Explorer.
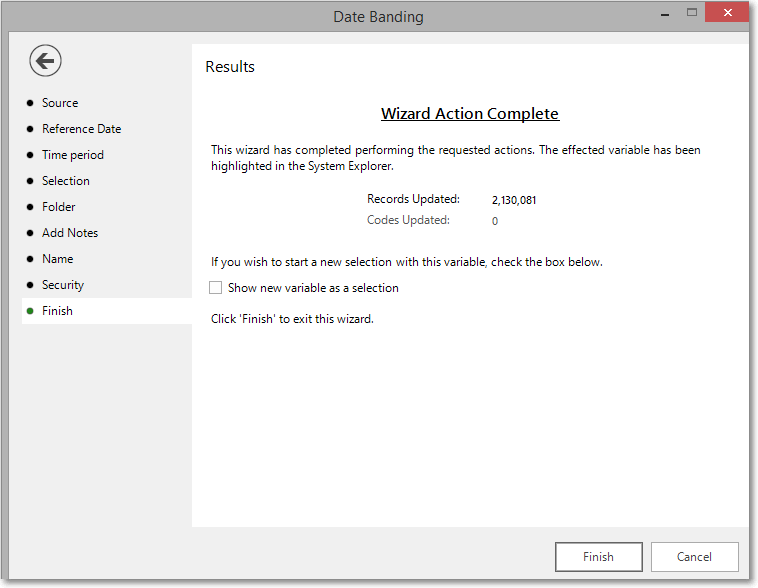
Tick the Show new variable as a selection box if you want to view the variable when the wizard is closed.
Click Finish to close the wizard.