Import data wizard
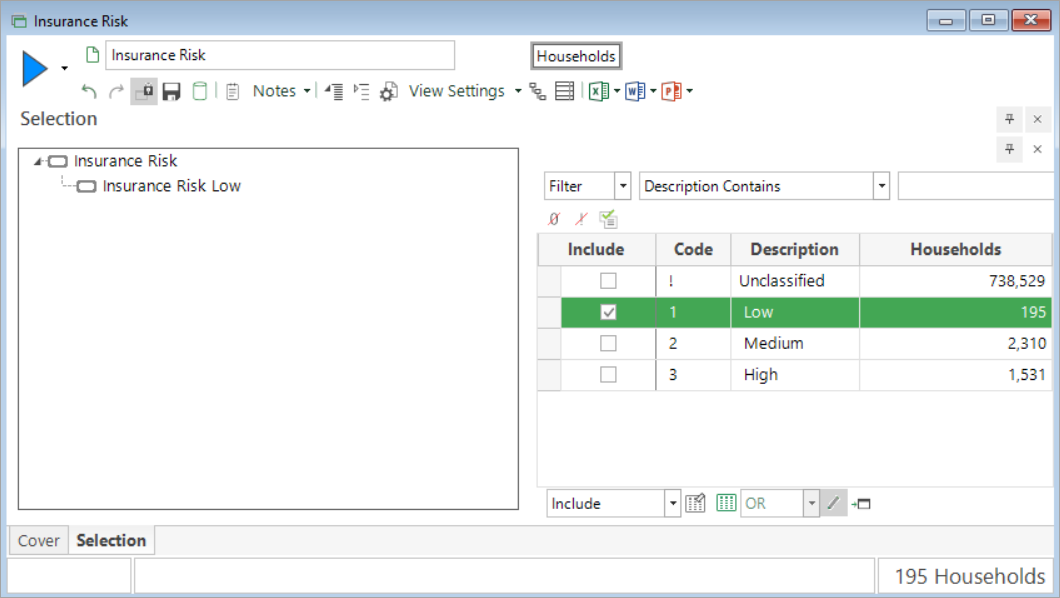
The Import Data Wizard is a Virtual Variable Wizard that creates a new Virtual Variable in the FastStats system from a given text file. This is useful when you have external data (such as score data) that you wish to add into your system and analyse after it has been built with FastStats Designer.
The Import Data Wizard will accept fixed and delimited text files. If you have other data sources then these should be converted to a fixed or delimited text file before you use the wizard.
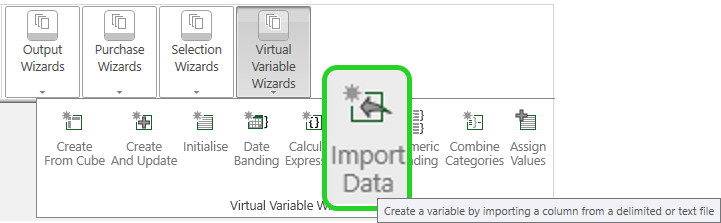
On the Wizard tab click on the Import Data link to start the wizard.
Source
The first step of the wizard is to identify the file to import. This should be dragged on to the drop on box from the File Explorer.
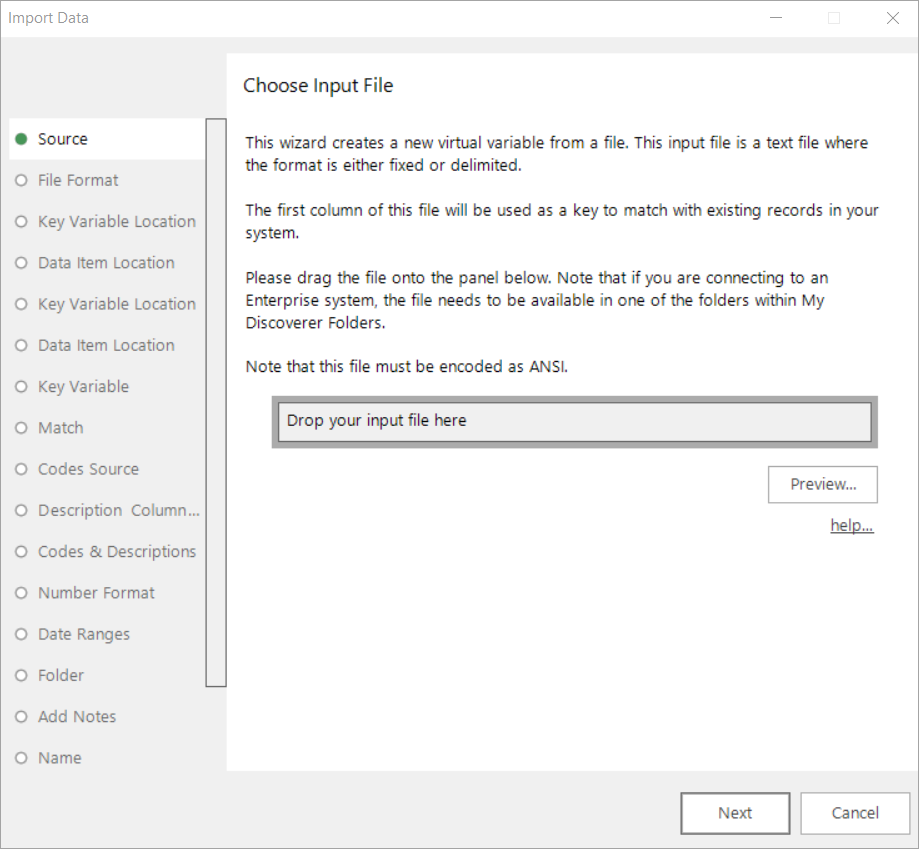
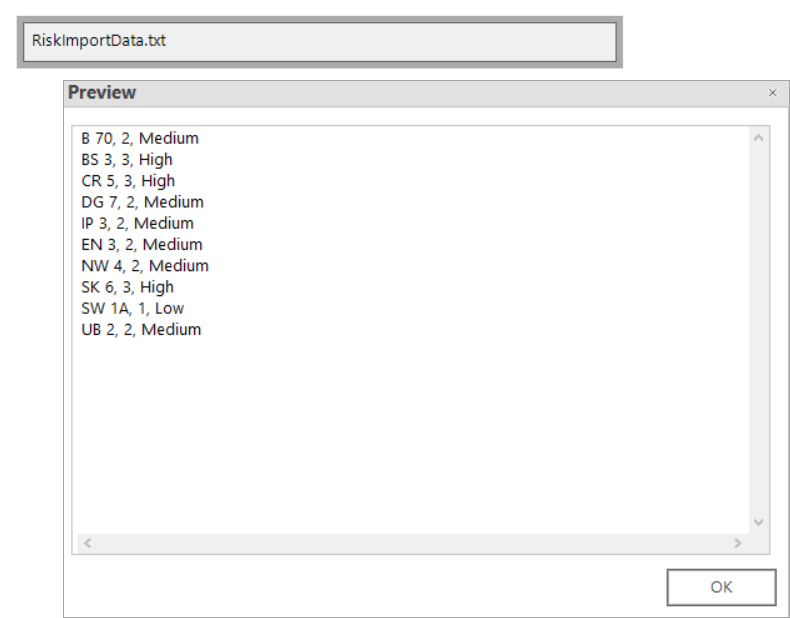
Once a file has been dragged onto the wizard the Preview... button can be used to look at the first few lines of the file.
File format
This step of the wizard allows the user to specify whether the text file is a Fixed Format or Delimited. If it is delimited then the type of delimiter and other options can then be specified from the drop down boxes.
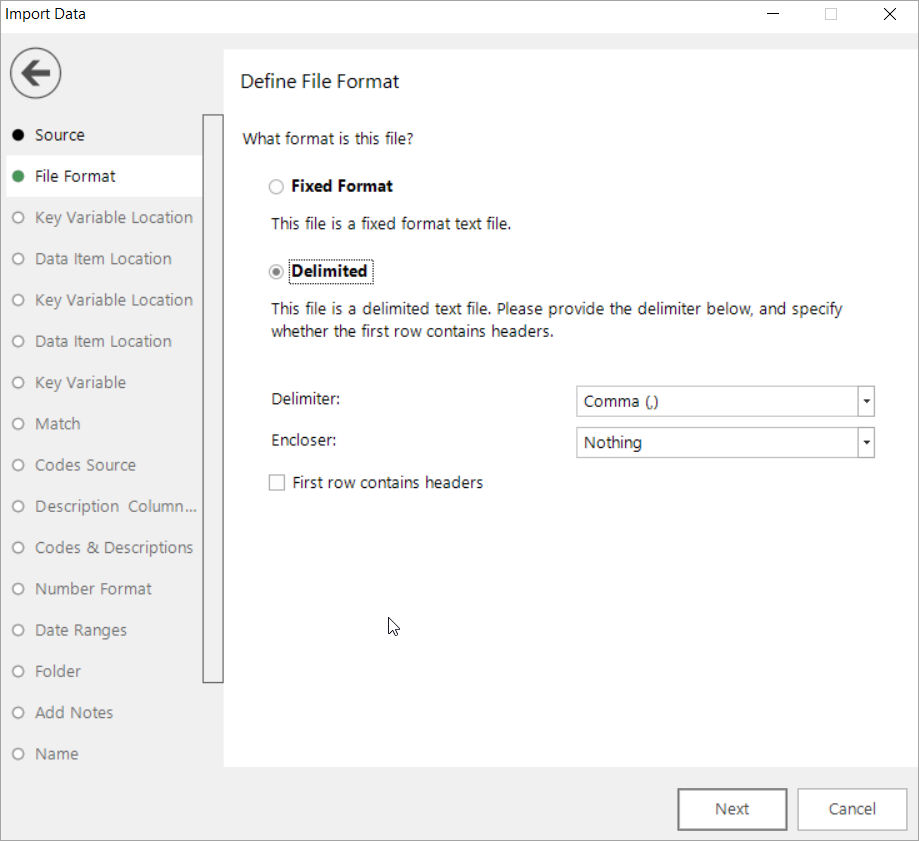
- Click Next to go to Key variable location (fixed format).
- Click Next to go to Key variable location (delimited).
Key variable location (delimited)
If you specified that the file was a Delimited format, the next step is displayed to allow you to identify the Key Variable.
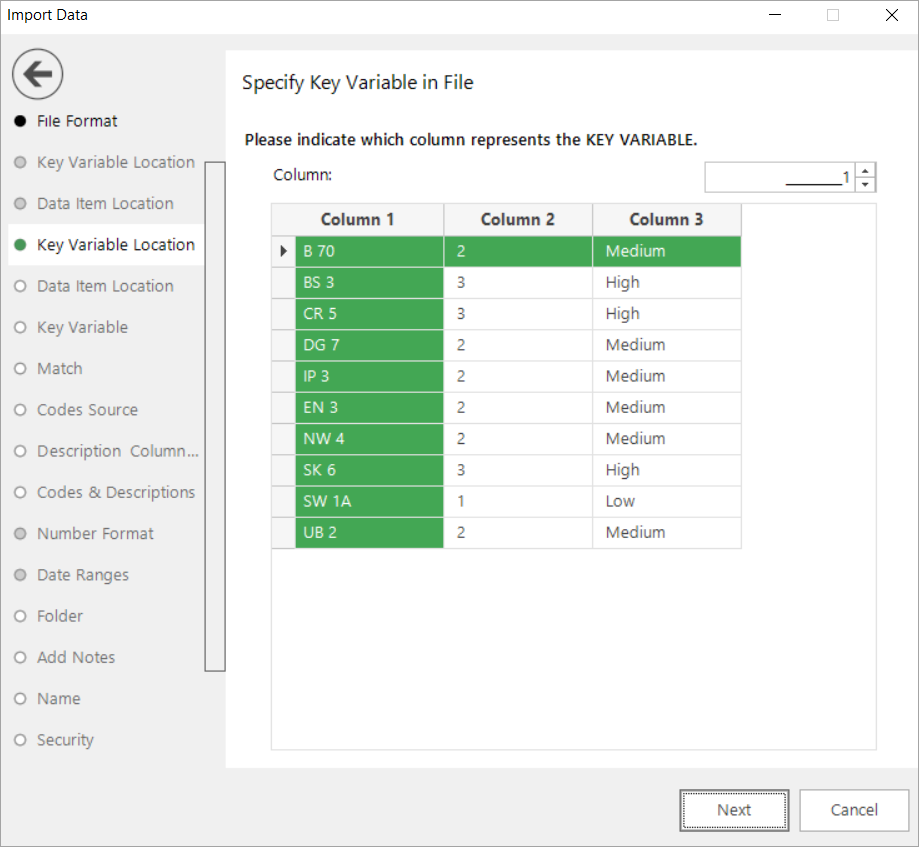
The Key Variable is usually the first column in the data. If this is not so, highlight the appropriate column, or specify its index in the text box.
Key variable location (fixed format)
If you specified that the file was a Fixed Format the next screen will be displayed to allow you to choose what data to import.
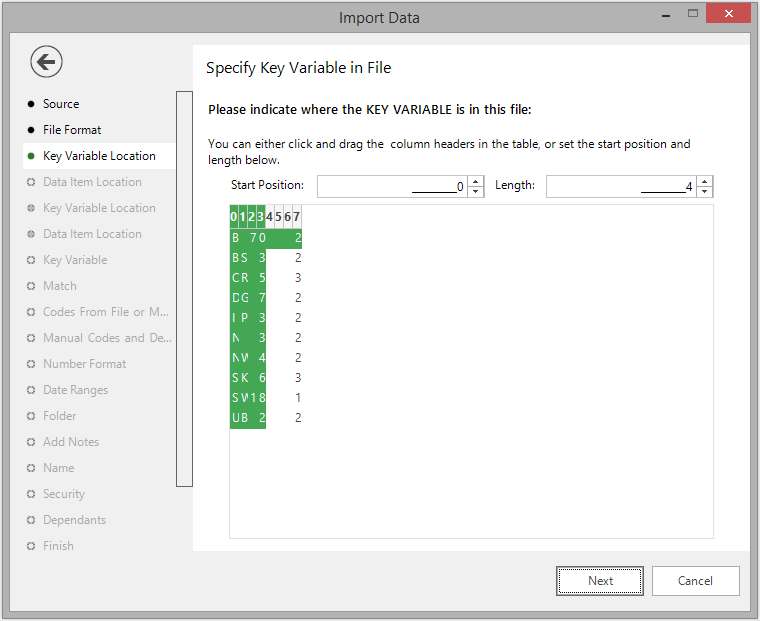
The system assumes that the Key Variable will always be at the beginning of the file, and that it will be as long as the variable definition is within the FastStats system. You should then highlight the data that you wish to import into the FastStats system or specify the values in the text boxes.
Data item location (delimited)
Once you have specified the location of the Key Variable in the previous step you are now prompted to identify the position of the data.
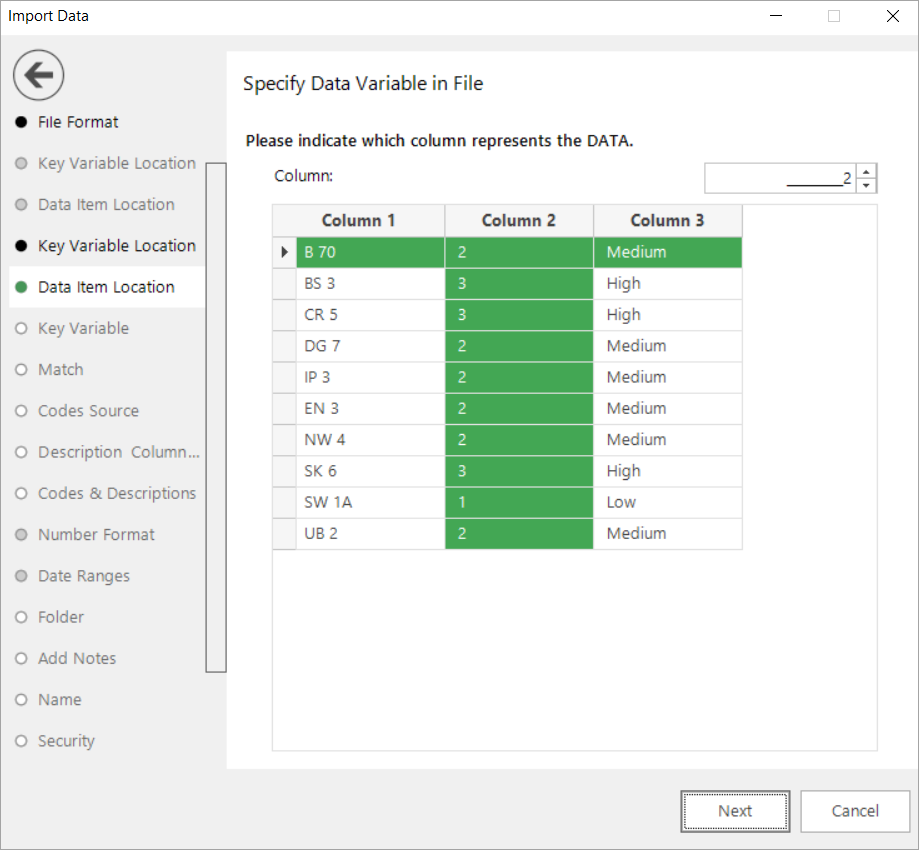
You should then highlight the data that you wish to import into the FastStats system, or specify the column value in the text box.
Data item location (fixed format)
Once you have specified the Key Variable in the previous step you are now prompted to identify the position of the data.
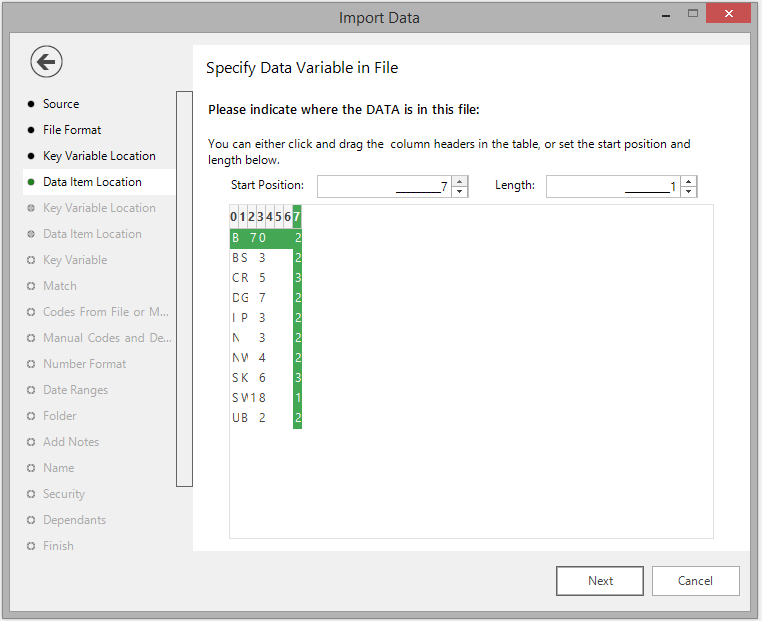
You should then highlight the data that you wish to import into the FastStats system or specify the values in the text boxes.
Key variable
This step allows you to specify which variable should be used to match to the key information in the file. If the file is a Fixed File then this will be the first characters on each row of the file. If the file is Delimited then this will be the data in the first column.
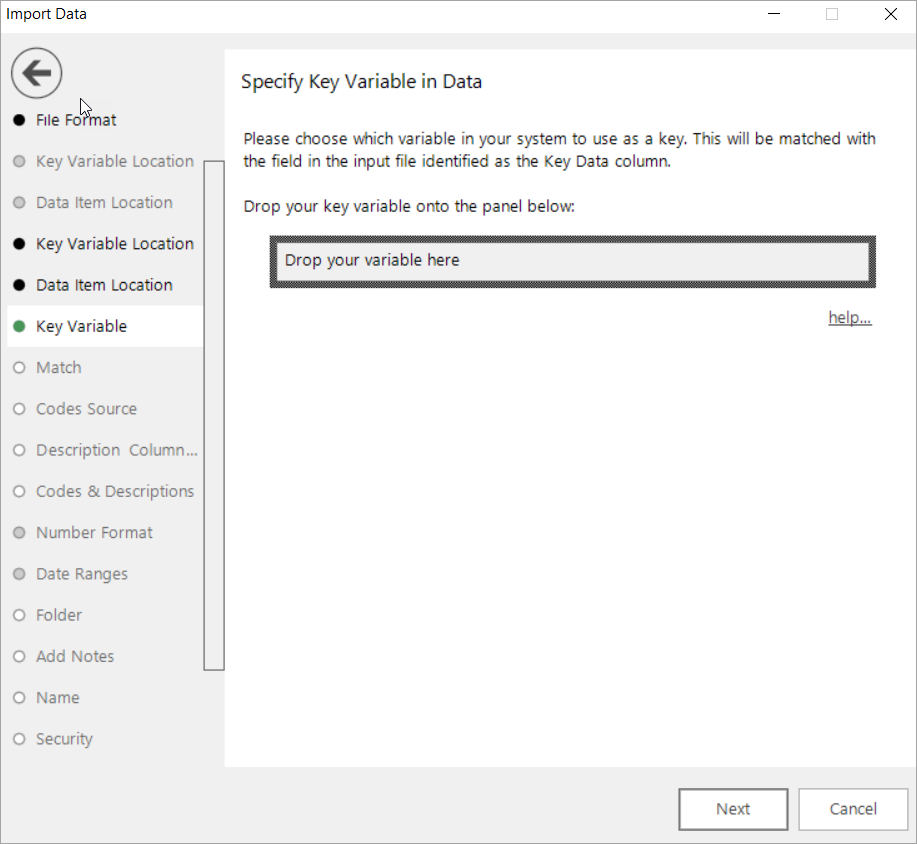
A Reference (URN) variable, text variable or selector variable can be used as a key variable.
Match
Options for how the specified file will be matched to the key variable are specified in this step.
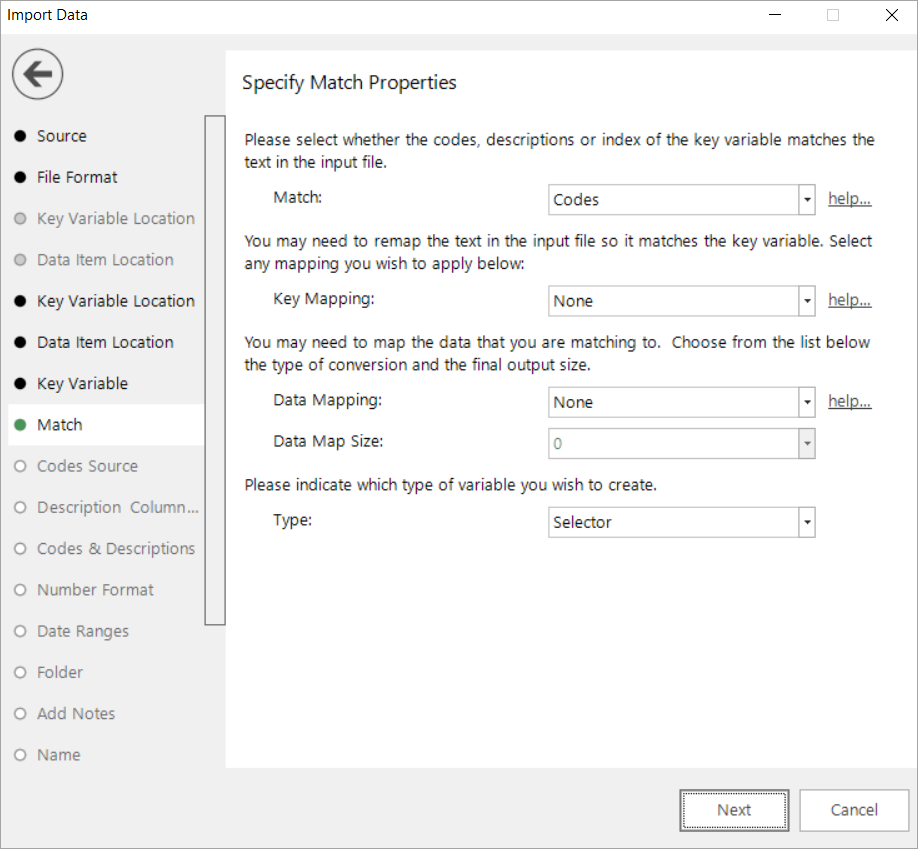
If the key variable is a selector variable then the Match option is available and allows the user to decide whether the text in the file should match to the codes of the selector variable, the descriptions of the selector variable or the zero-based "index" of the selector variable (i.e. the first code will have an index of "0", the second code will have an index of "1", etc).
You can also specify a mapping for both the key values and the data values in the imported file. These mappings will transform the text in the file before it is matched and imported into FastStats. With some of the data mappings, you can also set a Map Size, which determines what the data will be mapped to.
Finally, you can specify whether the new variable to add in to the system should be created as a selector, numeric, text, date or datetime variable.
Mapping options
Data from the file to import can be transformed into one of many different formats before it is matched against the data in the key variable. Here is a description of each mapping.
Note
In the examples below the underscore _ character represents a blank space.
| Mapping | Description |
|---|---|
| None | Performs no mapping. |
| Right Justified Zero Padded | The data will be right justified and padded with zeros before being presented to FastStats. e.g. assuming size of 5: 69 becomes 00069 |
| Right Justified Blank Padded | The data will be right justified and padded with spaces before being presented to FastStats. e.g. assuming size of 5: 69 becomes \\\_69 |
| Left Justified Blank Padded | The data will be left justified and padded with spaces before being presented to FastStats. e.g. assuming size of 5: 69 becomes 69\\\_ |
| Uppercase | Ensures that all alphabetic characters are converted to uppercase. |
| Lowercase | Ensures that all alphabetic characters are converted to lowercase. |
| Match Key | Will match the string in the input file to a key value if the string in the input file starts with the key value. |
| UK Postcode (AADDLSCC) | Takes a standard UK postcode (which can include a London alpha character, such as SW1A 4WW) and produces a post area, post district or post sector output, depending on the map size specified. e.g. SW1A 4WW becomes SW with a map size of 2 SW1A 4WW becomes SW1\_A with a map size of 5 SW1A 4WW becomes SW1\_A\_4 with a map size of 6 This function is useful for U.K. postcodes because the standard format does not allow data to be sorted into the sequence users expect. |
| UK Postcode (AADDSCC) | Takes a standard U.K. postcode (such as CV34 4AX) and produces a post area or post district output, depending on the map size specified. e.g. CV34 4AX becomes CV with a map size of 2 CV34 4AX becomes CV34 with a map size of 4 This function is useful for U.K. postcodes because the standard format does not allow data to be sorted into the sequence users expect. |
| dd.mm.yy | Converts a dd.mm.yy date (where . can be any, or no separator) to a YYMMDD date selector. e.g. 24/07/69 becomes 690724. |
| dd.mm.yyyy | Converts a dd.mm.yyyy date (where . can be any, or no separator) to a YYYYMMDD date selector. e.g. 24/07/1969 becomes 19690724 13/01/2002 becomes 20020113. |
| mm.dd.yy | Converts a mm.dd.yy date (where . can be any, or no separator) to a YYMMDD date selector. e.g. 07/24/69 becomes 690724. |
| mm.dd.yyyy | Converts a mm.dd.yyyy date (where . can be any, or no separator) to a YYYYMMDD date selector. e.g. 07/24/1969 becomes 19690724. |
| dd.mmm.yy | Converts a dd.mmm.yy date (where . can be any, or no separator) to a YYMMDD date selector. e.g. 24.JUL.69 becomes 690724. |
| dd.mmm.yyyy | Converts a dd.mmm.yyyy date (where . can be any, or no separator) to a YYYYMMDD date selector. e.g. 24.JUL.1969 becomes 19690724. |
| mmm.dd.yy | Converts a mmm.dd.yy date (where . can be any, or no separator) to a YYMMDD date selector. e.g. JUL.24.69 becomes 690724. |
| mmm.dd.yyyy | Converts a mmm.dd.yyyy date (where . can be any, or no separator) to a YYYYMMDD date selector. e.g. JUL.24.1969 becomes 19690724. |
| yy.ddd | Converts a Julian date yy.ddd (where . can be any, or no separator) to a YYMM date selector. e.g. 69-205 becomes 690724. |
| yyyy.ddd | Converts a Julian date yyyy.ddd (where . can be any, or no separator) to a YYYYMMDD date selector. e.g. 1969-205 becomes 19690724. |
| mm.yy | Converts a mm.yy date (where . can be any, or no separator) to a YYMM date selector. e.g. 07/69 becomes 6907. |
| mm.yyyy | Converts a mm.yyyy date (where . can be any, or no separator) to a YYYYMM date selector. e.g. 07/1969 becomes 196907. |
| dd.mm | Converts a yearless dd.mm date to a MMDD date. e.g. 3107 becomes 0731 (31st July). |
| yyyy.mm.dd | Converts a date specified to the year, month or day level to a YYYYMMDD date selector. e.g. 1969.07.31 becomes 19690731. |
- Click Next to go to Number Format (Numeric Variable)
- Click Next to go to Codes Source (Selector Variable)
- Click Next to go to Folder (Text Variable)
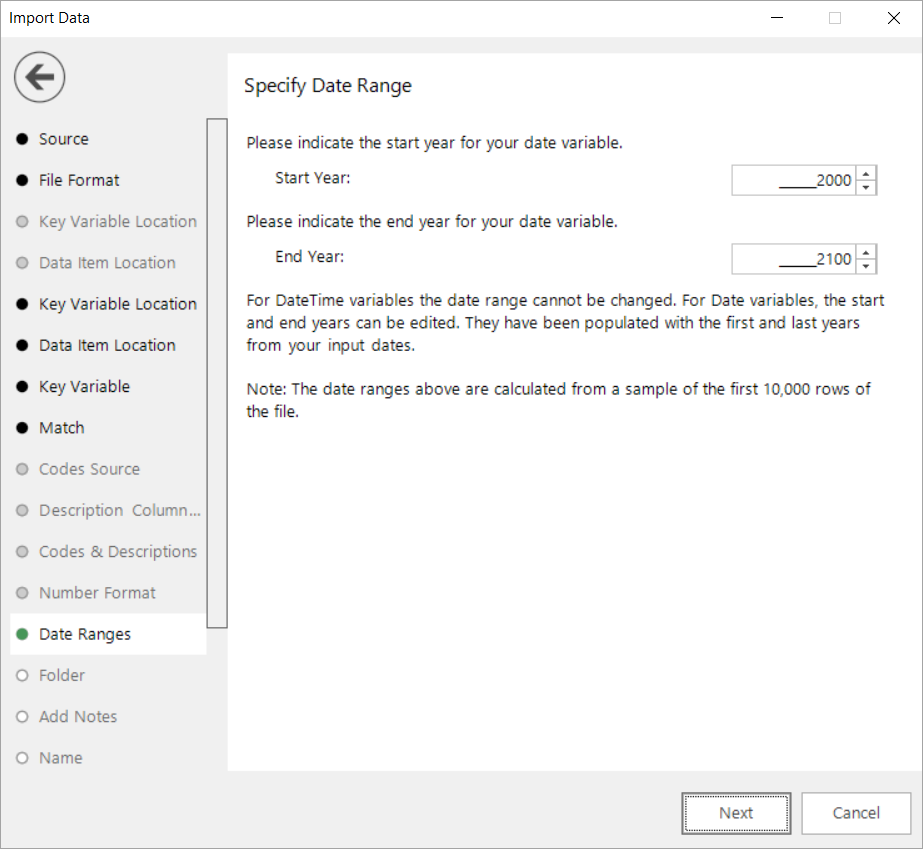
- Click Next to go to Date Ranges (Date and DateTime Variables)
Codes source
If a Selector variable is to be generated, this step gives you the opportunity to manually specify the codes and descriptions, or allow them to be found automatically.
Previously, both the codes and descriptions for the resulting variable were taken from the single data column and had to be the same. Now you can specify a second column in the data file and use this to generate the category descriptions for the resulting variable.
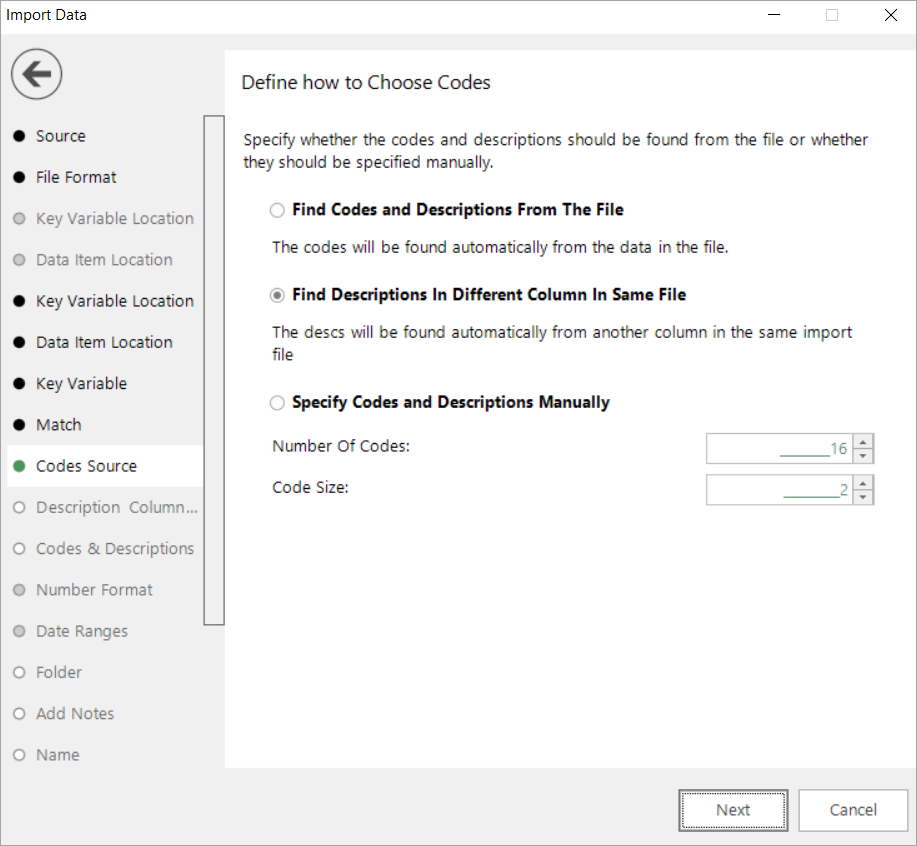
- Click Next to go to Folder (Find Codes and Descriptions From The File)
- Click Next to go to Description Column (Find Descriptions In Different Column In Same File)
- Click Next to go to Codes and Descriptions (Specify Codes and Descriptions Manually)
Codes and descriptions
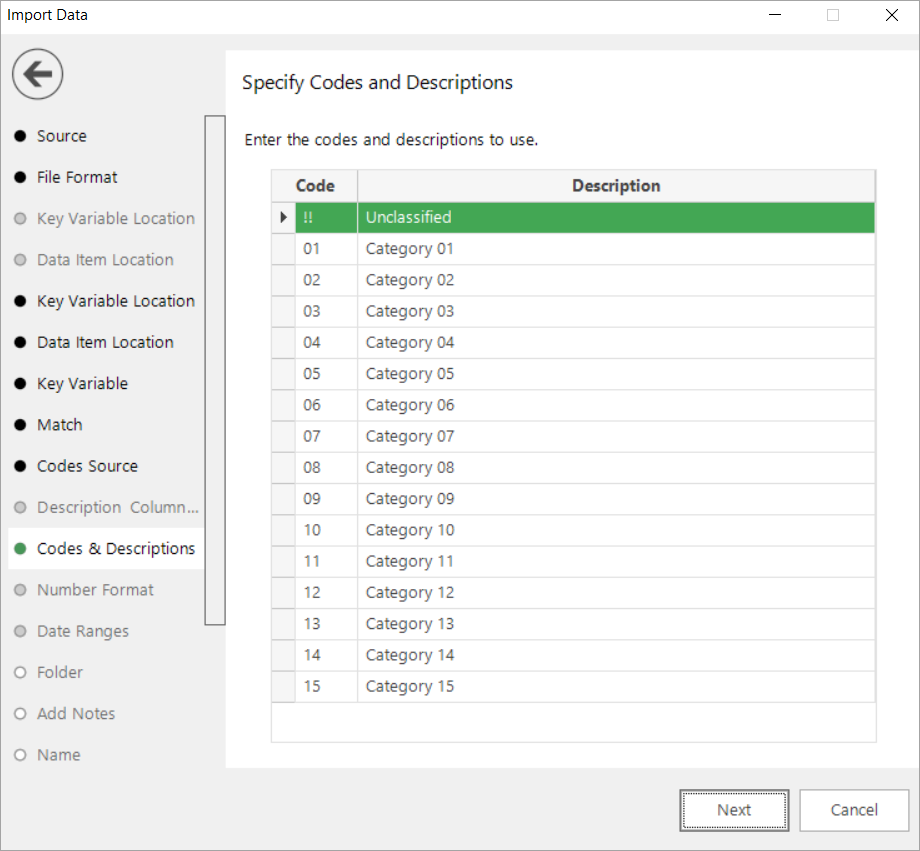
This step gives you the opportunity to enter your own codes and descriptions by clicking in the relevant boxes.
Description column
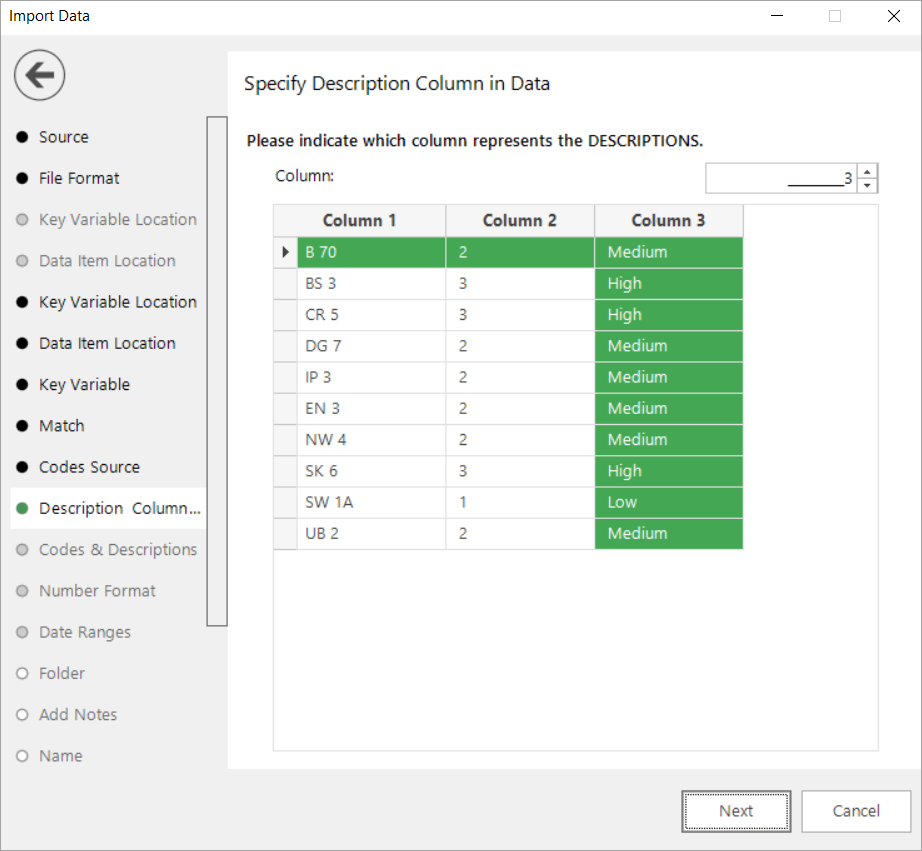
When creating a selector type virtual variable where the code and description are different, this is the step where you select the column to use for generating the category descriptions.
Date ranges
Number format
If a Numeric variable is to be generated, this step allows you to set the number format as well as the number of decimal places, if any.
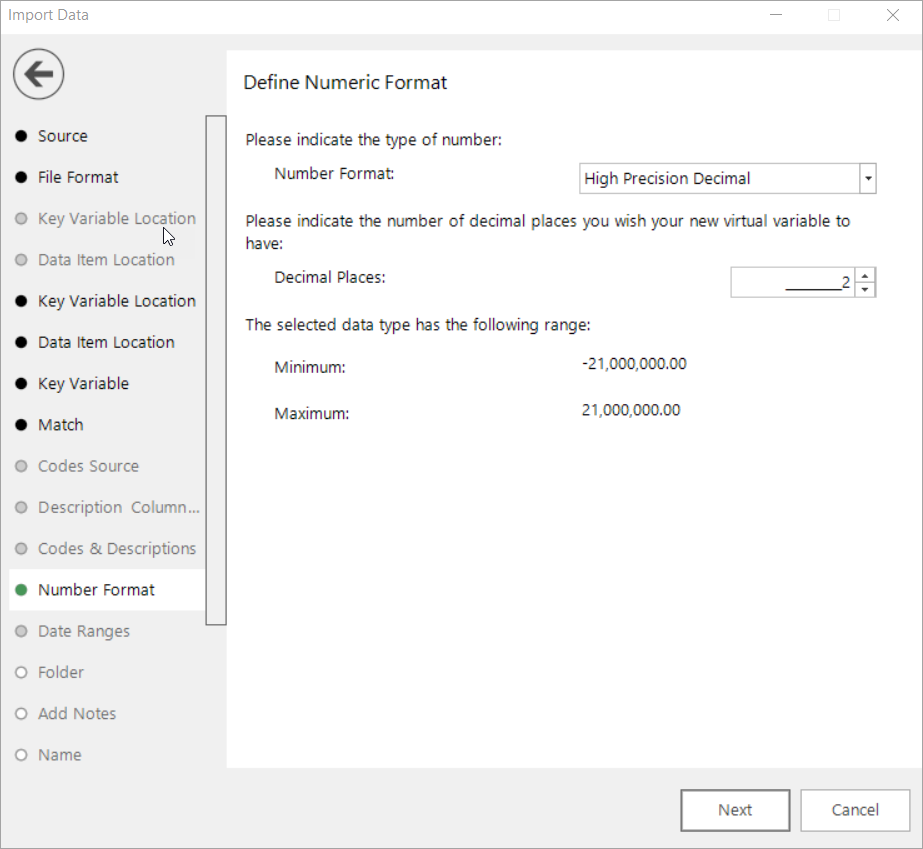
Format options are as follows:
| Format | Description |
|---|---|
| High Precision Decimal | Up to a 10 digit number can be stored including figures after the decimal point. A number can hold up to 4 decimal places. |
| Decimal | Much larger numbers can be stored but only the first 15 or 16 significant digits will be stored. |
| Integer | An integer is a whole number (not a fraction) that can be positive, negative, or zero. |
| Currency | Currency formatting sets the number of decimal places to two and allows you to select the currency locale. |
Folder
Choose the folder that the new variable should be created in.
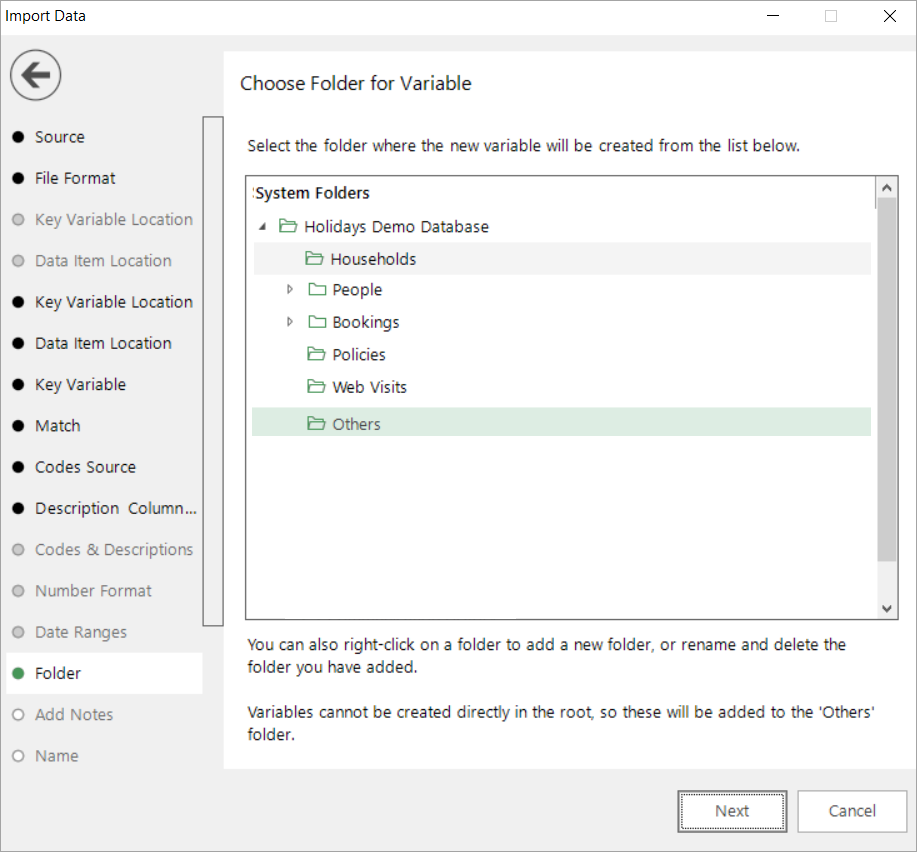
Create (if necessary) and highlight the folder to hold your Virtual Variable.
Add notes
You can choose to add notes to your variable. These can be viewed later by right-clicking on the variable once it is in the System Explorer.
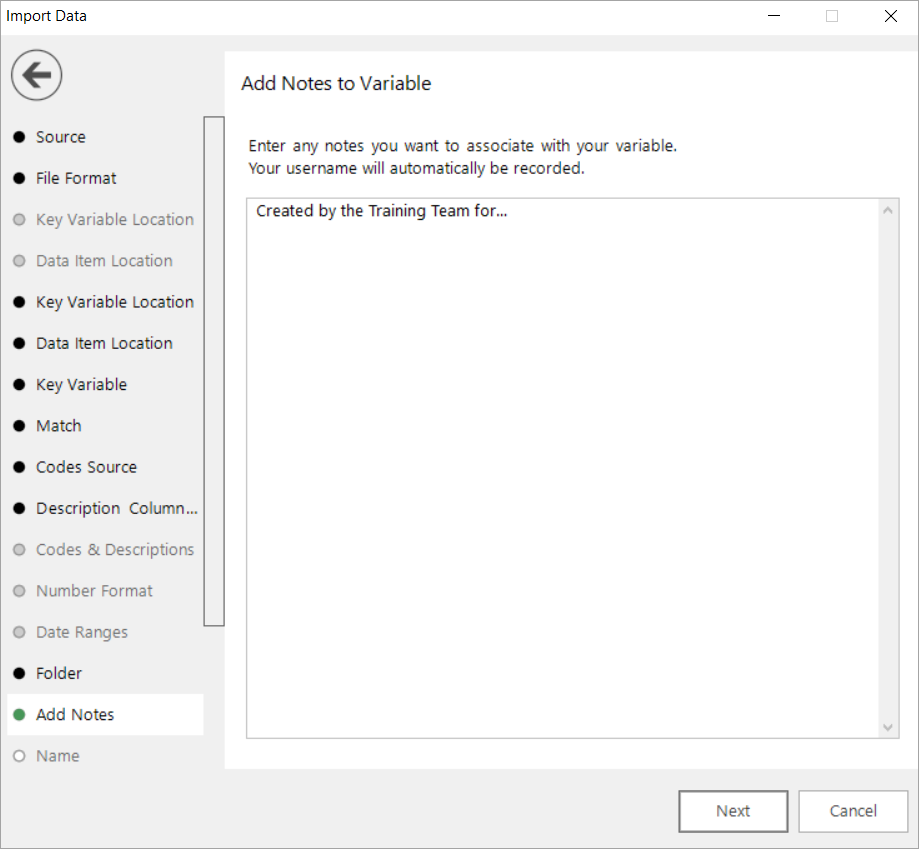
Enter any notes you wish to record.
Name
This step of the wizard allows you to define what the Virtual Variable will be called.
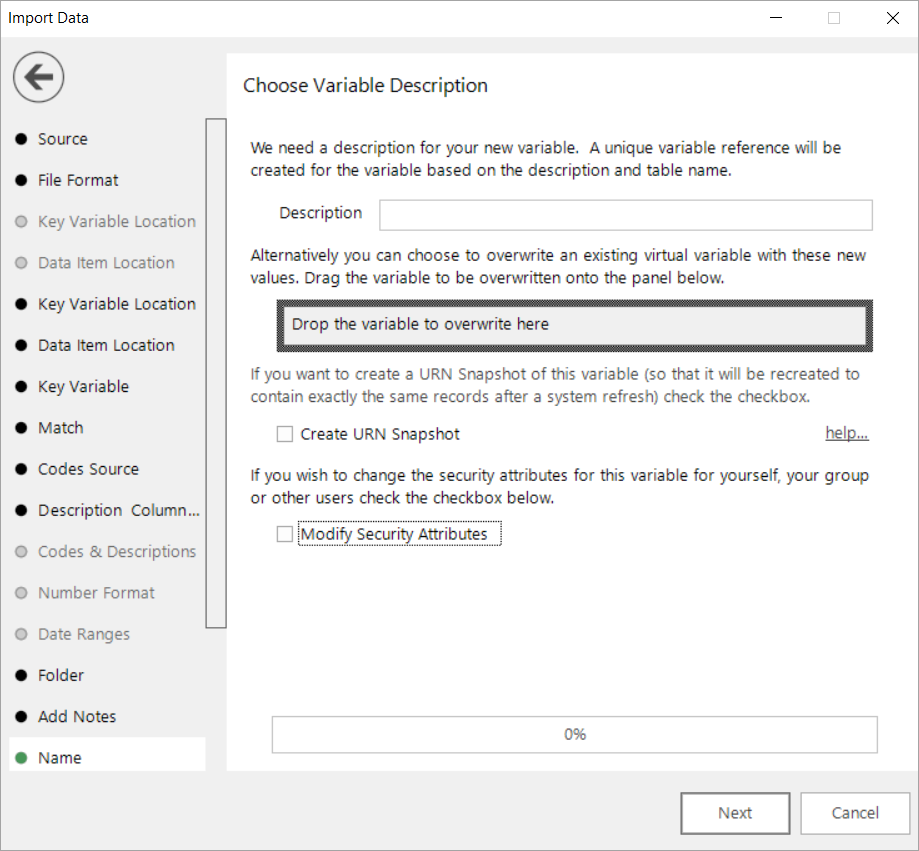
Enter the name of your variable in the Description box.
To overwrite an existing virtual variable drag it on to the Drop the variable to overwrite here drop box.
Tick the Create URN Snapshot box to record the exact records found at this time so it can be recreated after a refresh of the data if needed.
Tick the Modify Security Attributes box to allow you access to Security (This option is only available on the Enterprise Version)
Security
This is an optional step available on the Enterprise version of the software.
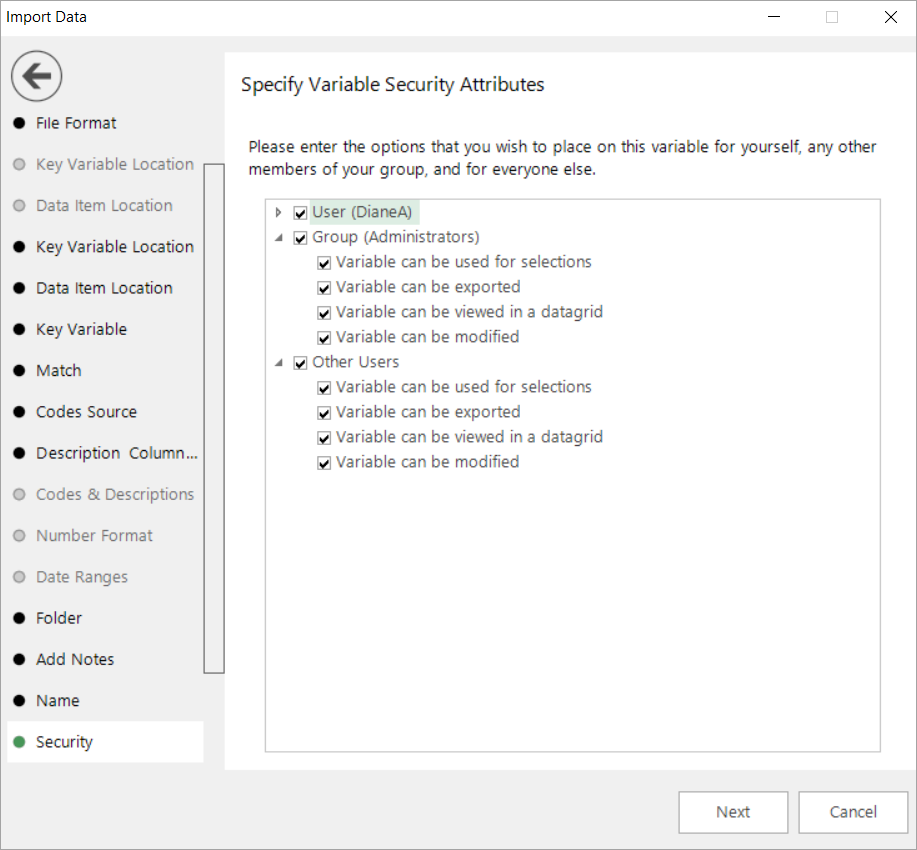
Use the tick boxes to set the security setting you wish to apply to this variable.
Finish
This step is shown after the actions required by this wizard have been completed. The new variable has been created and highlighted in the System explorer window.
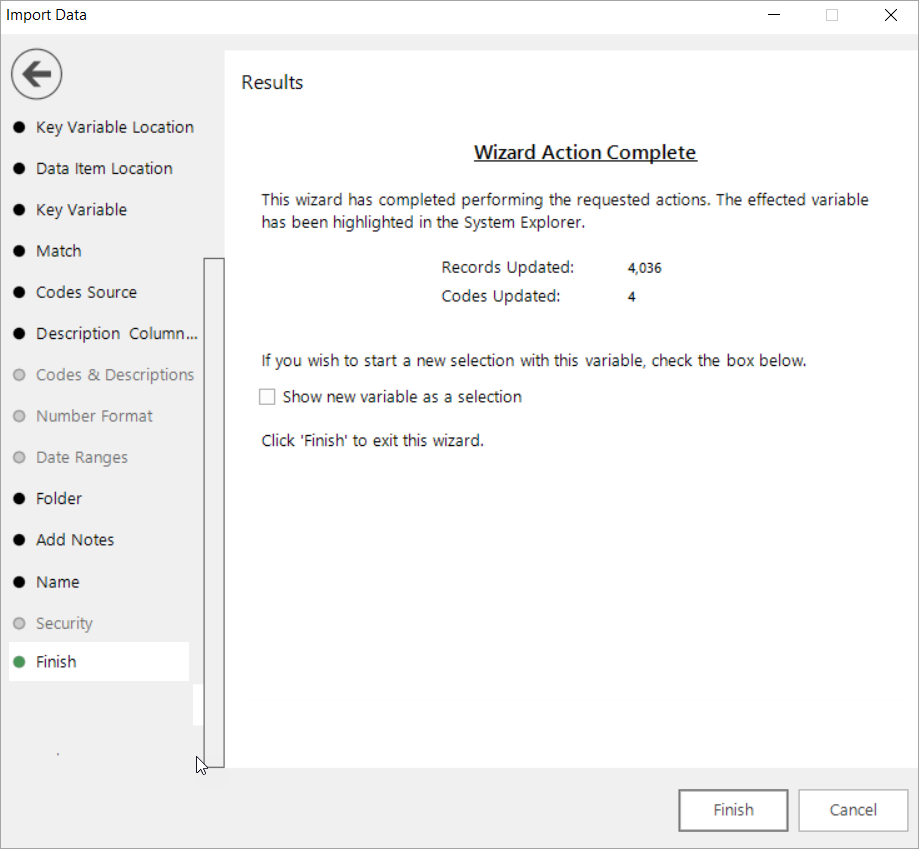
Tick the Show new variable as a selection box if you want to view the variable when the wizard is closed.