Profile model wizard
The Profile Model Wizard is an analysis wizard and provides a way to create PWE Profile Model virtual variables from a Profile.
You can then use your profile models in Selections, Cubes, etc, or fed into Model Reports.
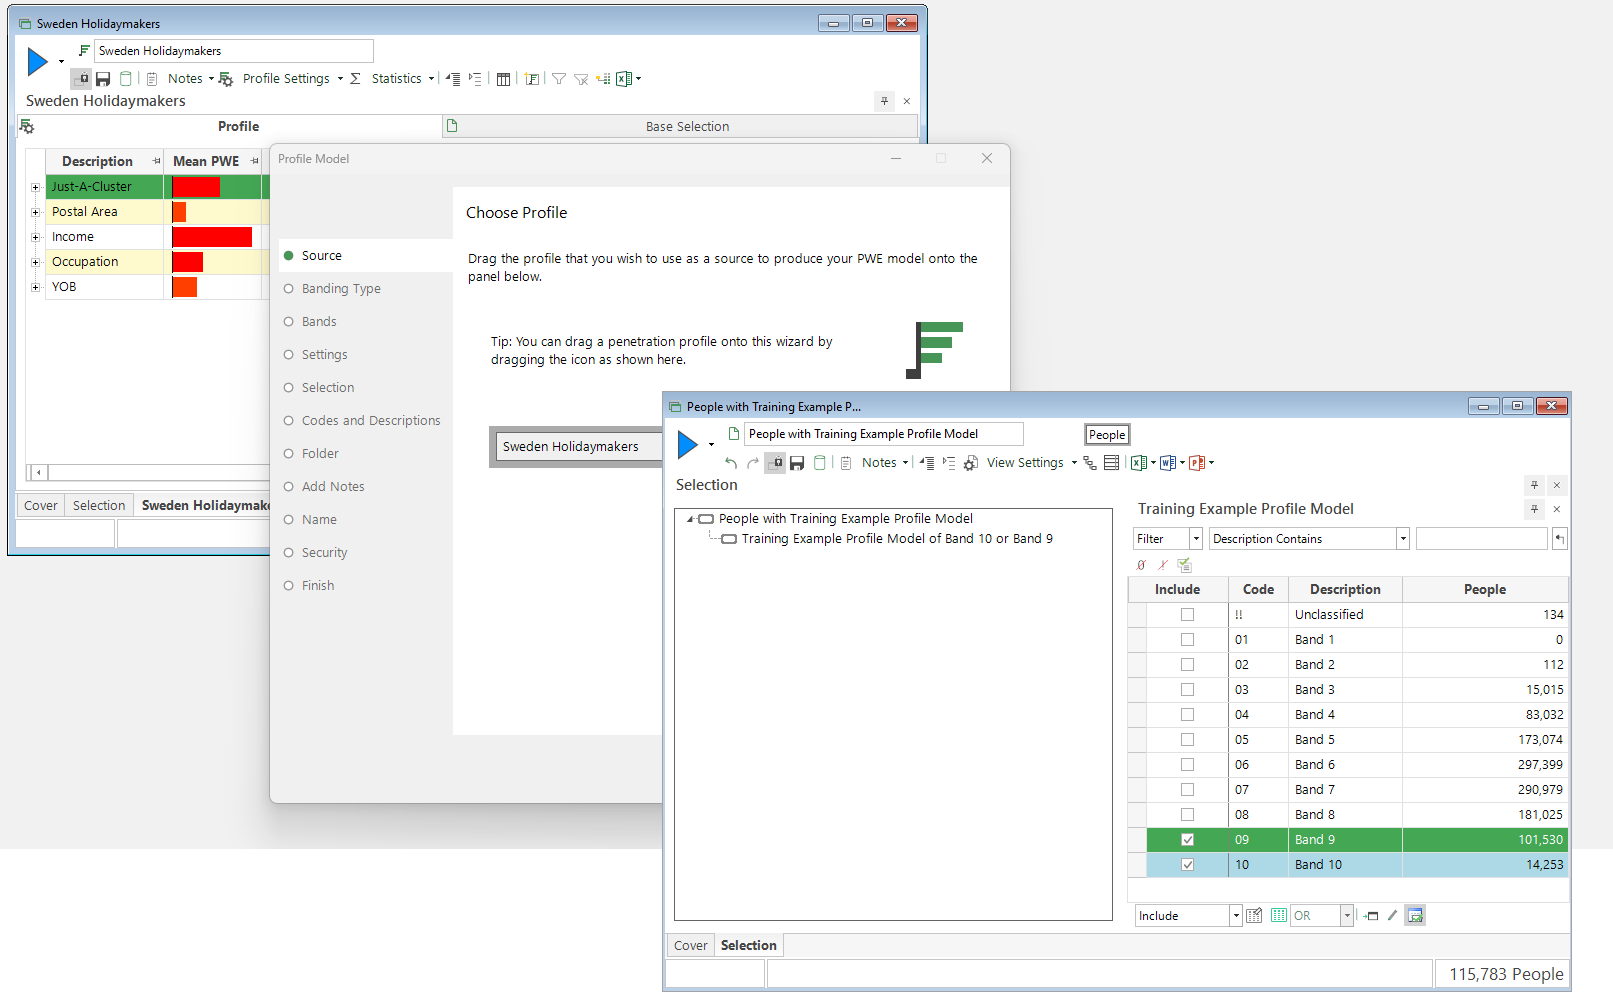
You can start the wizard by:
-
Selecting Profile Model from the Analysis panel on the Wizards' ribbon. This will open on the Source step.

Or:
-
Within the Profile tool, click on the Create Profile Model icon which takes you directly to the Banding type step.
Source
When you select Profile Model from the Wizards ribbon, the wizard opens on the Source step.
Note
If you have selected the Create Profile Model button from within the Profile toolbox then you will not be shown this step.
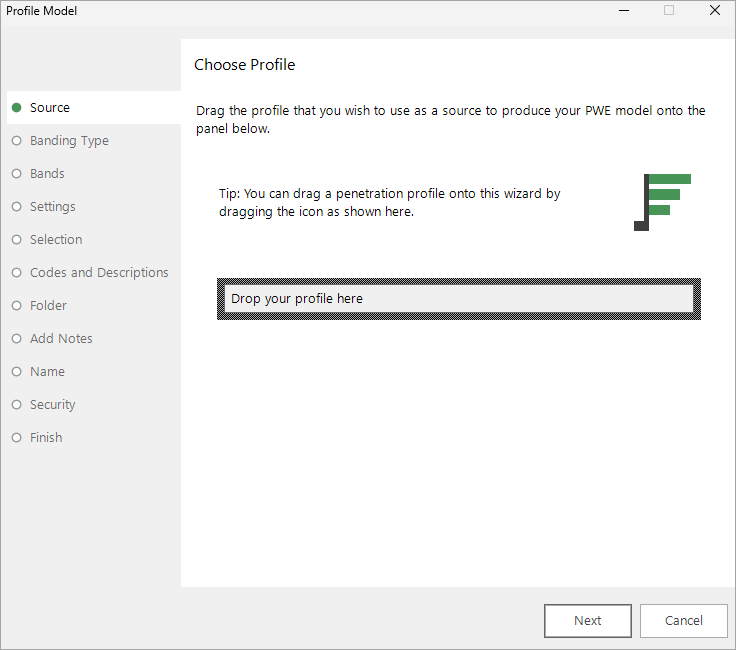
Drag on a profile to specify the source information to use for creating the profile model.
Banding type
This is where you choose how you want your variable to be banded - into Equal Ranges, Quantiles, or as Actual Values (Numeric).
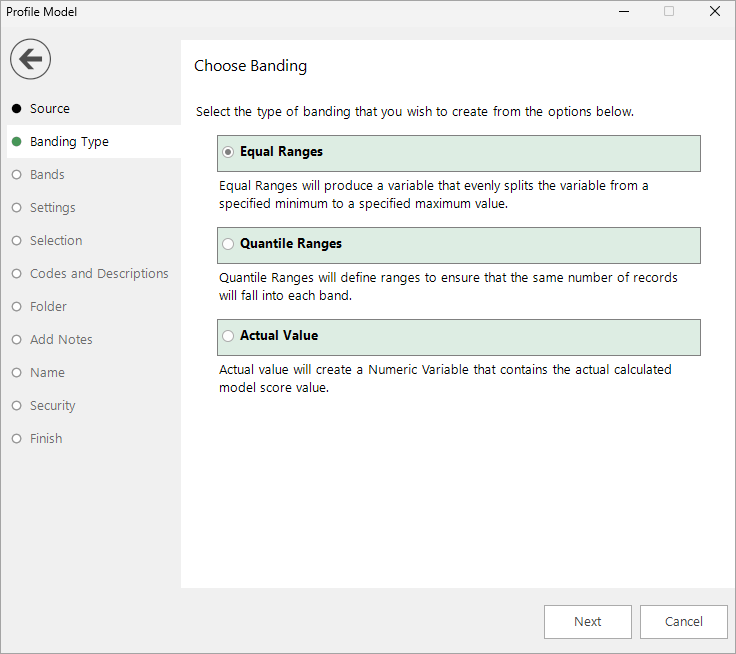
Select the radio button for the format of the virtual variable to be created.
- If you select Equal Ranges or Quantiles, click Next to go to the Bands step.
- If you select Actual Values (Numeric), click Next to go to the Profile model settings step.
Bands
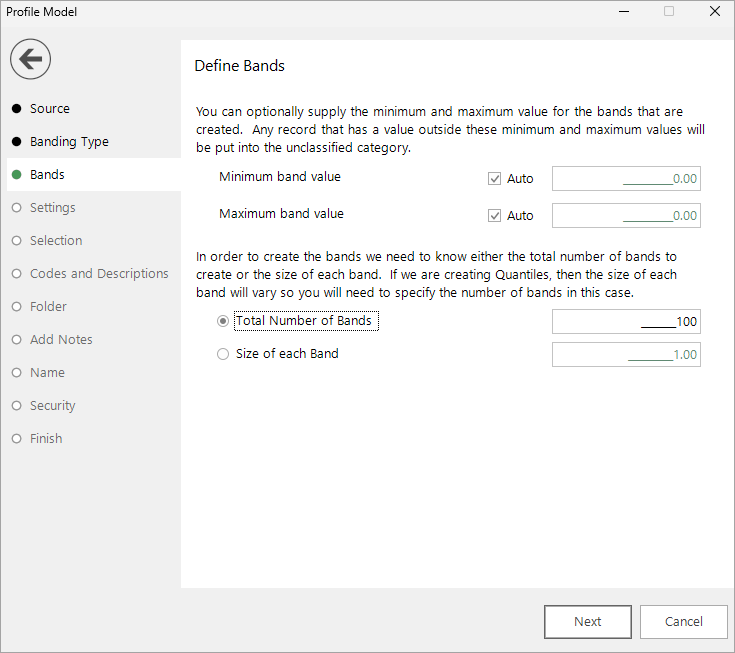
You can choose the number of bands to create or, alternatively, specify the range for each band. You can optionally specify the minimum and maximum banding values.
Profile model settings
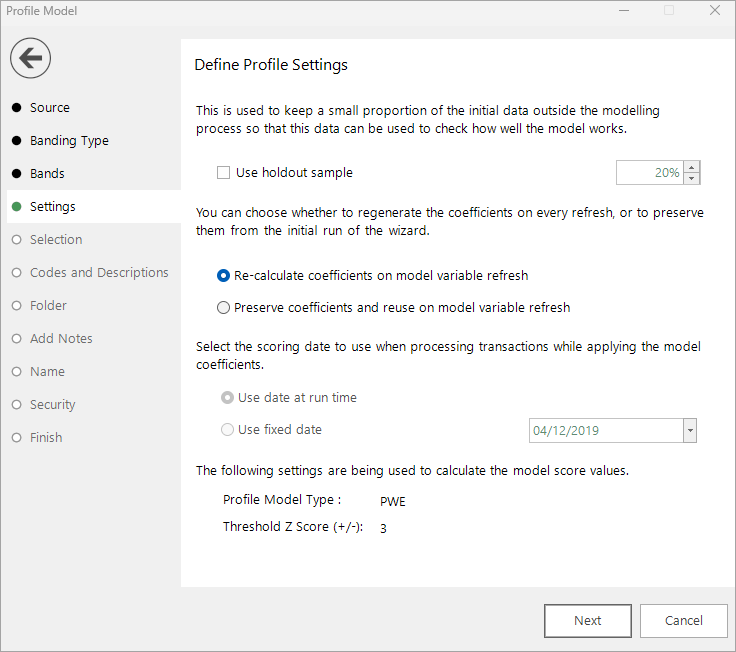
A holdout sample can be specified so that not all records are used when creating the profile model. The records that are held out can then be used by the Model Report tool to validate the model.
Selection
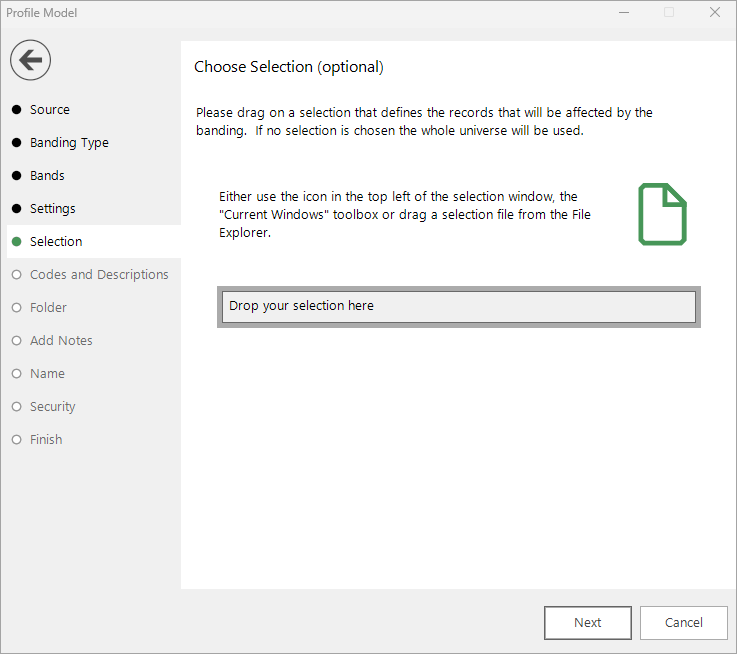
To apply the model to the whole universe, i.e. so that every record on the database is scored, just skip past this step. Otherwise, define your selection and drag it onto the drop area.
Codes and descriptions
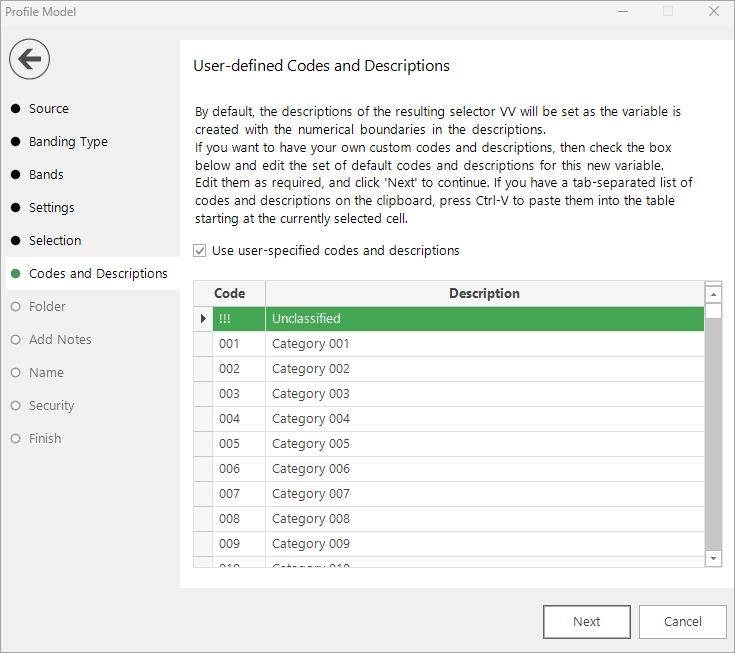
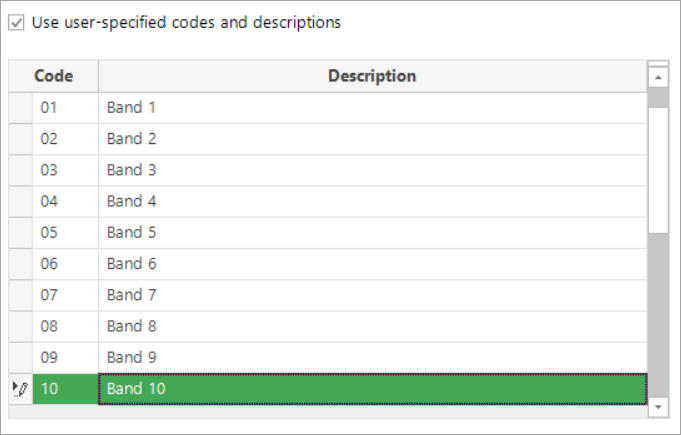
By default, category descriptions are determined automatically. When you have selected to create N bands in the virtual variable in the Bands step, you then have the option to specify your own codes and descriptions here. To override the defaults, select the Use user-specified codes and descriptions check box and enter the required values.
Note
Adding user codes and descriptions is not possible if you choose the size of each band rather than the number of bands. This is because the number of bands that will be created is not known in advance.
Folder
Choose - or create, if necessary - a folder for your new variable.
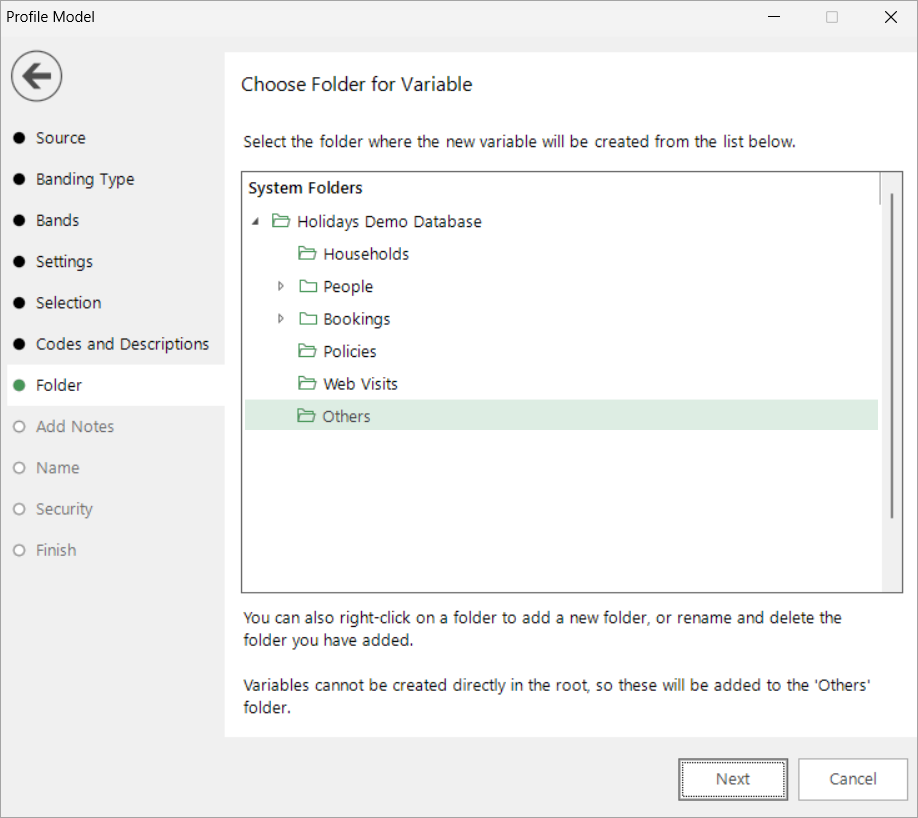
By default, the Others folder is selected.
Add notes
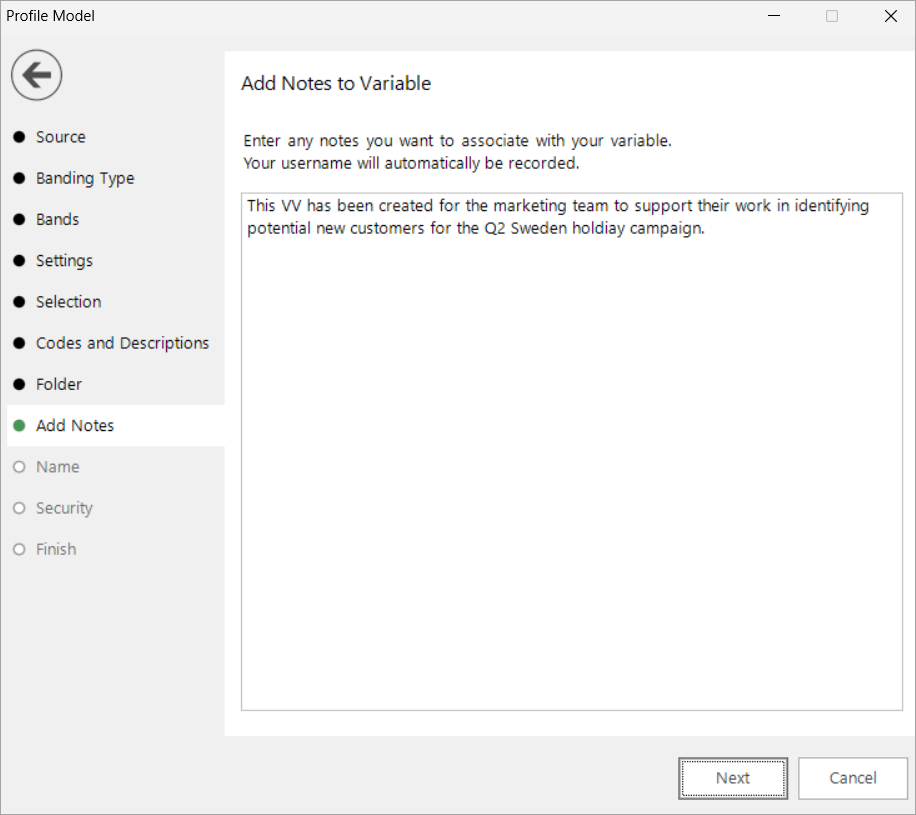
You can optionally add notes to your variable.
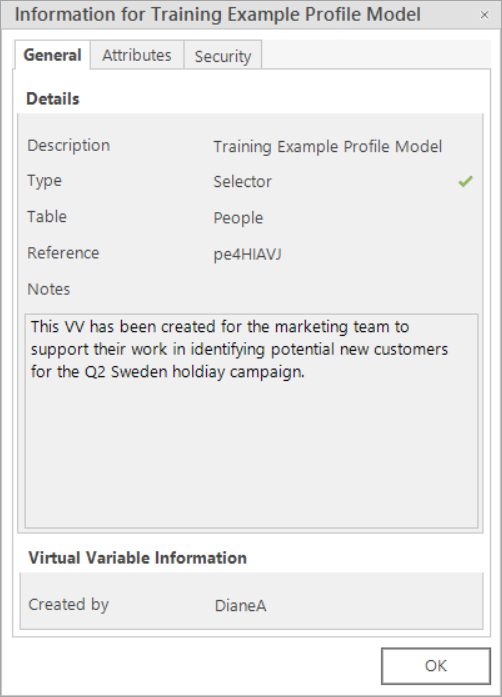
Once created and saved into a System variables folder, you can view the notes by right-clicking on the virtual variable and selecting Properties.
Name
This step of the wizard is to name and then create the variable. When you click Next, the new variable is calculated and stored.
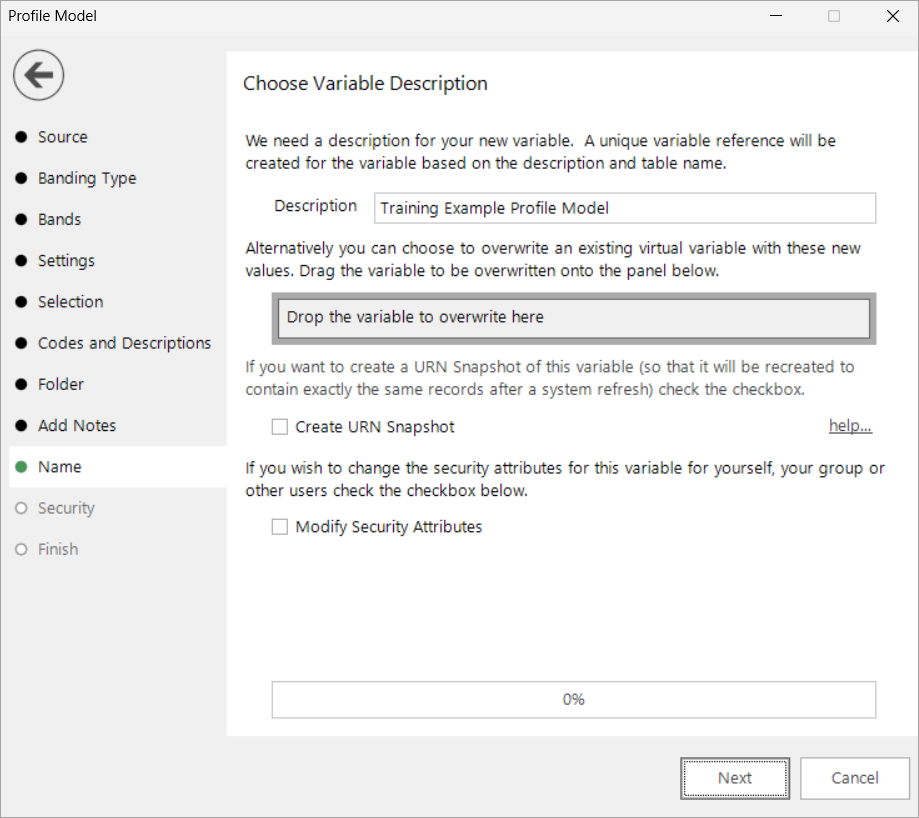
Enter the name of your variable in the Description box.
To overwrite an existing virtual variable drag it on to the Drop the variable to overwrite here drop box.
Tick the Create URN Snapshot box to record the exact records found at this time so it can be recreated after a refresh of the data if needed.
Tick the Modify Security Attributes box to allow you access to Security (This option is only available on the Enterprise Version)
Security
This is an optional step available on the Enterprise version of the software, allowing you to control who can see and interact with the virtual variable you create.
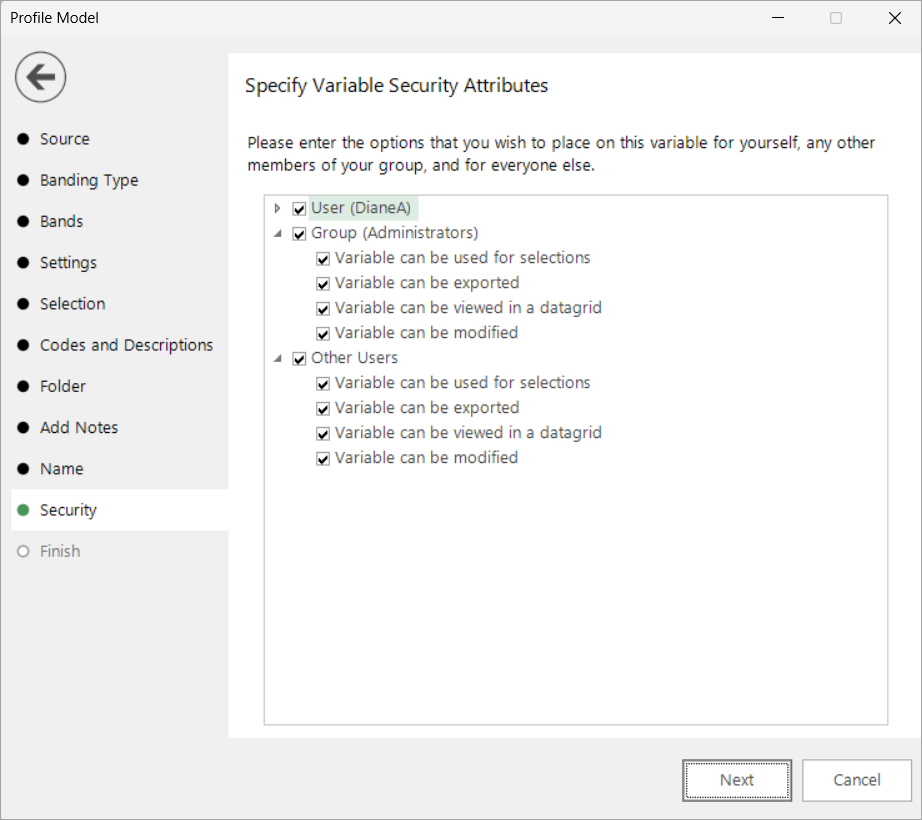
Select and deselect the check boxes, as required.
Finish
When you reach this step, the actions required by this wizard have been performed.
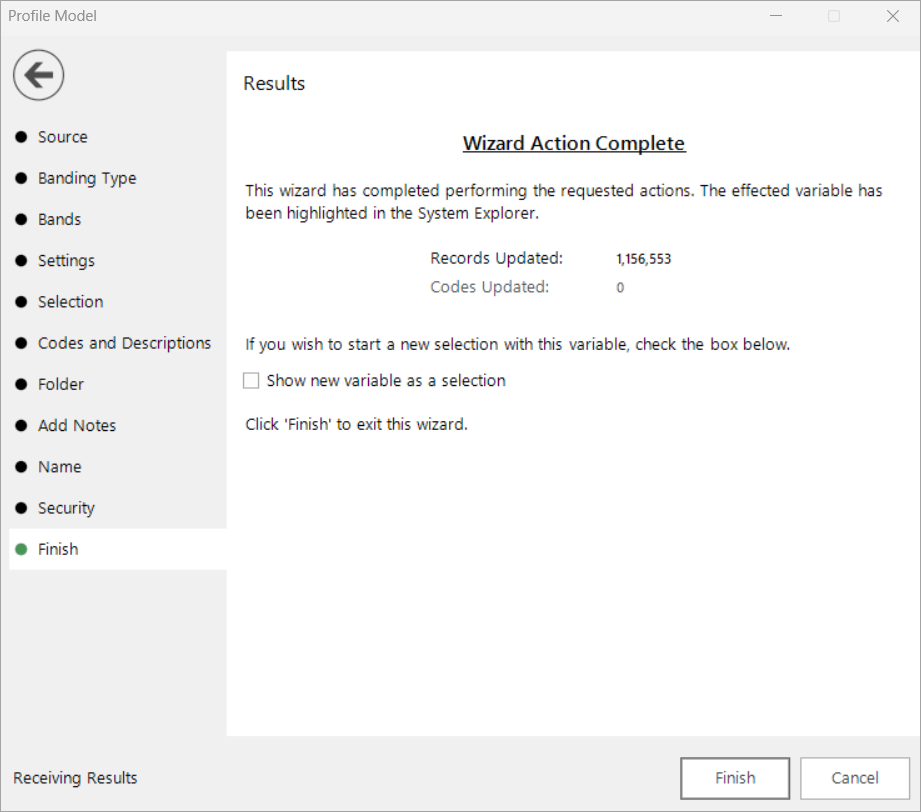
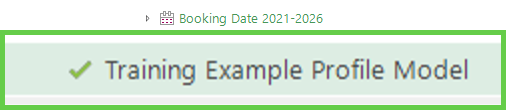
The new variable is highlighted in the System explorer.
Tick the Show new variable as a selection box if you want to view the variable when the wizard is closed.
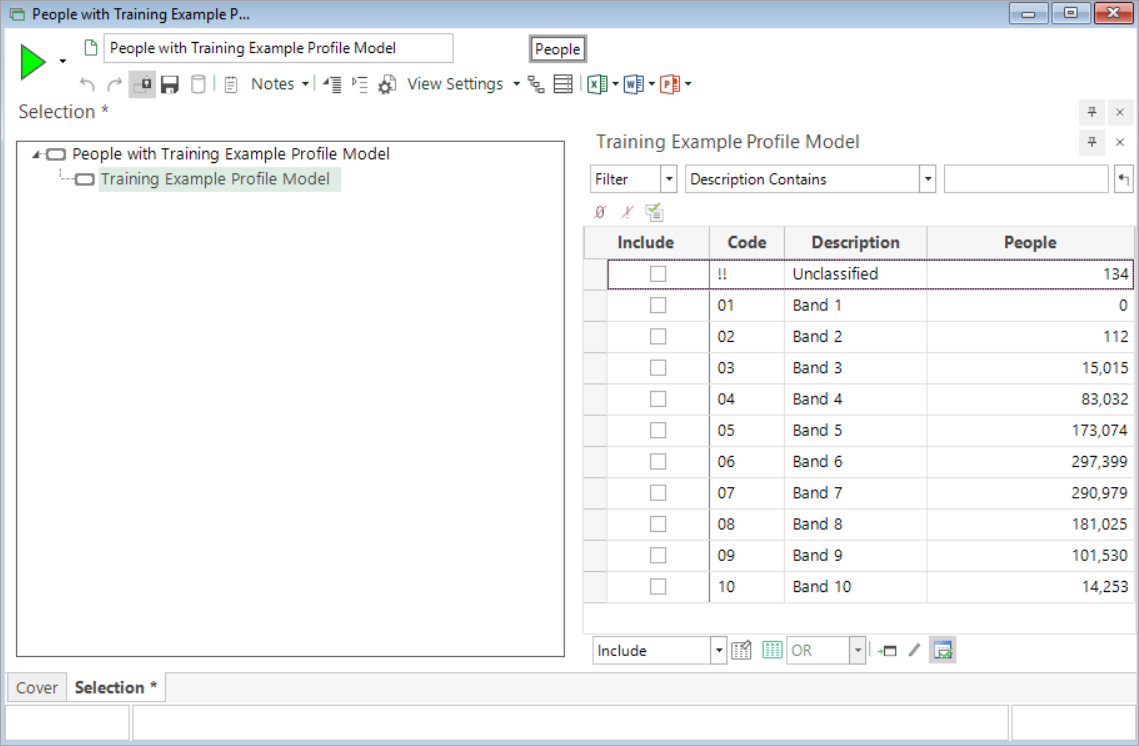
Click Finish to close the wizard.