Segmentation wizard
The Segmentation wizard allows you to formalise information created through the Segmentation tool, creating one or more Virtual Variables whose categories correspond to the selections used in the Segmentation tool.
For information on how to work with the Segmentation tool, see Segmentation.
On the Wizard tab click on the  Segmentation link to start the wizard and choose the segmentation.
Source
Note
This step is not visible if you clicked on the wizard from within the Segmentation tool.
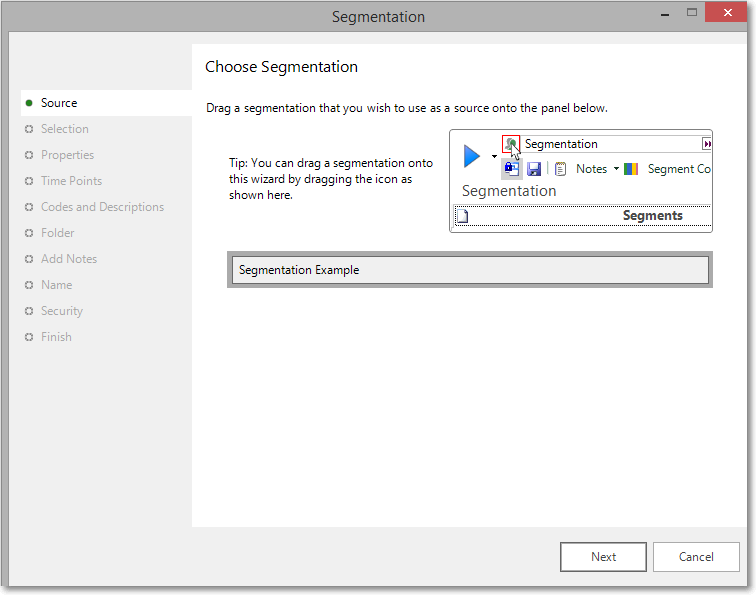
Select, drag and drop the required segmentation onto the Drop your segementation here box.
Selection
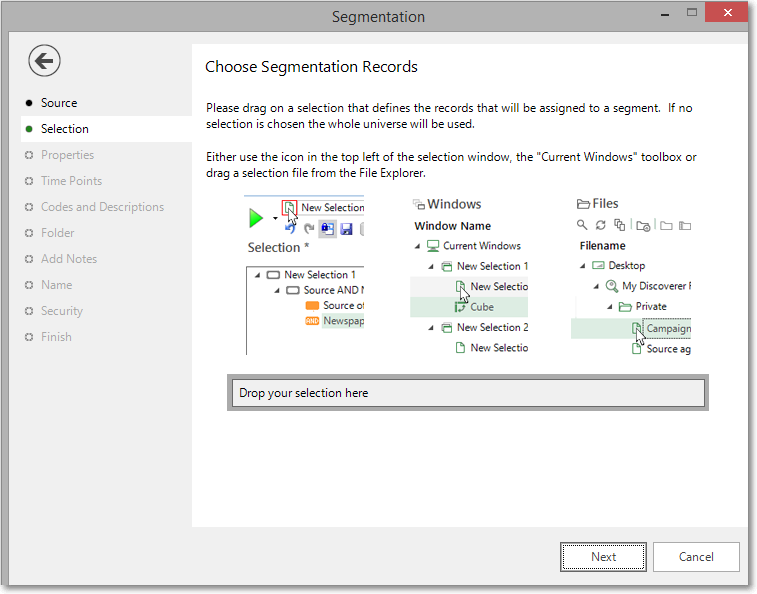
In this step you can drag on an underlying selection that will be assigned to the Segment. With no selection defined, all records will be used.
Properties
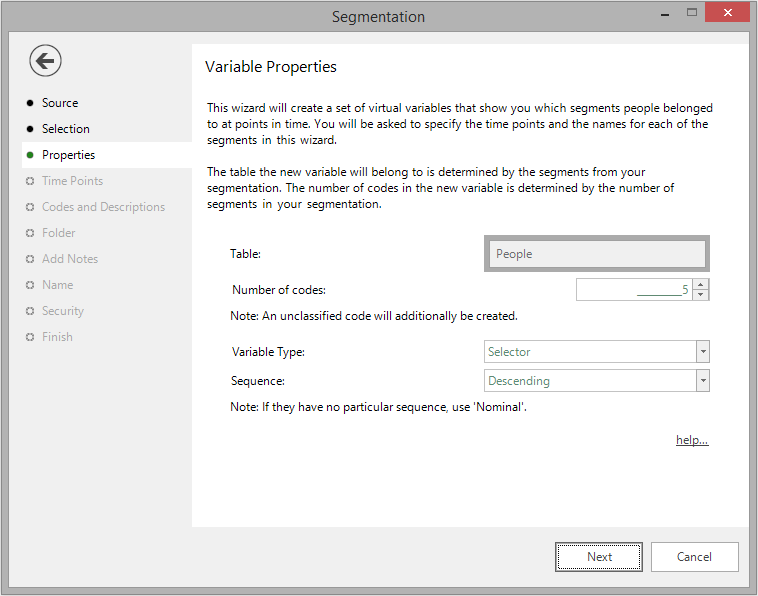
This table details the table level at which the variable will be created, together with the number of codes (categories) and type of variable it will be. The information is picked up from the selections used in your segmentation.
Time points
At this step you can choose the reporting points at which you want to create a virtual variable. This can be undertaken in one of 2 ways.
To create individual, selector type virtual variables for each required time point:
-
Select the reporting points from the list at the top of the window
 Q317.png)
Selection of individual reporting points to create separate virtual variables
-
Select Next
An information message reminds users to only create necessary virtual variables.
 Q217.png)
Alternatively, to create a single, array type virtual variable which covers all time points, check the "One variable for all points" tick box at the bottom of the window:
 Q317.png)
Create a single array variable containing all time points
Codes and descriptions
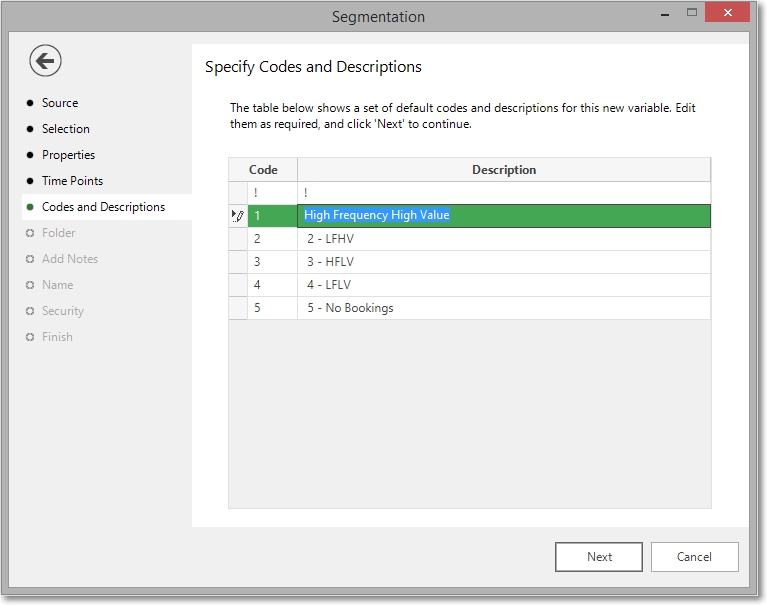
By default, the category descriptions correspond to the names of the selections used in the Segmentation. This step allows you to rename the descriptions if you wish to.
Folder
Choose the folder that the new variable should be created in.
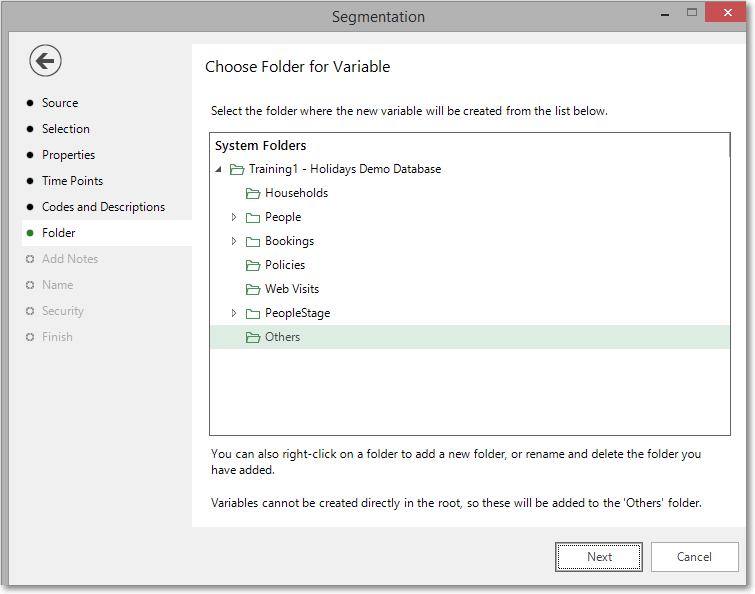
Create (if necessary) and highlight the folder to hold your Virtual Variable.
Add notes
You can choose to add notes to your variable. These can be viewed later by right-clicking on the variable once it is in the System variables explorer window.
Enter any notes you wish to record.
Name
This step of the wizard allows you to define what the Virtual Variable will be called.
 Q217.png)
Enter the name of your variable in the Description box.
As we selected more than one reporting point at the Time Points step, ensure you include the text [timepoint] in the description. This will add the date, to the description we enter, when the virtual variable is created:
 Q217.png)
Note
When creating an array variable using the "One variable for all points" option in the Time Points step, it is not necessary to insert [timepoint] as part of the variable description.
To overwrite an existing virtual variable drag it on to the Drop the variable to overwrite here drop box.
Tick the Create URN Snapshot box to record the exact records found at this time so it can be recreated after a refresh of the data if needed.
Tick the Modify Security Attributes box to allow you access to Security (This option is only available on the Enterprise Version)
Security
This is an optional step available on the Enterprise version of the software.
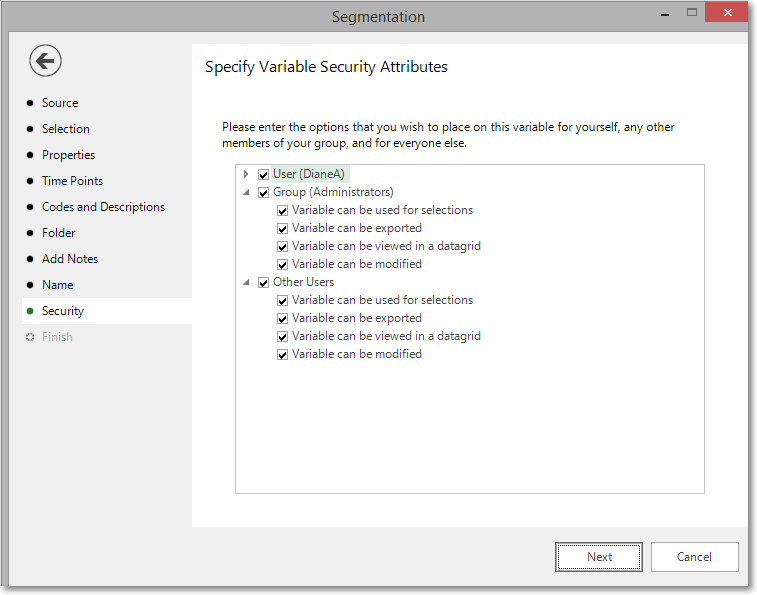
Use the tick boxes to set the security setting you wish to apply to this variable.
Finish
This step is shown after the actions required by this wizard have been completed. The new variable has been created and highlighted in the System Explorer.
 Q217.png)
Tick the box Show new variable as a selection if you want to view the variable when the wizard is closed.
Click Finish to close the wizard.
When a virtual variable for each individual time point has been created, the variables can be dragged onto a selection as required. For example:
 Q217.png)
When the "One variable for all points" option is selected in the Time Points step, the result of the process is to create an array variable that shows all the time points calculated. For example:
 Q317.png)