Setting up SSO with Okta
This article takes an administrator through the process of setting up SSO with Okta.
Create an app in Okta
- Log in to your Okta Admin portal, e.g.
aptecotest.okta.com. - Switch to the Applications tab.
-
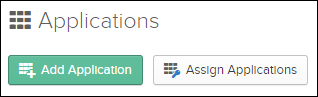
Click Add Application.
-
Click Create New App.
App setup
-
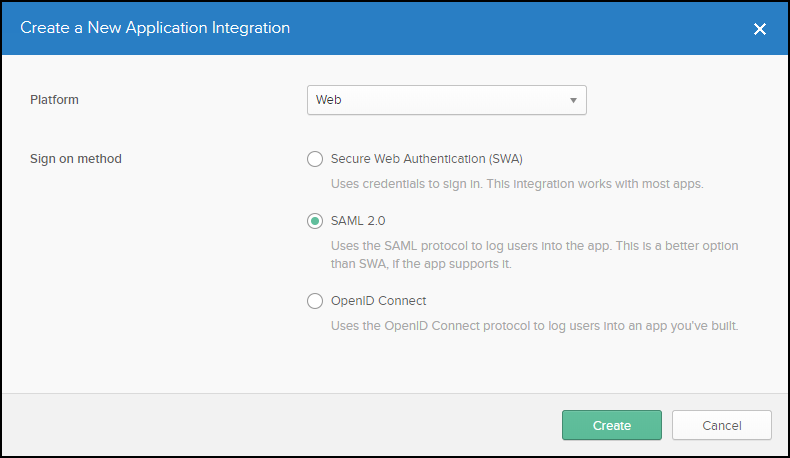
For Platform, choose Web. For Sign on method, choose SAML 2.0. Click Create.
-
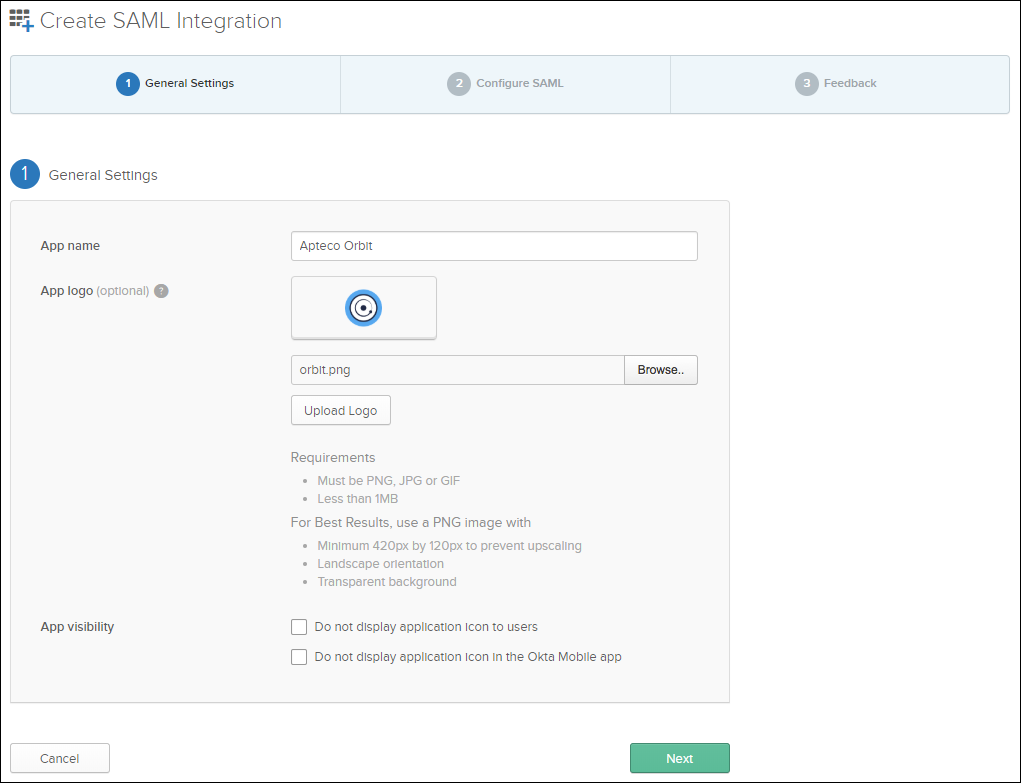
Choose an App name, optional App logo, and set App visibility options, then click Next.
Configure the following fields:
Field Value Single sign on URL https://[your-server]/OrbitAPI/ExternalLogin/AssertionConsumerServiceAudience URI (SP Entity ID) https://AptecoLoginAPI/Default RelayState https://[your-server]/Orbit/external-loginName ID format Unspecified(default, unless the application requires a specific format)Application username Determines the default value for the SAML assertion's subject statement Update application username on Create and updateNote
external-loginis case-sensitive and will not work if entered in any other case. -
Click Next.
Certificates
- Make a note of the Identity Provider Single Sign-On URL and Identity Provider Issuer.
- Click View Setup Instructions to open a new tab showing the URLs and x.509 certificate.
-
Click Download Certificate and save as
Okta.certin the Certificates folder on your web server:
Configure the Orbit Login Service
See Orbit login service to install and configure the Login Service first.
Edit the Orbit Login Service configuration file with the following JSON, substituting your actual values:
{
  "Serilog": {
    "MinimumLevel": {
      "Default": "Debug",
      "Override": {
        "Microsoft": "Warning",
        "System": "Warning",
        "ComponentSpace.Saml2": "Warning"
      }
    },
    "WriteTo": [
      { "Name": "Trace" },
      {
        "Name": "RollingFile",
        "Args": { "pathFormat": "C:\\temp\\Orbit\\Logs\\OrbitLogin-{Date}.txt" }
      }
    ],
    "Enrich": ["FromLogContext", "WithMachineName", "WithThreadId"]
  },
  "Kestrel": {
    "Endpoints": {
      "Http": { "Url": "http://localhost:5005" }
    }
  },
  "AllowedHosts": "*",
  "SAML": {
    "$schema": "https://www.componentspace.com/schemas/saml-config-schema-v1.0.json",
    "Configurations": [
      {
        "LocalServiceProviderConfiguration": {
          "Name": "https://AptecoLoginApi/",
          "Description": "Apteco Orbit Login API",
          "AssertionConsumerServiceUrl": "https://example.com/OrbitAPI/ExternalLogin/AssertionConsumerService",
          "LocalCertificates": [
            { "FileName": "certificates/sp.pfx", "Password": "password" }
          ]
        },
        "PartnerIdentityProviderConfigurations": [
          {
            "Name": "http://www.okta.com/exkjee2b8slkcYPAk5d5",
            "Description": "Okta",
            "SignAuthnRequest": true,
            "SingleSignOnServiceUrl": "https://dev-8040522.okta.com/app/aptecodev8040522_aptecoorbit_2/exkjee2b8slkcYPAk5d5/sso/saml",
            "PartnerCertificates": [
              { "FileName": "certificates/okta.cert" }
            ]
          }
        ]
      }
    ]
  },
  "PartnerName": "http://www.okta.com/exkjee2b8slkcYPAk5d5",
  "JWT": {
    "Key": "VerySecretAptecoJWTKey",
    "Issuer": "https://AptecoLoginApi/"
  },
  "AllowedReturnUrlOrigins": "https://example.com/"
}
You must provide values in three sections:
Within localserviceproviderconfiguration:
AssertionConsumerServiceUrl—same value set during SAML configuration, e.g.https://[your-server]/OrbitAPI/ExternalLogin/AssertionConsumerService
Within partneridentityproviderconfigurations:
| Field | Value |
|---|---|
Name |
The Identity Provider Issuer URL |
Description |
Okta |
SingleSignOnServiceUrl |
The Identity Provider Single Sign-On URL from the SAML 2.0 configuration metadata |
PartnerCertificates.FileName |
Relative path to the Okta certificate, e.g. certificates/okta.cert |
At root level:
| Field | Value |
|---|---|
PartnerName |
The Identity Provider Metadata URL |
AllowedReturnUrlOrigins |
The base URL of the website hosting Orbit |
Start (or restart) the Orbit Updater Service to pick up the configuration changes.
Assigning the app to users
Before users can access Orbit through Okta, assign the application to them.
- In the Okta Admin Portal, select the Applications page.
- Click Assign Users to App.
-
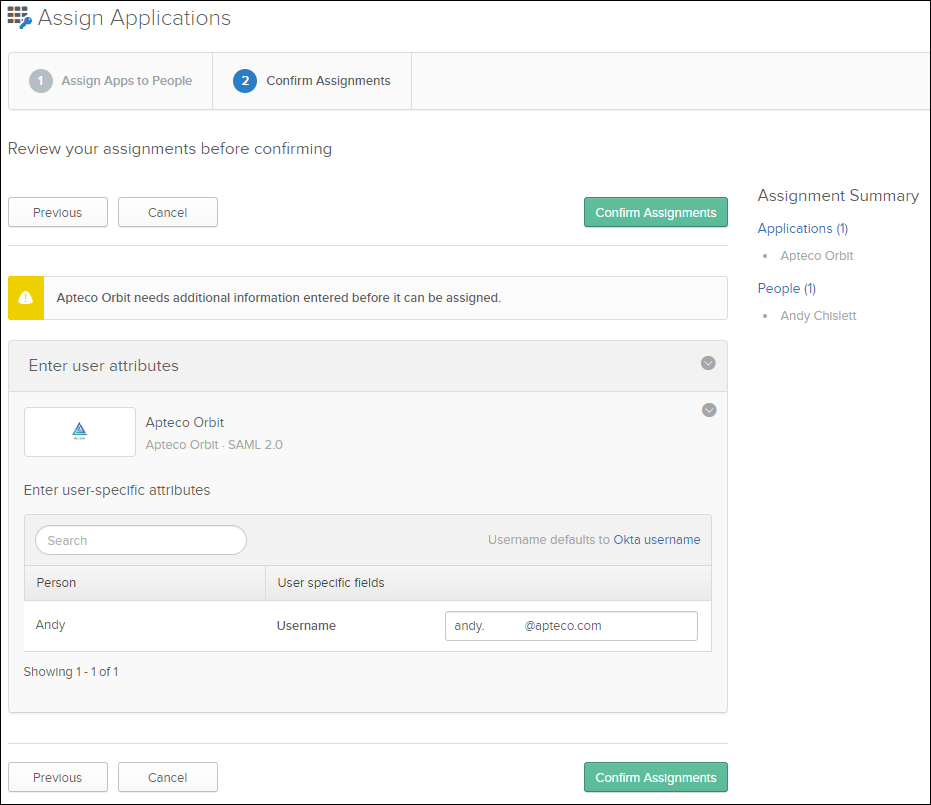
Select the correct application in the left panel and choose the user(s) in the right panel, then click Next.
-
Okta defaults to passing its username to the configured application. To override this (e.g. to map an Okta identity to a FastStats username), type the value in the Username field for each user.
-
Click Confirm Assignments.
-
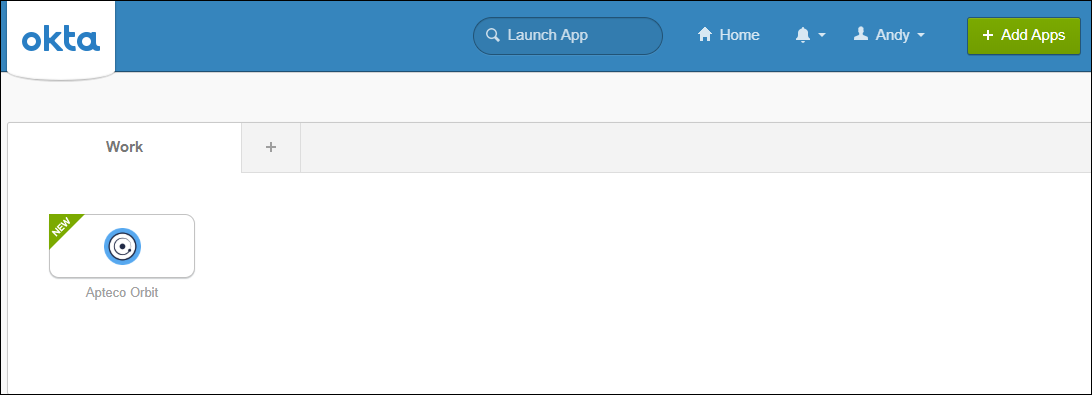
The application is now configured for use.
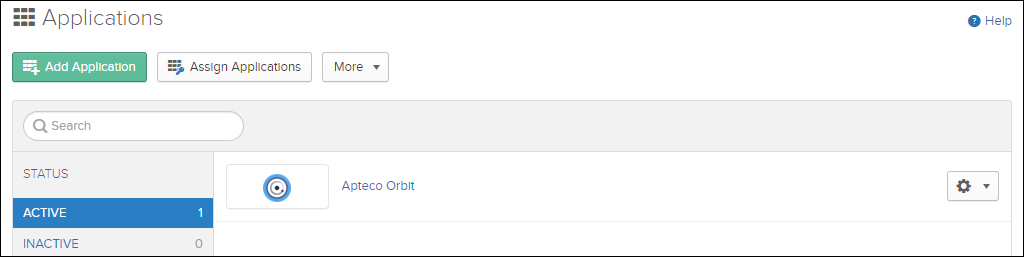
Users can now access the application from their User Home page within Okta.