Setting up SSO with OpenID Connect
This article takes an administrator through the process of setting up SSO using OpenID Connect (OIDC).
OIDC dramatically simplifies the configuration process required with an Identity Provider (IdP). If your chosen provider supports OIDC—including Azure Active Directory, Okta, and OneLogin—you can set up SSO by following the steps below.
Set up the app with your IdP
You must provide a Sign-in Redirect URL (or equivalent) within your IdP configuration:
Make a note of the following from your IdP:
- Authority URL
- OIDC Client ID
- OIDC Client Secret
Orbit API configuration
To configure the Orbit API:
- Open the Orbit API Configurator.
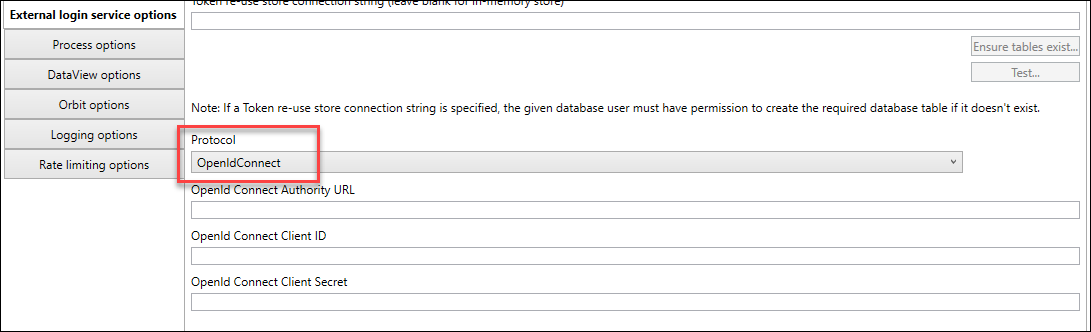
- Click General > External login service options.
- Select OpenIdConnect from the Protocol drop-down menu.
-
Paste in the values for Authority URL, OIDC Client ID, and OIDC Client Secret.
Allow auto-registration (optional)
This step allows auto-registration for unknown users logging in via SSO for the first time. Users are created automatically without needing to be created in advance.
To allow auto-registration:
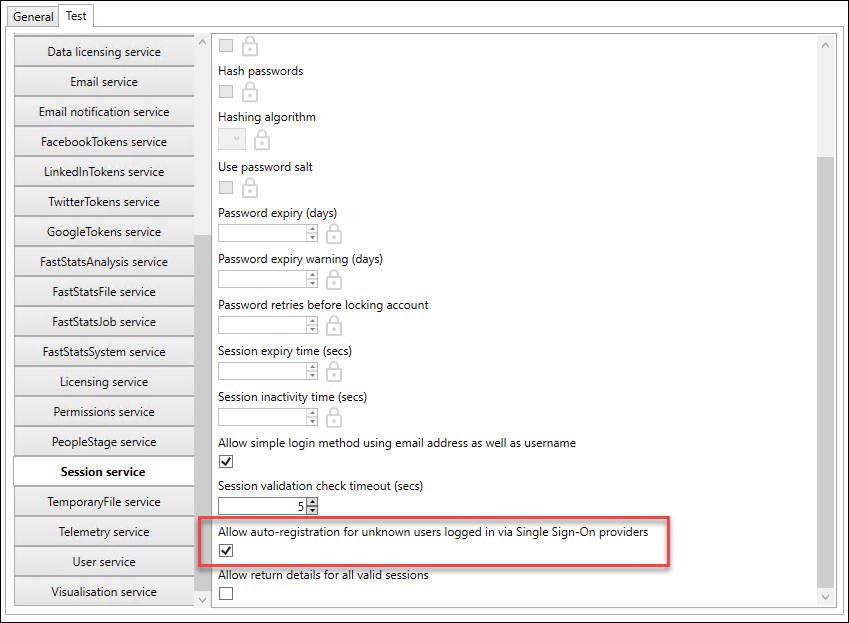
- Click Test > Session service.
-
Check Allow auto-registration for unknown users logged in via Single Sign-On providers.